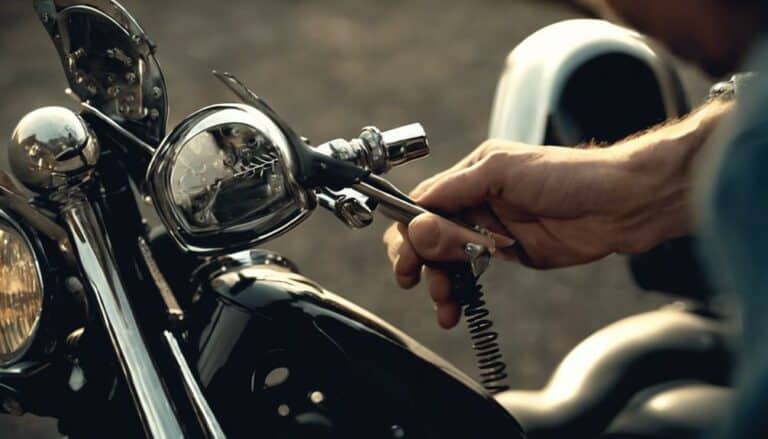
If you've ever felt like your Harley Davidson mirrors were on the verge of taking a leap of faith, you're not alone. The safety and functionality of your mirrors are crucial for a smooth ride, and ensuring they are securely fastened is paramount.
But how exactly can you achieve this? Let's uncover some expert tips that can help you keep your Harley mirrors in place, giving you peace of mind as you hit the open road.
Key Takeaways
- Adjust mirror angle and secure ball tightly.
- Inspect regularly for stability and use Loctite.
- Identify loose connections and fix promptly.
- Use proper tools for tightening and test stability.
Checking Mirror Stability
To ensure your Harley Davidson mirror stays securely in place while riding, carefully adjust it to your preferred angle and confirm the mirror ball is tightly fastened. Proper adjustment is crucial for mirror stability, as vibrations from the road can cause mirrors to loosen over time. Use Loctite or a similar product specifically designed to prevent screws and bolts from coming loose. Regularly inspect the mirror to ensure it remains in the desired position and make any necessary adjustments promptly.
If despite your best efforts the mirror continues to move or can't be securely tightened, it may be time to consider replacement mirrors. In some cases, the mirror components may wear out, making it impossible to keep the mirror stable. Replacement mirrors are readily available and can be easily installed to ensure your riding experience remains safe and enjoyable. Remember, maintaining mirror stability is essential for your safety on the road, so always prioritize this aspect of your Harley Davidson.
Identifying Loose Mirror Connections
If you find that your Harley Davidson mirror isn't staying securely in place despite adjusting it carefully, the first step is to identify any loose connections in the mirror assembly. Start by checking for screws or bolts on the backside of the mirror that may need tightening. Older models might've a ball and socket joint that can be secured with loc-tite, while newer models may use hot glue for this connection.
If your mirror has hot glue, you can use a heat gun to soften it, allowing you to access the mounting mechanism. Understanding the attachment method used will help you determine the appropriate tightening or repair technique needed to secure the mirror properly.
Adjusting Mirror Position
Adjust the position of your Harley Davidson mirror by manipulating the ball and socket joint or screws to achieve your desired angle and visibility.
- Ball and Socket Joint:
- Loosen the joint by turning it counterclockwise, allowing you to adjust the mirror position.
- Once in the desired spot, tighten the joint by turning it clockwise to secure the mirror in place.
- Screws:
- If your mirror is attached with screws, use the appropriate screwdriver to loosen them slightly.
- This will enable you to pivot the mirror to the preferred angle.
- Once adjusted, tighten the screws back up to secure the mirror.
- Loc-Tite Adhesive:
- Consider using Loc-Tite adhesive to prevent the ball and socket joint or screws from loosening over time due to vibrations.
- Apply a small amount to the threads before tightening to ensure a secure hold.
Using Proper Tools for Tightening
After positioning your Harley Davidson mirror to your liking, ensure you use the appropriate size wrench or Allen key to securely tighten the mirror mount. It is crucial to have the right tools for the job to avoid any potential issues with the mirror stability while riding. Below is a table outlining key points to consider when tightening your Harley Davidson mirrors:
| Key Point | Description | Importance |
|---|---|---|
| Use proper tools | Ensure you have the correct size wrench or Allen key for the mirror mount tightening. | Essential |
| Adjust mirror position first | Before tightening, adjust the mirror ball to your desired position. | Critical for visibility |
| Apply thread-locking compound | To prevent loosening due to vibrations, consider using a thread-locking compound. | Prevents mirror slippage |
| Avoid over-tightening | Be cautious not to over-tighten the mirror mount, as it could cause damage. | Prevents hardware damage |
Testing Mirror Stability
How can you determine if your Harley Davidson mirror is stable while riding? To ensure mirror stability, follow these steps:
- Adjust the Mirror Position: Start by positioning the mirror to your preferred angle. Make sure it offers a clear view of the road behind you.
- Test at Various Speeds: Ride your Harley at different speeds, from slow to fast. Observe if the mirror holds its position without shifting or vibrating excessively.
- Check Stability During Turns: While navigating turns, pay attention to the mirror's stability. It should remain steady, providing you with a consistent view without unnecessary movements.
Conclusion
Now that you have checked, identified, adjusted, and tightened your Harley Davidson mirrors using the proper tools and techniques, it's time to test their stability.
Ensure a secure fit by giving them a gentle shake and confirming they remain in place.
Regular maintenance and attention to detail will keep your mirrors secure and functional for the long ride ahead.

