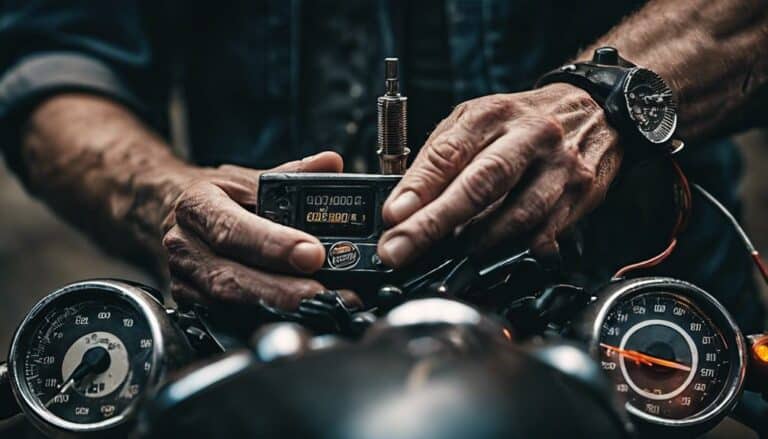
When tackling the task of testing the speed sensor on your Harley Davidson, precision is paramount.
Before you start on this diagnostic journey, there are essential steps to follow to guarantee accuracy and efficiency.
By mastering the art of measuring voltages and securing proper connections, you hold the key to revealing the mysteries of your bike's speed sensor functionality.
Stay tuned to discover the intricate details that can make all the difference in maintaining your Harley Davidson's performance.
Key Takeaways
- Speed sensor testing ensures accurate speedometer readings and prevents malfunctions.
- Use tools like a digital multimeter and MoCo speedo test tool for precise results.
- Common issues include incorrect readings, triggering warning lights, and affecting ABS systems.
- Troubleshoot by checking voltage on output wire, battery voltage, and ground connection for solutions.
Importance of Speed Sensor Testing
Ensuring the proper functioning of the speed sensor on your Harley Davidson motorcycle is a vital step in maintaining accurate speedometer readings and diagnosing potential issues.
The speed sensor plays an essential role in providing real-time data to your speedometer, allowing you to monitor your speed accurately while riding.
Regular maintenance and testing of the speed sensor are essential to prevent issues such as speedometer freezing, inaccurate readings, and even turn signal malfunctions.
Tools Required for Testing
For testing the speed sensor on your Harley Davidson, a digital multimeter for voltage testing is essential. To accurately diagnose the speed sensor, using a MoCo speedo test tool can provide precise results.
When testing, make sure to back probe the sensor output wire with the connector connected. Access to ladder charts can be highly beneficial in effectively diagnosing any speed sensor issues that may arise.
Pay close attention to obtaining proper voltage readings on the white, red, and black wires to make sure thorough testing of the speed sensor. The red wire typically carries the sensor supply voltage, the black wire is usually the ground wire, and the white wire commonly transmits the speed signal.
Step-by-Step Testing Procedure
To proceed with the step-by-step testing procedure for the speed sensor on your Harley Davidson, begin by setting your multimeter to voltage testing mode. Check for voltage toggling between 6-12 volts and 0-1 volts on the white output wire of the speed sensor. Make sure there's battery voltage present on the red wire of the speed sensor during testing.
Verify a good ground connection by testing for continuity on the black wire of the speed sensor. Look for a logic toggle on the white wire to confirm proper functionality of the speed sensor. If there's no voltage toggle or presence on the white wire, it indicates a faulty speed sensor that may require replacement.
Common Speed Sensor Issues
Speed sensor issues on Harley Davidson motorcycles commonly manifest as disruptions in speedometer accuracy and the functionality of critical safety systems. When encountering problems with the speed sensor, consider the following:
- Guarantee Speed Readings: Defective speed sensors can lead to incorrect speedometer readings, affecting your ability to gauge your speed accurately.
- Inspect Engine Light: Sudden drops or spikes in speed readings due to a malfunctioning speed sensor may trigger the inspect engine light, indicating a problem that needs attention.
- Safety System Malfunctions: ABS and traction control systems rely on accurate speed data. A faulty speed sensor can compromise these safety features, impacting your ability to brake and handle the motorcycle safely.
- Engine Stalling: Speed sensor failure can disrupt the fuel injection system, potentially causing engine stalling and other performance issues.
To prevent these issues, guarantee regular sensor maintenance, conduct wire checks during battery changes, and prioritize accurate installation.
For further insights and assistance, consider exploring older threads on relevant platforms that include forum software or purchasing through provided links for genuine parts.
Troubleshooting and Solutions
Wondering how to effectively troubleshoot and resolve speed sensor issues on your Harley Davidson motorcycle?
To begin diagnosing, use a multimeter to test the voltage on the white output wire of the speed sensor. Check that there's battery voltage on the red wire and make sure a solid ground connection on the black wire.
When testing the white wire, look for voltage toggling between 6-12 volts and 0-1 volts, indicating proper sensor functionality. If there's a lack of voltage or toggle on the white wire, it indicates a faulty speed sensor.
Follow a systematic troubleshooting procedure to effectively diagnose and resolve any speed sensor problems you encounter. If you need further guidance or information, please consider creating a new post on our site or checking the links available for additional support.
Conclusion
In summary, testing the speed sensor on a Harley Davidson is essential for the best performance and safety. By following the step-by-step procedure and using the right tools, you can easily diagnose any issues and make sure the sensor is functioning properly.
For example, a Harley Davidson owner was experiencing erratic speedometer readings, but after testing the speed sensor, they discovered a faulty ground connection which was easily fixed, restoring accurate readings.
Regular testing and maintenance will keep your Harley running smoothly.

