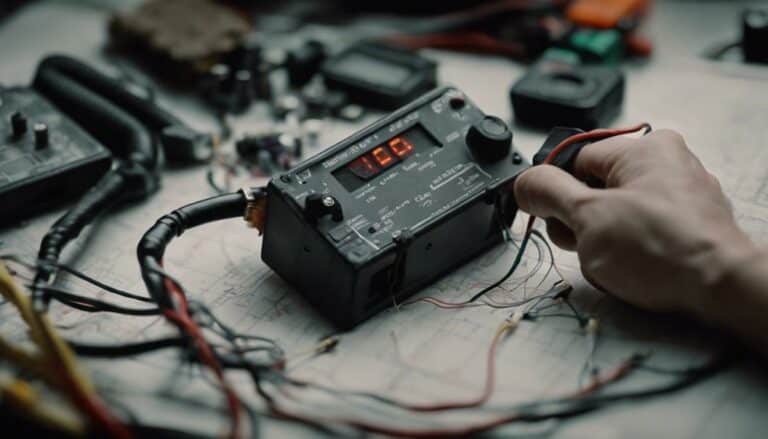
When it comes to testing a Harley Davidson MAP sensor, think of it as a crucial diagnostic step akin to uncovering a hidden puzzle piece in the engine's performance puzzle. Understanding the intricate workings of this sensor can be the key to unlocking your bike's optimal functionality.
By meticulously following a set of systematic testing procedures, you can unravel the mystery behind your MAP sensor's reliability and ensure your Harley Davidson roars to life with precision.
Stay tuned for a breakdown of essential tools and step-by-step guidelines to demystify the process and keep your ride in top shape.
Key Takeaways
- Use specialized tools like a digital multimeter and vacuum gauge
- Connect multimeter to signal wire and ground for voltage readings
- Analyze voltage changes with vacuum pressure for sensor response
- Consult professional technician for accurate testing and troubleshooting
Importance of Testing MAP Sensor
Testing the MAP sensor on your Harley Davidson is a critical step in maintaining optimal engine performance and diagnosing potential issues accurately. The MAP sensor plays a vital role in ensuring precise fuel delivery and ignition timing, two key factors that directly impact the overall efficiency and power output of your Harley. By testing the MAP sensor regularly, you can identify issues such as poor fuel economy, power loss, rough idle, and hard starting before they escalate into more significant problems. Neglecting to test the MAP sensor can result in engine performance issues and potential damage if not addressed promptly.
Proper testing methods for the MAP sensor will help you pinpoint any discrepancies in fuel delivery and ignition timing, allowing you to make necessary adjustments for optimal performance. Whether your Harley is equipped with an analog or digital MAP sensor, conducting regular tests using specialized tools is essential for accurate diagnosis. Consulting a qualified technician for MAP sensor testing is advisable to ensure precise results and effective troubleshooting, keeping your Harley running smoothly and efficiently.
Tools Required for Testing
To effectively test the MAP sensor on your Harley Davidson, ensure you have the necessary tools ready for accurate diagnostics. The following table outlines the essential tools required for testing the MAP sensor:
| Tools | Description | Use |
|---|---|---|
| Digital Multimeter | Measures voltage levels in the MAP sensor | Essential for voltage readings during diagnostic tests |
| Vacuum Gauge | Tests sensor response to pressure changes | Helps assess sensor functionality under varying pressures |
| Back Probes | Allows voltage readings during sensor operation | Facilitates real-time monitoring of voltage transitions |
| Five-Volt Reference | Confirms proper sensor operation | Consistent voltage between 4.8V and 5.2V indicates health |
| Absolute Pressure | Indicates sensor's response to pressure changes | Useful for understanding sensor behavior under pressure |
Having these tools at your disposal will enable you to conduct a comprehensive and accurate assessment of your Harley Davidson's MAP sensor.
Step-by-Step Testing Procedure
Using a back probe, identify the sensor wires for multimeter readings.
Remove the air filter box to access the MAP sensor in the intake manifold.
Connect the multimeter to the signal wire and ground, observing voltage changes as you apply vacuum pressure. Smooth voltage transitions indicate proper sensor functionality.
Release the vacuum pressure to return the sensor reading to zero and ensure a consistent five-volt reference.
Additionally, connect a vacuum gauge to the sensor to observe its response.
Utilize a scan tool for data reading or back probe directly on the signal wire to detect any voltage fluctuations during testing.
This step-by-step procedure allows you to accurately assess the MAP sensor's performance in your Harley Davidson motorcycle's fuel injection system.
Interpreting Test Results
After completing the step-by-step testing procedure on your Harley Davidson MAP sensor, the next crucial stage involves interpreting the results to ascertain the sensor's functionality accurately.
A functional Harley MAP Sensor should exhibit smooth voltage transitions, displaying consistent voltage changes corresponding to variations in vacuum pressure. Ideally, the sensor should maintain a five-volt reference within the range of 4.8 to 5.2 volts, indicating its proper operation.
Look for stable voltage fluctuations on the signal wire, as these are indicative of the sensor responding appropriately to changes in the engine's conditions. Utilizing a scan tool can provide you with detailed data readings, allowing for a more in-depth analysis of the sensor's performance.
By ensuring that the MAP sensor functions correctly, you contribute to optimal engine performance, which can lead to improved fuel economy and overall motorcycle operation.
Analyzing the test results meticulously is essential in guaranteeing the proper functioning of your Harley Davidson MAP sensor.
Troubleshooting and Next Steps
Begin by conducting a thorough inspection of the MAP sensor's wiring connections to identify any potential issues that may be affecting its performance. Here are some troubleshooting steps to help you pinpoint and resolve any problems:
- Check the fuel delivery system for any blockages or leaks that could affect manifold pressure readings.
- Inspect the electronic control unit (ECU) to ensure it's communicating effectively with the MAP sensor.
- If the check engine light is still on after testing, consider consulting a professional mechanic to further diagnose and address any underlying issues.
Conclusion
You have now successfully tested your Harley Davidson MAP sensor, ensuring optimal performance and efficiency.
By following the step-by-step procedure and interpreting the test results accurately, you can troubleshoot any issues and take the necessary next steps.
Remember, testing the MAP sensor is crucial for maintaining the overall health of your motorcycle and preventing potential malfunctions on the road.
Stay proactive and ride with confidence knowing your sensor is in proper working condition.

