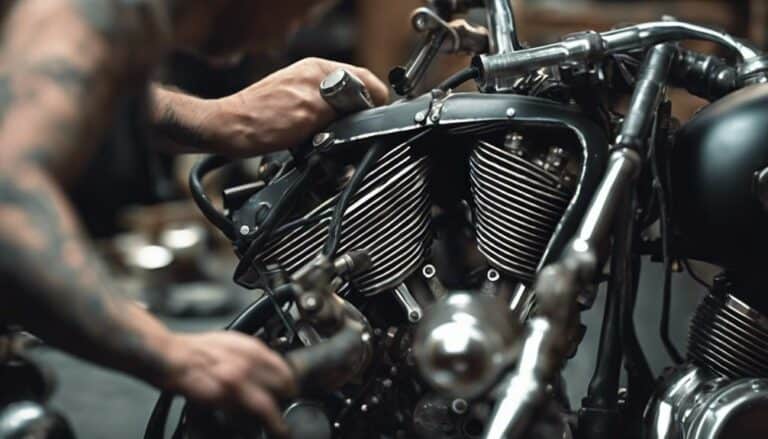
If you've ever found yourself tangled in the web of lengthy cables and housings on your Harley Davidson, fret not; there's a solution within reach.
Imagine the freedom of a smoother, more customized riding experience with just a few adjustments. By uncovering the intricacies of shortening these essential components, you can liberate a world of possibilities for your motorcycle.
So, are you ready to transform your ride into a tailored masterpiece, one cable at a time?
Key Takeaways
- Use specialized tools for precise cable shortening and maintenance.
- Measure, cut, and reattach cables carefully for optimal functionality.
- Adjust cable tension incrementally for smooth clutch operation.
- Regularly inspect, maintain, and test cables for safety and reliability.
Tools Required for Shortening Cables
To effectively shorten cables for your Harley Davidson, you'll need essential tools such as cable cutters, a cable luber tool, needle nose pliers, and a cable end crimper tool. Cable cutters or a sharp knife are essential for precise cutting of the cables.
The cable luber tool becomes necessary to re-lube the cable after cutting and reinstallation, ensuring smooth operation. Needle nose pliers aid in handling small cable components with precision during the shortening process, allowing for accuracy and control.
Additionally, the cable end crimper tool is essential for properly securing the cable ends after cutting, preventing any fraying or unraveling. Each tool plays a specific role in the cable shortening process, ensuring that your Harley Davidson functions optimally with shortened cables.
Make sure to have these tools readily available before starting the cable shortening procedure for a hassle-free experience.
Steps for Shortening Cable Length
When shortening the cable length for your Harley Davidson, start by purchasing cables specific to your bike model and year for accurate fitment. Measure the excess length that needs to be removed from the cables carefully. Mark the cable at the precise spot where it needs to be shortened.
Use a cable cutter or the appropriate cutting tool to trim the cables cleanly and accurately at the marked point. Make sure to reattach the cable ends securely, ensuring proper alignment and connection.
After shortening the cables, test them to make sure they function correctly. Adjust the cables as needed for best performance on your Harley Davidson motorcycle. Following these steps will help you shorten your cables effectively and maintain the functionality of your bike.
Tips for Cutting and Reinstalling Housings
For accurate and clean cutting of housings, utilize a cable cutter specifically designed for this purpose. When shortening housings for your Harley Davidson, follow these tips:
- Measure and Mark: Before cutting the housing, measure accurately and mark the point where the cut will be made to guarantee the proper length.
- Use a Cable Cutter: Use a cable cutter that's designed for precision cuts to ensure a clean and even cut without damaging the housing.
- Mind Sharp Edges: Be cautious of sharp edges after cutting the housing to prevent injuries while handling the cables.
- Reinstall the Housing: Make sure the housing is securely reinstalled to maintain cable integrity and functionality, preventing any issues during operation.
- Test Before Riding: After shortening the cables, test them to confirm proper operation using forum software to assist in any adjustments needed before hitting the road.
Adjusting Cable Tension and Testing
Adjust the cable tension on your Harley Davidson by turning the adjuster nut to effectively remove any slack in the clutch cable. To guarantee proper clutch engagement, squeeze the clutch lever and feel for smooth operation. It's vital to have the clutch lever set with the correct play for disengagement and engagement. Verify that the clutch disengages fully when the lever is pulled in. Adjust the tension incrementally until the clutch engages smoothly without any dragging or slipping.
Start by locating the adjuster nut on your Harley Davidson's clutch cable. Turn the adjuster nut clockwise to increase tension and counterclockwise to decrease tension. After adjusting the tension, squeeze the clutch lever multiple times to test the clutch engagement. The lever should feel firm and provide consistent feedback with each squeeze. Make any additional adjustments as needed to achieve ideal clutch performance. Regularly checking and adjusting the cable tension will help maintain the overall health and functionality of your Harley Davidson's clutch system.
Final Checks and Maintenance Recommendations
After adjusting the tension on your Harley Davidson's clutch cable, the next step involves conducting a thorough inspection of all connections for proper alignment and secure tightening in the process of shortening the cables. Make sure that you follow these final checks and maintenance recommendations:
- Check all connections for tightness and alignment to prevent any issues while riding.
- Inspect the newly shortened cables for any signs of fraying or damage that may affect performance.
- Apply lubrication to the cables to maintain smooth operation and increase their lifespan.
- Test the functionality of both the clutch and throttle cables post-adjustment for best performance.
- Regularly inspect and maintain the shortened cables to guarantee safety and longevity during your rides.
Conclusion
Now that you have successfully shortened the cables and housings on your Harley Davidson, you're ready to hit the road with confidence.
Remember, precision and attention to detail are key in ensuring best performance of your motorcycle.
By following the steps outlined and utilizing the right tools, you have taken a critical step in customizing your ride to fit your needs perfectly.
Enjoy the smoother and more efficient operation of your Harley Davidson!

