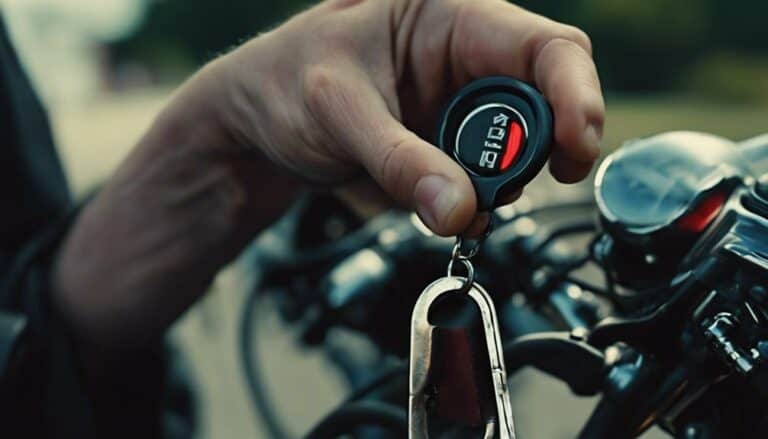
If you find yourself in a situation where you need to reset the code on your Harley Davidson, there are steps you can take to navigate this process smoothly. Understanding the intricacies of your bike's diagnostics can be a valuable skill to possess, especially when troubleshooting issues that may arise unexpectedly.
By following a few simple guidelines, you can gain more control over these technical aspects and ensure your Harley is running at its best. But remember, the devil is in the details, and mastering this procedure could make all the difference in your riding experience.
Key Takeaways
- Access modules like ECM, BCM, Speedo, ABS, and Radio for diagnostic trouble codes.
- Hold odometer button while powering on to initiate code reset.
- Verify successful reset by checking modules for remaining error codes.
- Troubleshoot persistent codes by checking connections and seeking professional help if needed.
Obtaining Diagnostic Trouble Codes
To obtain Diagnostic Trouble Codes (DTCs) on your Harley Davidson, simply hold down the odometer button while powering on the instrument cluster. Once initiated, the gauges will perform a self-check by moving right and then left, with 'Diag' or 'Diagnostic' appearing on the display. By tapping the odometer button, you can cycle through different modules such as ECM, BCM, Speedo, ABS, and Radio to check for specific error messages.
Understanding these error messages is crucial for interpreting fault codes accurately. When 'Yes' appears, holding the button will reveal the specific code related to the module being checked. This code can then be cleared by repeating the button-holding process.
Interpreting fault codes in each module is essential for efficient troubleshooting and ensuring that all systems on your motorcycle are operating as intended. This knowledge empowers you to address potential issues promptly, maintaining the optimal performance of your Harley Davidson.
Accessing the Reset Procedure
Initiate the reset procedure on your Harley Davidson by holding down the odometer button and powering on the bike. As the gauges sweep right and left, release the odometer button when 'Diag' or 'Diagnostic' displays.
Through this menu, you can access various modules like ECM, BCM, Speedo, ABS, and Radio. Use the odometer button to tap, hold to view error codes, and hold again to clear them. Remember, when clearing codes for each module, hold to view the code, hold to clear it, then release. Repeat this process until all modules show as clear.
This method is essential for resetting maintenance reminders and understanding error code meanings. If any codes persist even after clearing them, delve deeper into troubleshooting and address any persisting issues. Seek professional assistance if needed to ensure your Harley Davidson is in optimal condition and free from any lingering errors.
Performing the Code Reset
When preparing to perform the code reset on your Harley Davidson, ensure the 'Diag' or 'Diagnostic' message appears on the display by holding down the odometer button and turning the switch. Once you have accessed the diagnostic menu, tap the odometer button to check modules such as ECM, BCM, Speedo, ABS, and Radio for any error codes. To interpret the error codes, hold the odometer button to view them and clear as needed. After clearing the codes, release the button and tap to move on to the next module for further inspection and potential resetting.
Repeat this process for each module to ensure all codes are addressed, resetting the system for optimal performance.
If you encounter persistent error codes, utilize troubleshooting techniques to delve deeper into the issues at hand. Investigate unresolved problems thoroughly and consider seeking professional assistance if necessary to resolve any lingering concerns. By following these steps diligently, you can effectively reset the codes on your Harley Davidson and ensure smooth operation.
Verifying Code Reset Success
Upon completing the code reset on your Harley Davidson, confirm the success by cycling through modules and ensuring no 'No' indication is displayed. Follow these steps to verify the code reset:
- Check ECM Module: Begin by checking the Engine Control Module (ECM) to ensure that no error codes are present.
- Inspect BCM Module: Proceed to inspect the Body Control Module (BCM) for any remaining codes that may need to be cleared.
- Examine Speedo and ABS Modules: Verify that both the Speedometer (Speedo) and Anti-lock Braking System (ABS) modules show no active error codes.
- Review Radio Module: Lastly, review the Radio module to confirm that all codes have been successfully reset.
Troubleshooting Persistent Codes
To address persistent codes on your Harley Davidson, thoroughly investigate for loose wires, throttle malfunctions, and decode the specific meanings of the lingering codes. When troubleshooting, it's crucial to understand the code interpretation and employ effective techniques to resolve the issues. Here is a table outlining steps for troubleshooting persistent codes:
| Troubleshooting Techniques | Description |
|---|---|
| Check for Loose Wires | Inspect all wiring connections for any signs of disconnection. |
| Throttle Malfunctions | Test the throttle response to ensure proper functioning. |
| Code Interpretation | Research the specific meanings of the codes to pinpoint issues. |
| Professional Assistance | Seek help from experts if codes persist despite troubleshooting. |
Conclusion
In conclusion, mastering the art of resetting codes on a Harley Davidson is like unlocking the hidden language of your machine. Once you've navigated through the diagnostic process and successfully cleared any lingering codes, you'll feel a sense of accomplishment like no other.
Embrace the challenge, conquer the codes, and ride on with confidence knowing you've tamed the technological beast within your Harley.

