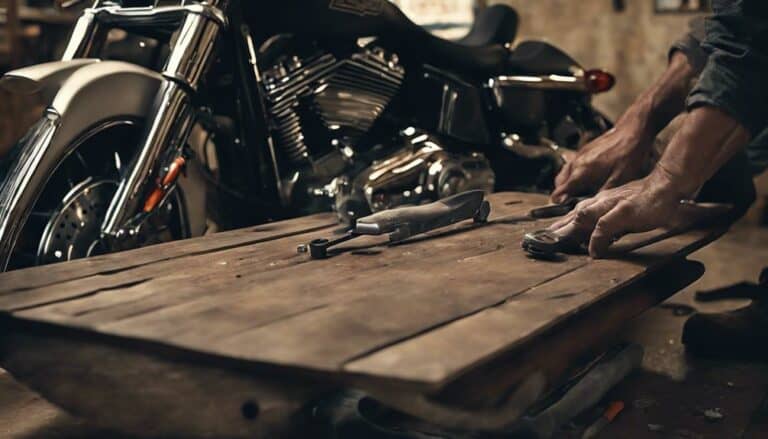
When it comes to replacing footboard covers on your Harley Davidson, think of it as giving your bike a fresh set of shoes. The process may seem straightforward, but there are nuances that can make a significant difference.
From choosing the right tools to ensuring a secure fit, each step plays a crucial role in the outcome. Stay tuned to discover the insider tips that will elevate your footboard cover replacement game and keep your Harley looking sharp.
Key Takeaways
- Remove old cover carefully, clean footboard, and inspect for damage.
- Prepare new cover by cleansing surface, checking for alignment markings, and lubricating rubber tabs.
- Install new cover securely with proper drilling, rubber inserts, and lubricant for easier fitting.
- Test cover alignment, durability, and attachment under riding conditions for longevity and performance.
Removing the Old Footboard Cover
To begin the process of replacing the footboard cover on your Harley Davidson, start by using a screwdriver to carefully remove the screws securing the old cover in place. Make sure to keep track of all the screws to prevent any from getting lost. Once the screws are out, gently pry the old cover off the footboard. Be cautious not to damage the footboard during this step.
After successfully removing the old cover, take the time to clean the footboard surface thoroughly. This cleaning step is crucial to prep the footboard for the installation of the new cover. Ensure that there's no debris or residue left behind that could affect the adhesion of the new cover.
As you clean, inspect the footboard for any signs of damage or wear that may require attention before installing the new cover. Addressing any issues now will help guarantee a smooth and secure fit when you proceed to put on the new footboard cover.
Preparing the New Footboard Cover
Cleanse the footboard surface meticulously to eliminate any dirt or debris present. Ensure the area is free of any contaminants that could affect the adhesion of the new footboard cover. Check the new cover for any pre-drilled holes or alignment markings that will assist in positioning it correctly. Applying a small amount of lubricant to the rubber tabs on the cover will aid in the insertion process. Verify that you have all the necessary hardware and tools ready for the installation. Double-check the drill size required for the screws and use a center punch to mark the spots for drilling to ensure accuracy. Below is a table detailing the steps for preparing the new footboard cover:
| Step | Description | Tools Required |
|---|---|---|
| Clean Surface | Remove dirt and debris from footboard | Clean cloth |
| Check Alignment | Ensure cover matches existing footboard | Visual inspection |
| Lubricate Tabs | Apply lubricant to rubber tabs for insert | Lubricant |
| Verify Hardware | Ensure all necessary screws are available | Screwdriver, screws |
| Mark Drill Spots | Use center punch to mark screw locations | Center punch, drill |
Installing the New Footboard Cover
When installing the new footboard cover on your Harley Davidson, carefully position the cover over the footboard and secure it with two self-tapping screws.
- Use the Correct Drill Size:
Begin by using a drill to create two 5/32nds inch holes for installation. This ensures the screws fit securely without damaging the footboard cover or the footboard itself.
- Keep Rubber Inserts Intact:
While positioning the cover, ensure the rubber inserts are in place. These inserts not only provide cushioning but also help in securing the cover firmly in its place.
- Consider Dish Soap Lubricant:
To ease the installation process, consider using dish soap as a lubricant. This will make it simpler to slide the cover into place without causing any unnecessary resistance.
Testing the Footboard Cover
Ensure the footboard cover is correctly positioned over the footboard to begin the testing process for proper alignment and secure attachment. Check that the screw holes on the cover align perfectly with the holes on the footboard, facilitating an easy installation process.
Make sure the cover sits flush against the footboard without any gaps or misalignment, ensuring a seamless appearance. Confirm that the cover securely attaches to the footboard by gently applying pressure to test its durability under normal use conditions.
This step is crucial to guarantee that the footboard cover remains in place and doesn't shift or move during regular riding. By conducting these tests, you can ensure that your footboard cover is installed correctly and will withstand the demands of your Harley Davidson motorcycle.
Tips for Maintaining Footboard Covers
After ensuring the proper alignment and secure attachment of your footboard cover, maintaining it's crucial for longevity and performance. To keep your Harley Davidson footboard covers in top condition, consider the following maintenance tips:
- Use Lubricant: When installing rubber footboard tabs, use dish soap or alcohol as a lubricant for easier insertion and to prevent damage.
- Protect Rubber Inserts: Keep the rubber inserts intact during installation to preserve the functionality of the footboards and ensure a proper fit.
- Apply Threadlock: Enhance the security of your footboard covers by applying threadlock on screws to prevent them from loosening over time.
Conclusion
Now that you have successfully replaced the footboard covers on your Harley Davidson, you can enjoy a fresh new look and enhanced durability.
Remember, proper installation is key to a secure fit and long-lasting performance.
For example, John from California followed these steps and noticed a significant improvement in the overall appearance of his bike.
So, don't hesitate to upgrade your footboard covers and elevate your riding experience today!

