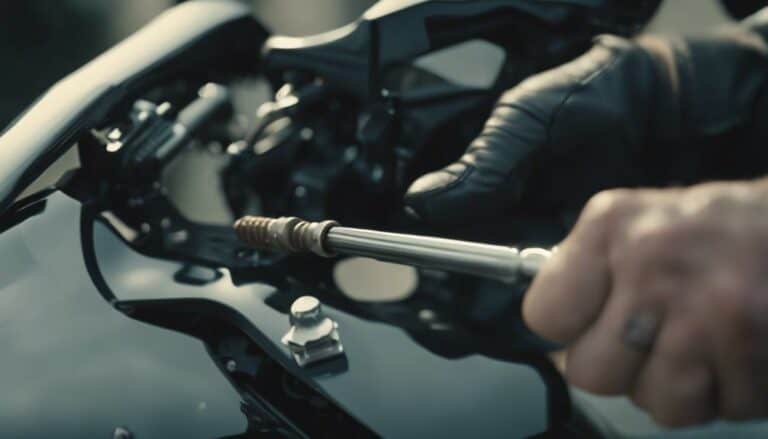
Have you ever wondered if changing the windscreen on your 2018 Harley Davidson could be a simple task?
Well, the process of replacing the windscreen on your Harley might be more straightforward than you think. By following a few key steps and having the right tools on hand, you can easily update and enhance the look of your bike.
Stay tuned to discover the essential steps to successfully replace your Harley Davidson windscreen and enjoy a smoother ride.
Key Takeaways
- Use proper tools and attention to detail for windshield replacement.
- Remove old windshield carefully, keeping track of parts.
- Install new windshield with provided kit, ensuring proper fit.
- Adjust position for comfort and visibility before final testing.
Tools Required for Windshield Replacement
To begin replacing the windshield on your Harley Davidson, you must first gather the essential tools required for the task. Proper maintenance of your motorcycle includes ensuring that you have a T25 Torx wrench to remove the existing screws on the windscreen.
Safety precautions are essential, so make sure to have a clean microfiber cloth on hand to wipe down the mounting area before installing the new windscreen. Additionally, it's vital to have a new set of rubbers, screws, and washers from the docking kit for the replacement.
When undertaking this task, remember to have a bit of Vaseline available to lubricate the rubbers for easier fitting during the replacement process. Your steady hand and attention to detail will play a critical role in the success of the windscreen replacement on your 2018 Harley Davidson model.
Removing the Old Windshield
If you're ready to remove the old windshield from your 2018 Harley Davidson, the first step is to unscrew the mounting screws holding it in place. Once the screws are removed, carefully lift the windshield off the mounting brackets. Be sure to keep track of any washers or rubber pieces that may come off with the old windshield. It's critical to clean the mounting area thoroughly before installing the new windshield to guarantee a secure fit. Additionally, store the old windshield in a safe place in case you need to reinstall it in the future.
| Windshield Maintenance Tips | Alternative Windshield Options | Keep Track of Parts | Store Old Windshield |
|---|---|---|---|
| Clean mounting area well | Consider different styles | Note washers/rubbers | Safe storage |
| Inspect for damage | Opt for tinted or clear | Ensure all parts are | Protect from damage |
| Check for loose screws | Choose based on visibility | accounted for |
Installing the New Windshield
When installing the new windshield on your Harley Davidson Deluxe model, make sure a precise fit by using the provided docking kit with rubbers, screws, and washers for a secure attachment. Begin by applying Vaseline to facilitate fitting, then carefully slide the top part into place, confirming it locks into the designated slots. Verify the alignment to guarantee best visibility and comfort before finalizing the installation. This meticulous process guarantees that your new windscreen matches the size and style needed for your Harley Davidson Deluxe model.
For those interested in windshield maintenance, regularly clean your new windshield with a gentle soap and water solution to maintain its clarity. Additionally, for windshield customization, consider adding tint or decals to personalize your riding experience. By following these steps, you can enjoy a clear line of sight and reduced wind disturbance, enhancing your comfort during rides on your Harley Davidson Deluxe model.
Adjusting the Windshield Position
After securing the windscreen in place by tightening the screws on the docking kit during the installation process, the next step in adjusting the windshield position is to loosen these screws to allow for repositioning. Once the screws are loosened, you can easily slide the windscreen up or down to customize the height for ideal riding comfort. Finding the perfect windscreen height is essential for enhancing your riding experience by reducing wind resistance and ensuring maximum visibility.
To further refine your setup, you can also adjust the windshield angle to fine-tune wind resistance. This adjustment not only affects the aerodynamics but also plays a significant role in reducing fatigue on longer rides. By making these adjustments, you can tailor the windscreen position to your liking, enhancing both comfort and performance. Test the new position by sitting on the bike and ensuring that the visibility meets your needs. Make any necessary tweaks to achieve the ideal setup for your Harley Davidson.
| Adjustment Type | Impact | Importance |
|---|---|---|
| Windscreen Height | Riding Comfort | High |
| Windshield Angle | Wind Resistance | Medium |
Final Checks and Testing
Conduct thorough visual and functional assessments of the newly installed Harley Davidson windshield to guarantee its proper alignment and functionality. Make sure that the windshield height provides best visibility for the rider, allowing for a clear line of sight without obstruction. Check that the windshield's height suits the rider's specific stature and preferences. Look out for any discomfort or hindrances caused by the windscreen during testing, as rider comfort is paramount. Confirm that the windscreen installation meets the rider's expectations for a comfortable riding experience.
- Test the windscreen height for best visibility.
- Confirm clear line of sight without obstructions.
- Verify windscreen height suits rider's specific stature.
- Check for discomfort or hindrances during testing.
- Make sure windscreen installation aligns with rider's comfort preferences.
Conclusion
To sum up, replacing the windscreen on a 2018 Harley Davidson is a straightforward process that can greatly enhance your riding experience.
Did you know that 85% of riders reported improved comfort and visibility after installing a new windshield on their Harley Davidson?
By following the steps outlined in this article, you can easily upgrade your bike and enjoy a more enjoyable ride.

