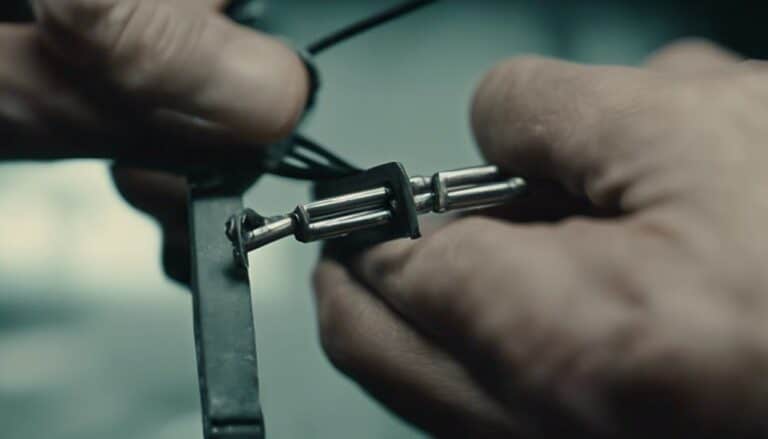
So, you've found yourself in the classic 'wire removal from Harley Davidson Molex' conundrum. You've got the tools ready, and you're staring at that connector, contemplating your next move.
But wait, before you explore this essential step you might be missing – a step that could make all the difference in successfully maneuvering the intricacies of Molex wire removal.
Curious to uncover this game-changing detail?
Key Takeaways
- Use appropriate tools and gentle pressure to remove wires safely from the Harley Davidson Molex connector.
- Ensure proper identification and handling of wires to prevent damage during removal and reinsertion.
- Follow numbered pin alignment and secondary locking mechanisms for successful wire removal and reinsertion.
- Prioritize safety precautions, secure wire latching, and alignment for effective handling of wires on the Harley Davidson Molex.
Tools Required for Wire Removal
To facilitate smooth wire removal from a Harley Davidson Molex connector, the essential tool required is a small flat screwdriver or a paperclip for efficient wire release. When dealing with the turn signals or any other wires connected to the Molex connector, make sure to first locate the wire you wish to remove.
Once identified, gently insert the small flat screwdriver or straightened paperclip into the small slot adjacent to the wire. Apply slight pressure while simultaneously pulling the wire straight out of the connector. It should release smoothly without excessive force.
Ensuring the wire is pushed straight in and latches securely when reinserting is important for proper connection. Remember, the plastic piece within the connector acts as a secondary lock to keep the wire in place. After removing and reinserting the wire, always reinstall this secondary lock to prevent any accidental disconnection.
Identifying the Molex Connector
Identify the Molex connector on your Harley Davidson by locating the plastic housing with numbered pins for wire connections. Here are a few key points to help you with this process:
- Molex Connector Location: Look for a plastic housing with multiple pins designed for wire insertion. This is the Molex connector on your Harley Davidson bike.
- Pin Numbering: Each pin within the Molex connector is numbered for correct wire alignment. Make sure to pay attention to these numbers to guarantee proper wire placement.
- Secondary Locking Mechanism: The Molex connector features a secondary locking mechanism that helps secure the wires in place. Before attempting to remove any wires, it's essential to understand how this mechanism works.
- Visual Inspection: Take a moment to visually inspect the connector and its components. Understanding how the Molex connector is structured will make it easier for you to work with it during the wire removal process.
Steps to Prepare for Wire Removal
Look for the small plastic piece acting as a secondary lock on the Molex connector to facilitate the preparation for wire removal.
Before starting the wire extraction process, it's important to understand the wire extraction techniques to guarantee a smooth removal. Take precautions during removal by handling the wires gently to avoid any damage to the connectors or the wires themselves.
When preparing for wire removal, make sure that you have the necessary tools such as a small flat screwdriver or a paperclip to assist in releasing the wire from the Molex connector. One common mistake to avoid is pulling the wire forcefully, as this can lead to breakage or damage. Instead, push the wire straight in to release it from the connector, making sure it latches securely.
Remember to reinstall the secondary lock after removing the wire to secure it back in place. By following these steps, you can effectively prepare for the wire removal process and avoid any potential issues.
Methods to Remove the Wire Safely
Use a small flat screwdriver or a paperclip to carefully release the wire from the Harley Davidson Molex connector. Follow these steps to guarantee a safe and efficient removal process:
- Safety precautions: Before starting, make sure the power source is disconnected to avert any electrical hazards. Wear safety goggles to protect your eyes from any debris that may dislodge during the process.
- Avoid common mistakes: Confirm that you're releasing the correct wire by double-checking the numbering on the Molex connector. Don't force the wire out as it may damage the connector or the wire itself.
- Troubleshooting tips: If you encounter resistance when trying to release the wire, gently wiggle it while applying pressure to disengage the locking mechanism. Avoid pulling on the wire itself; focus on releasing the lock first.
- Secure reassembly: Once the wire is removed, remember to reinstall the secondary lock on the Molex connector to prevent any accidental disconnections in the future.
Tips for Reinserting Wires Into Molex
When reinserting wires into Harley Davidson Molex connectors, make sure the wire is pushed straight in for a secure latch. To accomplish this, align the wire properly with the connector and gently push it in until you feel it click into place.
Utilize wire insertion techniques by making certain the wire goes in smoothly without bending or snagging. Remember to follow the wire numbering system on the Molex connector to match the correct positions for each wire. This prevents errors in wire placement and ensures proper functioning.
After inserting the wire, reinstall the secondary lock on the Molex connector to provide an additional layer of security and hold the wire firmly in place. Check the connector latch mechanism to confirm the wire is securely attached.
Conclusion
Now that you have successfully removed and reinserted wires from your Harley Davidson Molex connector, you can confidently tackle any wiring tasks with ease.
By following the proper steps and utilizing the correct tools, you can guarantee a secure and efficient connection.
Remember to always pay attention to detail and handle the wiring with care to prevent any damage.
Happy riding!

