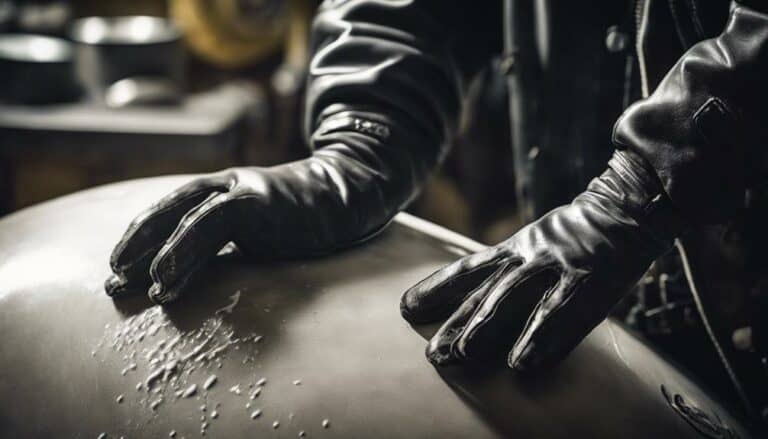
If you've heard that removing surface scratches on your Harley Davidson is a challenging task, you might be surprised to discover that there are effective methods available to tackle this issue.
By understanding the correct techniques and utilizing the appropriate products, you can restore your motorcycle's paint to its former glory.
Stay tuned to uncover the secrets to achieving a flawless finish and enhancing the aesthetics of your beloved Harley Davidson.
Key Takeaways
- Assess scratch depth to determine required treatment
- Use motorcycle paint-specific polishing compound
- Apply compound with gentle pressure in small sections
- Finish with high-quality wax for paint protection
Assessing the Scratch Severity
To accurately assess the severity of surface scratches on your Harley Davidson, start by running your fingernail over the affected area to determine if it catches, indicating potential depth that may require specific treatment methods. Light surface scratches that are detectable by touch but not clearly visible can often be remedied with a gentle polishing compound.
However, if the scratch is deep enough to reveal the primer or metal beneath the paint, it may be best to seek professional assistance or consider touch-up paint for a more thorough repair.
Examining the scratch under various lighting conditions is important for a complete evaluation, as different light angles can reveal varying degrees of damage. Understanding the depth of the scratch is essential in selecting the appropriate products and techniques for effective removal, ensuring that you address the issue accurately without causing further harm to your Harley Davidson.
Choosing the Right Polishing Compound
Consider selecting a polishing compound specifically formulated for motorcycle paint, such as the Genuine Harley-Davidson Paint Polish, to effectively address surface scratches on your Harley Davidson.
When choosing a compound, opt for one designed to remove fine scratches and swirls on clear coat finishes without causing further damage. Look for a product with non-rigid abrasives for efficient paint correction while maintaining the integrity of your bike's paint. To minimize environmental impact, opt for a biodegradable compound that restores the glossy finish without harming the surroundings.
Prioritize a polishing compound that adjusts its abrasiveness as it's buffed, ensuring a beautiful shine on your Harley-Davidson. By carefully considering compound selection, you can achieve the desired paint correction, scratch removal, and glossy finish while being mindful of the environment.
Next, let's delve into the technique of applying the chosen polishing compound for optimal results.
Applying the Polishing Compound
When applying the polishing compound to your Harley Davidson to remove surface scratches, make sure to use a small amount on a clean, soft cloth or polishing pad. To achieve the best results and guarantee the safety of your motorcycle's paint, follow these guidelines:
- Proper Technique: Apply the compound in a gentle manner, starting with light pressure and gradually increasing as needed to work out the scratches.
- Common Mistakes: Avoid using too much compound, as this can lead to excess build-up and potential damage to the paint. Additionally, using a dirty cloth or pad can introduce new scratches instead of removing existing ones.
- Expert Tips: Work in small sections at a time to focus your efforts and prevent the compound from drying out before you can buff it properly. Lastly, always follow up with a clean cloth to wipe off any remaining compound residue for a smooth finish.
Buffing Out the Surface Scratches
Applying Harley-Davidson Scratch Remover in circular motions with a clean microfiber cloth is the next step to effectively buff out the surface scratches on your motorcycle's paint. When addressing surface scratches, it is essential to assess the scratch depth to determine the appropriate buffing technique. Begin by ensuring the surface is clean and dry to prevent any further damage. Using the scratch remover gently at first and gradually increasing pressure as needed will help eliminate the scratches without compromising the paint protection.
To enhance the understanding of this process, refer to the table below for a clear overview:
| Scratch Depth | Paint Protection | Buffing Technique |
|---|---|---|
| Shallow | Yes | Gentle Pressure |
| Moderate | Yes | Moderate Pressure |
| Deep | Yes | Firm Pressure |
| Superficial | Yes | Circular Motion |
| Extensive | Yes | Gradual Increase |
Final Touches and Protection
For best protection of the paint surface on your Harley Davidson motorcycle, the application of a high-quality wax or sealant is highly recommended after completing the scratch removal process. To make certain your motorcycle's finish remains in top condition, follow these final touches and protection steps:
- Regularly wax your motorcycle to maintain a glossy finish and prevent future scratches.
- Use a microfiber cloth for the final buffing process to achieve a smooth and streak-free shine.
- Inspect the paint under different lighting conditions to identify any missed imperfections before finalizing the restoration.
- Follow up with a quality detailing spray to add an extra layer of protection and enhance the overall shine of the paint.
Conclusion
Congratulations on successfully removing those pesky surface scratches from your prized Harley Davidson! Your attention to detail and choice of polishing compound have paid off, leaving your bike looking better than ever.
Just remember, the next time you go for a ride, try to avoid any unwanted encounters with abrasive surfaces. After all, a scratch-free Harley is a happy Harley.
Ride on!


I just received my new trike rear body from Harley, painted of course. How long do I need to wait until I can polish/wax that body?
Hey Bob, congrats on the new trike body! 🎉
For fresh paint from the factory, it’s best to wait at least 30 days before applying polish or wax. This gives the paint and clear coat time to fully cure. In the meantime, you can wash it gently with mild soap and water.
Ride safe!
– Sean