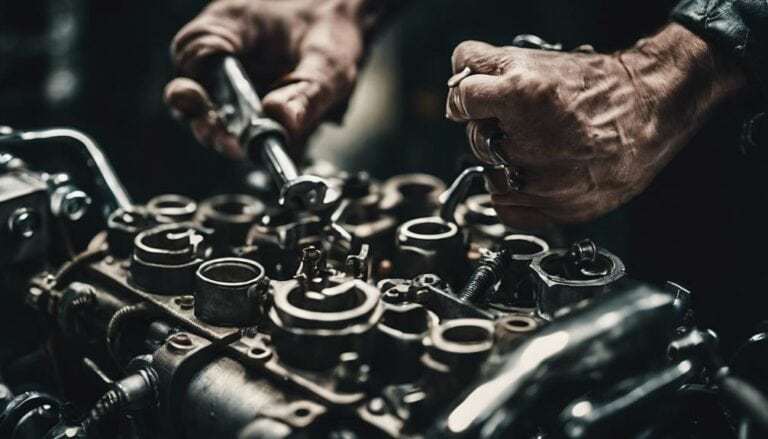
When facing a stuck jet in your Harley Davidson carburetor, attempting to remove it can feel like trying to untangle a knot in a chain. The process requires finesse and the right tools to avoid causing any harm.
However, before diving into the extraction method, it's essential to understand the potential risks involved and how to mitigate them effectively.
By following the steps outlined below, you can navigate this challenging task with confidence and precision, ensuring a successful resolution without compromising the carburetor's integrity.
Key Takeaways
- Use the correct size screw extractor for secure jet removal.
- Apply penetrating oil and work carefully to avoid carburetor damage.
- Inspect jets for wear, replace if needed, and reassemble with precision.
- Double-check all connections and fittings before reassembling the carburetor.
Tools Required
To successfully remove a stuck jet from a Harley Davidson carburetor, you'll need a specific tool known as a screw extractor. These extractors are designed to grip onto the stuck jet securely, allowing you to apply the necessary force for extraction without causing damage to the carburetor or the jet itself. The hardened metal construction of screw extractors ensures that they can withstand the pressure involved in removing a stuck jet.
When selecting a screw extractor, make sure to choose one that's appropriate for the size of the jet you're dealing with. Using the wrong size extractor can lead to further complications and potentially damage the jet.
Once you have successfully removed the stuck jet, it's crucial to inspect it for any signs of wear or damage. If the jet appears to be in poor condition, it's advisable to replace it with a new one to ensure optimal performance of your Harley Davidson carburetor.
Preparation Steps
Ensure the Harley Davidson carburetor is safely disconnected from the motorcycle before proceeding with the preparation steps to remove the stuck jet.
- Penetrating oil application, Safety precautions:
Before starting, apply penetrating oil to the stuck jet and allow it to sit for a while to help loosen it. Ensure you wear appropriate safety gear such as gloves and goggles to protect yourself from any harmful substances.
- Cleaning procedure, Lighting requirements:
Thoroughly clean the area around the stuck jet using a rag to prevent any debris from falling into the carburetor. Work in a well-lit environment or use a flashlight to ensure you can see clearly and perform the task accurately.
- Ventilation needs, Debris prevention:
Work in a well-ventilated area to avoid inhaling any fumes from the penetrating oil. Cover the carburetor openings with clean rags or tape to prevent any dirt or debris from entering during the removal process.
Jet Removal Process
When removing a stuck jet from a Harley Davidson carburetor, utilizing the correct tools and techniques is crucial for successful extraction. To begin, ensure you have a screw extractor on hand before proceeding. Carefully drill a small hole in the center of the stuck jet. Then, gently tap the extractor into the hole until it grips the jet securely. Slowly turn the extractor counterclockwise to loosen and remove the stuck jet from the carburetor. It's essential to proceed with caution to avoid causing any damage to the carburetor during this process.
Using the right extractor, such as one with a square head, can make the jet removal process more manageable and efficient. By following these steps, you can effectively address stuck jets in your Harley Davidson carburetor, ensuring proper maintenance and optimal performance. Remember, proper carburetor cleaning and maintenance tips are essential for troubleshooting techniques and keeping your motorcycle running smoothly.
Troubleshooting Tips
For effective troubleshooting when dealing with a stuck jet in a Harley Davidson carburetor, identifying the specific type of carburetor is paramount to determine the most suitable removal approach. Here are some troubleshooting tips to assist you in this process:
- Common Mistakes: Avoid using excessive force when trying to remove the stuck jet, as this can cause damage to the carburetor. Additionally, be cautious not to strip the jet's head, making it even harder to extract.
- Alternative Methods: If tapping and penetrating oil are ineffective, consider using a small torch to heat the area around the stuck jet slightly. This method may help break down any corrosion holding the jet in place.
- Troubleshooting Advice: Consult the Harley Davidson service manual to understand the specific carburetor model you're dealing with. If you encounter significant difficulty, seek professional assistance to prevent further complications.
Reassembling the Carburetor
To reassemble the carburetor after cleaning and inspecting all components, carefully position and secure the jets back into their designated locations. Make sure the jets are clean and free of any obstructions before placing them back into the carburetor. Utilize the appropriate tools to gently tighten the jets, ensuring they're snug but not over-tightened to prevent damage. Pay close attention to the alignment of all components as you reassemble the carburetor to avoid any issues once the process is complete.
Common mistakes during reassembly include forcing components together, which can lead to misalignment or damage. Take your time and be methodical in the reassembly process to prevent any errors. Double-check all connections and fittings to guarantee everything is properly seated before finishing the reassembly. By following these steps diligently, you can ensure that the carburetor is correctly reassembled and ready for optimal performance.
Conclusion
In conclusion, extracting a stuck jet from a Harley Davidson carburetor is like delicately untangling a stubborn knot. With the right tools and technique, the process can be smooth and precise, ensuring the carburetor is in top condition.
Remember, patience and precision are key when working on intricate parts like jets. Trust in your skills and tackle the task with confidence to keep your Harley running smoothly.

