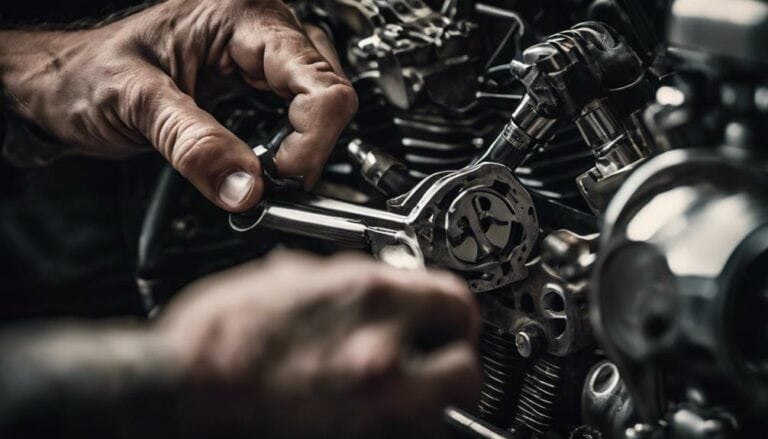
When tackling the task of removing a piston from your Harley Davidson Evolution engine, it's like unraveling a complex puzzle within the heart of your machine. The process demands precision and a steady hand, ensuring each step is executed with care.
As you embark on this journey of disassembly, the intricate inner workings of your engine will reveal themselves, inviting you to uncover the secrets held within. Discover how each component plays a crucial role in the harmonious symphony of your bike's power and performance, guiding you towards a deeper understanding of its mechanical prowess.
Key Takeaways
- Secure cylinders and lower rear cylinder for access.
- Use appropriate tools and rags to prevent damage.
- Follow bolt removal sequence and label components.
- Inspect piston, cylinder, and walls for wear.
Preparing the Engine for Piston Removal
Before you begin removing the pistons from the Harley Davidson Evolution engine, it's crucial to securely fasten the cylinders to prevent any potential damage during the removal process. A lot of people overlook this step, leading to costly repairs later on.
Make sure to use proper tools and techniques to carefully lower the rear cylinder to the right angle for easier removal from the studs, especially in soft tail frames like Fat Boy. When tackling the front cylinder, take precautions by stuffing rags around the rod to avoid small parts from falling into the engine, which can cause significant issues.
Wrapping rags around the studs is also essential as it safeguards reusable parts and prevents them from getting lost during the piston removal process. Pay close attention to details such as snap rings and wrist pins, utilizing appropriate tools to avoid complications and ensuring the pistons are extracted without incurring any damage.
Removing the Cylinder Head and Cylinder
To proceed with removing the cylinder head and cylinder from the Harley Davidson Evolution engine, carefully follow the specific sequence for loosening and removing the head bolts to prevent any potential damage. Begin by inspecting the cylinder head for any signs of damage or wear. Once confirmed, you can move on to the head bolt removal process. Properly loosen and remove the head bolts in a crisscross pattern to ensure even pressure release. After the cylinder head is off, take a moment to assess the condition of the cylinder walls to prevent any unintentional scratches or damage during removal. Organize and label the components as you remove them to ease reassembly later on. Here is a visual representation to guide you through the process:
| Left Column | Right Column |
|---|---|
| 1. Inspect Cylinder Head | 2. Remove Head Bolts |
| 3. Lift off Cylinder Head | 4. Assess Cylinder Walls |
| 5. Label and Organize Components |
Extracting the Piston Pin
When extracting the piston pin from a Harley Davidson Evolution engine, utilize a wrist pin removal tool designed explicitly for this task.
Before beginning, ensure that the piston pin is well lubricated to ease the extraction process.
Safety precautions are crucial, so wear protective gear like gloves and safety glasses.
To troubleshoot any resistance, gently tap the wrist pin out of the piston using a soft-faced hammer, ensuring you don't damage any components.
Make sure the piston pin is completely free of obstructions before attempting to remove it.
Once the pin is fully extracted, carefully slide it out of the connecting rod and piston.
Store the removed piston pin in a secure place to prevent any misplacement or damage before reassembly.
Sliding Out the Piston
Carefully extract the piston from the Harley Davidson Evolution engine by sliding it out of the cylinder, ensuring proper maneuvering past the rings and cylinder walls. When sliding out the piston, follow these key techniques:
- Remove the circlip from the wrist pin using appropriate tools to release the piston from the connecting rod.
- Push the wrist pin out of the piston carefully to separate the piston from the connecting rod.
- Slide the piston out of the cylinder while ensuring the piston rings are properly compressed to facilitate smooth removal without damaging the cylinder walls.
- Handle the piston with care to avoid any scratches or damage during the removal process.
Inspecting the Piston and Cylinder Walls
Inspect the piston and cylinder walls for wear, damage, scuffing, or any irregularities that could affect engine performance. Start by checking the piston condition for signs of wear, such as scoring, scratches, or abnormal wear patterns. Analyze the wear patterns to determine if there are any underlying issues with the engine's operation. Measure the piston diameter accurately to ensure it's within specifications, as deviations can lead to compression problems or increased oil consumption. Pay close attention to any carbon buildup or debris on both the piston and cylinder walls, as these can impact engine efficiency.
Moving on to the cylinder walls, look for any scoring, scratches, or abnormal wear patterns that could hinder the piston's movement. Ensure the cylinder walls are smooth and free of pitting or damage, as these can result in oil leaks or reduced engine performance. By meticulously inspecting the piston and cylinder walls, you can identify potential issues early on and maintain optimal engine functionality.
Conclusion
In conclusion, remember that a stitch in time saves nine when it comes to removing a piston from a Harley Davidson Evolution engine.
By following the proper steps and taking care during the process, you can ensure the longevity and performance of your engine.
Pay attention to detail, use the right tools, and inspect all components for optimal results.
Happy riding!

