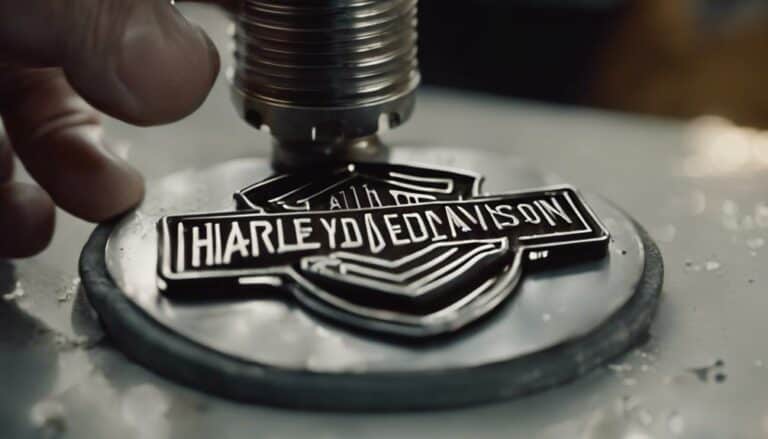
If you've ever felt like peeling back a layer of history, tackling those Harley Davidson tank emblems can be quite a satisfying endeavor.
But before you grab your tools and start the removal process, there are some essential steps you need to follow to ensure a seamless transformation.
From precision marking to gentle adhesive removal, every move you make plays a crucial role in the outcome.
So, are you ready to unveil the next chapter in your Harley's journey?
Key Takeaways
- Use heat gun and wire to detach emblems easily.
- Clean and polish tank surface for a pristine finish.
- Prepare tank surface meticulously for new emblem placement.
- Ensure secure adhesion of new emblem with proper alignment.
Tools Required for Emblem Removal
To efficiently remove Harley Davidson tank emblems, gather the necessary tools, including a heat gun, thin wire, WD-40, and masking tape. The process might be a bit different from what you're used to.
Start by using the heat gun to soften the adhesive behind the emblem. Once the adhesive is softened, carefully slide the thin wire behind the emblem to cut through the adhesive and detach the emblem from the tank. Be cautious not to damage the paint on the tank surface.
Next, apply WD-40 to the residual adhesive and rub gently to remove any sticky material left behind. Use a clean cloth to wipe off any excess WD-40.
Before applying a new emblem, ensure the tank surface is clean and free of any residue. Precise placement of masking tape lines can guide you during the removal process, making it easier to align the new emblem correctly.
Preparing the Tank Surface
If you've successfully removed the Harley Davidson tank emblems using the tools mentioned, the next step is preparing the tank surface for the new emblem installation. Ensuring a clean and residue-free surface is crucial for a successful emblem application.
Here are some surface preparation tips to guide you:
- Marking lines: Use masking tape to create visual guides for precise emblem placement on the tank surface.
- Reference point: Align the new emblem accurately by using the gas cap as a reference point.
- Heat application: Soften the adhesive behind the original emblem by applying heat with a heat gun for easier removal.
- Adhesive removal: Utilize a thin wire heated to cut through the adhesive, ensuring a clean removal process.
Removing the Tank Emblems
Begin the emblem removal process by carefully heating the original emblem with a heat gun to soften the adhesive for easier detachment. Mark lines with masking tape to guide emblem placement accurately based on the gas cap reference points.
Soften the adhesive behind the original emblem with a heat gun before cutting through it with a heated wire for a clean removal. Utilize WD-40 and elbow grease to remove any residual sticky material from the tank surface, ensuring a smooth finish.
When dry fitting the new emblem, use painter's tape to guarantee proper alignment and positioning. Heat the new emblem before applying it to the clean and dry tank surface for secure adhesion, ensuring longevity.
These emblem removal techniques, coupled with attention to detail, will help you overcome emblem removal challenges and achieve a pristine tank surface. Follow these emblem removal tips for a successful transition to your new tank design.
Cleaning and Polishing the Tank
How can you effectively clean and polish the tank surface of your Harley Davidson motorcycle for a pristine finish? To achieve a shiny finish on your tank, follow these polishing techniques and maintenance tips:
- Surface Preparation: Start by using a mild soap solution and a soft cloth to clean the tank surface, ensuring it's free from dirt and debris before polishing.
- Cleaning Products: Choose a high-quality chrome or metal polish to enhance the shine of the tank and remove any remaining adhesive residue or dirt.
- Buffing Methods: Polish the tank in a circular motion to ensure even coverage and effective removal of any imperfections on the surface.
- Maintenance Tips: Once the tank is polished, use a clean, dry microfiber cloth to buff the surface to a glossy finish. Regular maintenance is key to preventing tarnishing or dulling over time.
Final Steps and Reinstallation
For optimal results in the final steps of the process, ensure the emblem is heated before placement to promote secure adhesion to the tank surface. Before attaching the emblem, make sure the tank surface is clean and dry to prevent any issues with adhesion. Carefully peel off the 3M tape backing to avoid damaging the adhesive. Once the emblem is in position, press down firmly to securely affix it in place. To customize your emblem, consider adding a clear coat over it for extra protection and a polished look. Enjoy the new look of your tank with the freshly installed emblem.
| Emblem Placement | Adhesive Application |
|---|---|
| Heat the emblem before placement | Verify cleanliness and dryness of the tank surface |
| Press down firmly after installation | Carefully peel off 3M tape backing |
| Consider adding a clear coat for protection | Enjoy the new look of the tank |
Conclusion
In conclusion, removing Harley Davidson tank emblems requires precision and care. Just as the emblem represents the identity of the bike, the process of removal symbolizes a meticulous attention to detail.
By following the steps outlined and using the right tools, you can successfully remove and replace the emblems, ensuring a clean and polished tank surface that reflects the true essence of your Harley Davidson.
Ride on with pride and confidence.

