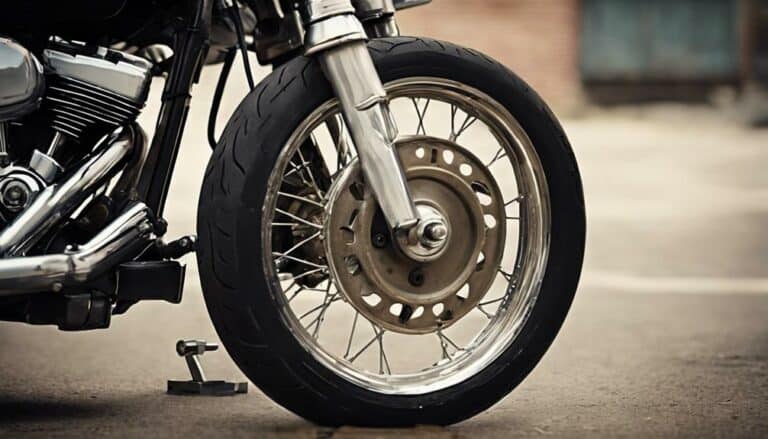
When it comes to removing the rear wheel of your Harley Davidson, it might seem like a daunting task, but fear not, as with the right guidance, it can be a straightforward process.
From disassembling components to ensuring safety measures, each step plays a crucial role in successfully completing this task.
So, let's start by understanding the tools needed and preparing your motorcycle for the wheel removal process, setting the stage for a seamless operation.
Key Takeaways
- Secure the motorcycle and prepare tools for rear wheel removal.
- Loosen axle bolts, slide out axle carefully, and detach rear wheel components.
- Remove additional parts like air shocks, rotor, and caliper for disassembly.
- Inspect, align, and tighten all components to ensure safe reinstallation.
Tools Required for Rear Wheel Removal
To begin the rear wheel removal process on your Harley Davidson touring model, gather essential tools such as screwdrivers for retaining clips, wrenches for axle bolts, and sand-filled hammers for disassembly. These tools are crucial for efficiently and safely removing the wheel and tire from your motorcycle.
Start by loosening the axle bolts using the appropriate wrenches. Once the bolts are loosened, carefully slide out the axle from the wheel hub. Next, use the sand-filled hammer to gently tap the axle if needed to dislodge it completely.
After removing the axle, proceed to detach the retaining clips using the screwdrivers. These clips secure various components in place, so take care not to lose or damage them during removal. Once the retaining clips are off, you can then carefully slide the wheel and tire out from the motorcycle. Ensure you have a clean and spacious area to place the wheel and tire once removed.
Properly utilizing these tools will make the rear wheel removal process on your Harley Davidson touring model smooth and hassle-free.
Preparing the Motorcycle for Wheel Removal
Secure the motorcycle on a stable stand or lift to ensure safety during the rear wheel removal process. Before proceeding with the removal of the rear wheel on your Harley Davidson, it is crucial to prepare the motorcycle adequately. Take note of the following steps to ensure a smooth wheel removal process:
| Step | Action |
|---|---|
| 1. Inspect Components | Check the wheel, rotor, caliper, and belt tension adjustment parts for wear or damage. |
| 2. Loosen Axle Bolt | Begin by loosening the axle bolt to prepare for wheel detachment. |
| 3. Support Wheel Weight | Support the weight of the wheel carefully to avoid damaging components. |
| 4. Mark Belt Tension Adjustment | Mark the positions of belt tension adjustment components for realignment. |
| 5. Check for Proper Alignment Marks | Ensure proper alignment marks are visible, especially for models like Street Glide or Road Glide. |
Removing the Axle and Nuts
Loosen the axle bolt on your Harley Davidson rear wheel using the appropriate wrench size to begin the removal process. Once the bolt is loosened, follow these steps to continue liberating your touring Harley Davidson:
- Use a torque wrench to loosen the axle nut in a counterclockwise direction, adhering to the specific torque specifications for your Harley-Davidson touring model.
- Slide out the axle carefully, ensuring you keep track of any spacers or washers that may be present.
- Double-check the rear wheel components to confirm they're ready for detachment, paying attention to any additional parts that may need to be removed before proceeding.
Detaching the Rear Wheel From the Motorcycle
After successfully removing the axle and nuts, the next step in the process of detaching the rear wheel from your Harley Davidson involves addressing the components related to the belt tension adjustment. To proceed, remove the saddlebags to access the metal plates with moon-shaped tabs used for belt tension adjustment. Using the appropriate tools, detach any retaining clips securing these plates and then proceed to loosen the axle bolt. This step is crucial for releasing the tension on the belt drive system, allowing for the rear wheel's removal.
Once the belt tension has been adequately adjusted and the axle bolt loosened, the rear wheel is ready for detachment. Remember that the rear wheel assembly includes components such as air shocks, rotor, and caliper, which will need to be disassembled along with the wheel. Prioritize safety by jacking up the motorcycle to ensure stability and using ratchet straps to secure the bike during the rear wheel removal process. Exercise caution when handling the axle, belt, rotor, and caliper to avoid damage and ensure a smooth disassembly process.
Final Steps to Complete the Process
To finalize the process, meticulously inspect all components for proper alignment and adherence to manufacturer torque specifications. Ensure the belt tension adjustment is correct and check the alignment of the sprocket, belt, rotor, and caliper for smooth operation. Next, tighten the axle bolt securely and reattach the retaining clips on the moon-shaped metal plates with tabs to maintain the proper belt tension.
After securing all components, verify the proper installation of the caliper ensuring it's aligned with the rotor for optimal function. Conduct a final inspection by going back and forth to confirm all parts are correctly positioned and secured for safe riding. This step is crucial to guarantee the rear wheel assembly is in perfect condition before hitting the road, providing you with a smooth and safe riding experience. Remember, attention to detail during this final inspection will ensure a trouble-free ride.
Conclusion
In the intricate dance of motorcycle maintenance, removing the rear wheel of a Harley Davidson is a crucial step. Like a skilled performer, you must use the right tools and techniques to ensure a smooth and successful process.
By following the steps outlined, you can master this task with precision and finesse, keeping your bike in top condition for the road ahead.

