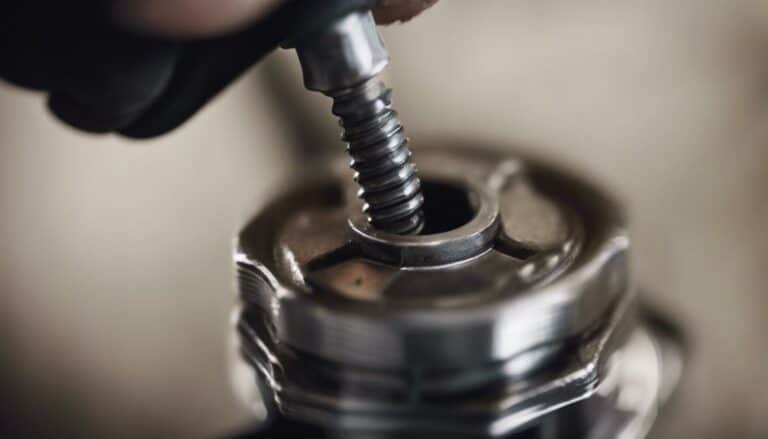
If you've ever found yourself in a situation where a stubborn plug stands between you and a well-maintained Harley Davidson fork, you're not alone.
The process of removing the fork drain plug might seem daunting at first, but with the right tools and guidance, it can be a smooth operation.
Let's explore the step-by-step method that will help you maneuver through this task efficiently, ensuring your Harley's forks stay in top-notch condition for your next ride.
Key Takeaways
- Locate and remove the drain plug near the axle using the correct tools.
- Drain the fork oil with proper tools and a drain pan to catch the oil.
- Reassemble components securely after inspecting and cleaning the drain plug.
- Regular maintenance and proper torque ensure optimal fork performance and prevent oil leaks.
Tools Required
To properly remove a Harley Davidson fork drain plug, you'll need a 3/8' ratchet, an extension, and a 5/8' socket. The fork maintenance process is crucial for the overall performance of your motorcycle. When it comes to drain plug removal, having the right tools is essential. Using a 3/8' ratchet provides the necessary torque for loosening and tightening the drain plug. An extension helps reach the drain plug, especially in tighter spaces, making the removal process more manageable. The 5/8' socket is specifically designed to fit the drain plug, ensuring a secure grip while operating the ratchet.
Proper maintenance of the fork drain plug is key to preventing oil leaks and ensuring the front suspension system functions optimally. Before starting the removal process, always double-check the sizes required for your specific Harley Davidson model. Following the manufacturer's guidelines and using the correct tools will help avoid any damage to the drain plug or the fork assembly. Remember, regular maintenance leads to a smoother ride and prolonged lifespan for your motorcycle.
Preparing the Motorcycle
Prepare the motorcycle by ensuring it's positioned on a stable and secure surface before proceeding with the fork drain plug removal process. Inspecting the surface where the motorcycle rests is crucial to prevent any unexpected movement while working on the fork. Safety precautions should always be a top priority to avoid accidents or damage to the bike.
Before starting, double-check that the motorcycle is securely supported, either on a center stand or using a suitable stand to keep it upright and stable. Additionally, make sure the area around the motorcycle is clear of any obstacles or hazards that could interfere with the removal process.
Removing the Fork Drain Plug
When removing the fork drain plug, locate the drain plug on the bottom of the fork leg, typically near the axle. To begin the process of fork maintenance, use a properly sized hex key or socket wrench to loosen and remove the drain plug.
Once you start turning the plug, be prepared for oil to drain out, so ensure you have a drain pan positioned underneath. After removing the drain plug, take a moment to clean it and inspect the O-ring for any signs of damage.
Before reinstalling, tighten the drain plug to the manufacturer's recommended torque specification. This step is crucial to prevent any potential leaks once you refill the fork with fresh oil during the maintenance process.
Draining the Fork Oil
If you have successfully removed the drain plug, the next step in servicing your Harley Davidson fork involves draining the fork oil. To do this, locate the drain plug at the bottom of the fork slider. Once located, use a suitable tool like a hex key or socket wrench to loosen and remove the plug. Place a drain pan underneath the fork to catch the oil as it drains out. Allow the fork oil to fully drain before replacing the drain plug. This ensures that all the old oil is removed from the fork.
After draining the fork oil, it's a good time to check the oil level to ensure it's within the manufacturer's recommended range. Additionally, consider performing other fork maintenance techniques, such as inspecting for any signs of leaks, damage, or excessive wear on the fork components. By regularly maintaining your fork, you can prolong its lifespan and ensure optimal performance on your Harley Davidson motorcycle.
Reassembling the Fork Components
Inspect the cleaned fork drain plug for any signs of damage or wear before proceeding with reassembly. Once you have confirmed the plug's integrity, follow these steps to properly reassemble the fork components:
- Apply Loctite: Before reinstalling the fork drain plug, apply a small amount of Loctite to the threads. This will help prevent the plug from loosening during regular use.
- Use Torque Wrench: Utilize a torque wrench to tighten the fork drain plug to the manufacturer's specifications. This ensures the plug is securely in place without over-tightening, which can cause damage.
- Secure Reinstallation: When reinstalling the fork drain plug, make sure it's securely tightened to prevent oil leaks and maintain the fork's proper function.
Conclusion
Once you have successfully removed the Harley Davidson fork drain plug, the feeling of accomplishment washes over you like a cool breeze on a hot summer day.
The satisfaction of completing this task will linger in your mind, knowing that your motorcycle is now ready for smoother rides ahead.
So go ahead, pat yourself on the back and enjoy the ride with confidence.

