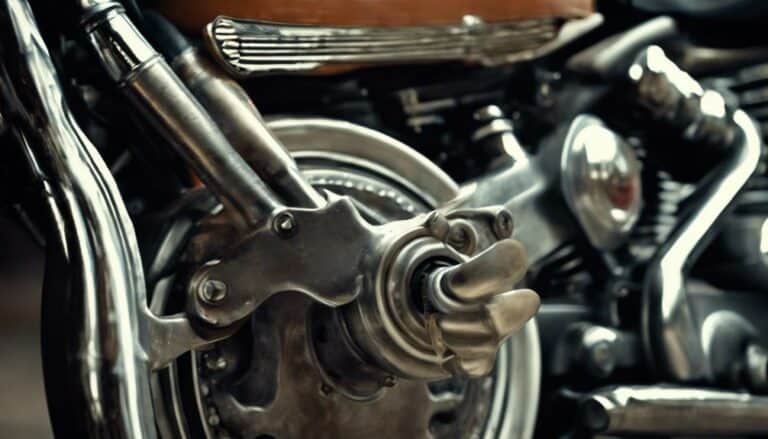
Removing the front footboard off a Harley Davidson might seem like a daunting task, but with the right tools and guidance, it can be a straightforward process that enhances the aesthetics of your bike.
By following a few simple steps and using basic tools like a combination wrench and allen wrench, you can easily disassemble and replace the footboards.
The initial loosening of the nuts is just the beginning; stay tuned to discover the meticulous steps involved in safely and effectively removing the front footboard to achieve the desired outcome for your Harley Davidson.
Key Takeaways
- Use 7/16 combo wrench and allen wrench to detach footboards.
- Secure replacement footboards with stock hardware for proper alignment.
- Inspect footboards, bolts, and brackets before reinstallation.
- Slide arms of new footboards into frame holes and tighten bolts securely.
Tools Required for Front Footboard Removal
To begin the process of removing the front footboard from your Harley Davidson touring motorcycle, you'll need a 7/16 combination wrench and an allen wrench. These tools are essential for efficiently disassembling the footboard. The 7/16 combination wrench will aid in loosening the nuts that secure the footboard in place, while the allen wrench is crucial for accessing certain bolts that need to be removed. Additionally, a socket wrench will be required when installing or loosening bolts during the removal process.
It is important to note that the stock hardware from your Harley Davidson will be reused when securing replacement footboards after removing the front footboard. This ensures that the new footboards are securely fastened to the motorcycle. Proper alignment of the replacement footboards with the corresponding holes is essential before securing them with the stock hardware. Once the replacement footboards are in place, tightening the bolts with a socket wrench will guarantee they're firmly and safely attached to your touring motorcycle.
Removing Front Footboard Step-by-Step
If you have successfully loosened the nuts securing the front footboard using a 7/16 combination wrench and allen wrench, the next step in the process is to remove the front footboard by hand on your Harley Davidson motorcycle. Follow these steps to liberate your front footboard:
- Step 1: Hold the front footboard firmly with both hands.
- Step 2: Wiggle it a little bit from side to side to disengage it from the mounting brackets.
- Step 3: Once the footboard is loose, pull it gently towards you to remove it completely.
- Step 4: Repeat the process on the other side of the motorcycle to remove the second front footboard.
- Step 5: Store the removed footboards safely until you're ready to install the new ones.
Detaching Mounting Hardware
How can the mounting hardware be detached from the front footboard of a Harley Davidson motorcycle? To detach the mounting hardware, use a 7/16 combination wrench and an allen wrench to loosen the nuts that secure the front footboard. Once the nuts are loosened, you can detach the front footboard by hand from the mounting hardware. Remember to keep track of the stock hardware as it will be necessary to secure replacement footboards in place. Detaching the mounting hardware facilitates easy removal and replacement of the front footboard, allowing you to upgrade or customize your footboards effortlessly. This process is essential for hardware maintenance, exploring custom footboard options, and implementing cleaning techniques.
| Tools Required | Steps | Tips |
|---|---|---|
| 7/16 Combination Wrench | Loosen nuts securing footboard | Keep track of stock hardware |
| Allen Wrench | Detach footboard by hand | Use gloves for a better grip |
| Replacement Footboards | Remove footboard smoothly | Inspect hardware for wear and tear |
Uninstalling Front Footboard Assembly
When removing the front footboard assembly from your Harley Davidson motorcycle, ensure to first loosen the nuts securing it using a 7/16 combination wrench and an allen wrench. Once the nuts are loosened, remove the front footboard assembly by hand on both sides of the motorcycle.
Remember, the stock hardware will be utilized to secure the replacement front footboards during installation. Slide the arms of the new front footboards into the corresponding holes on the motorcycle frame for a proper fit. After that, secure the bolts of the replacement front footboards using a socket wrench, ensuring they're tightly fastened for safety.
- Utilize a 7/16 combination wrench and allen wrench for nut loosening.
- Remove the front footboard assembly by hand from both sides.
- Use stock hardware to secure replacement front footboards.
- Slide the arms of the new front footboards into corresponding frame holes.
- Secure replacement front footboards' bolts tightly using a socket wrench.
Inspecting for Reinstallation
Inspect the front footboard thoroughly for any damage or wear before proceeding with reinstallation. Check for cracks, bends, or any signs of excessive wear that could compromise the footboard's structural integrity. Ensure all bolts and hardware are accounted for and in good condition, replacing any damaged or missing pieces with new ones.
Examine the mounting brackets and connections for any signs of weakness or looseness that may need tightening or replacement. As part of the maintenance considerations, clean the footboard and surrounding area meticulously to remove any debris or dirt that could affect the reinstallation process.
During the reassembly process, double-check the alignment and fit of the footboard before securing it back in place on your Harley-Davidson motorcycle. By following these inspection tips and maintenance steps diligently, you can ensure a smooth and safe reinstallation of the front footboard.
Conclusion
After following these steps to remove the front footboard off your Harley Davidson, you'll have successfully achieved a sleek and customized look for your motorcycle.
By taking the time to properly uninstall and inspect the footboard, you can ensure a secure and stylish upgrade.
Ride with confidence knowing that your new footboards are securely in place, enhancing both the appearance and functionality of your Harley-Davidson touring bike.

