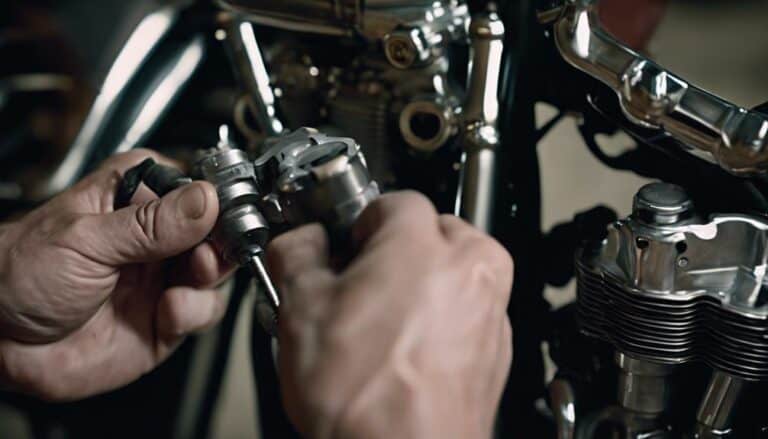
Did you know that the Harley Davidson Sportster has been around since 1957 and remains one of the most iconic motorcycles in history?
Now, when it comes to removing the carburetor from your Sportster, you might be wondering about the best approach.
Stay tuned as we guide you through the step-by-step process of efficiently disassembling the carburetor, ensuring a smooth removal and maintenance experience for your beloved Harley Davidson.
Key Takeaways
- Proper tool preparation is essential for smooth carburetor removal.
- Drain the fuel system completely before disconnecting the carburetor.
- Disconnect all carburetor cables and lines carefully and methodically.
- Inspect all components for damage or wear during the removal process.
Preparing the Necessary Tools
To properly prepare for removing the carburetor on your Harley Davidson Sportster, gather the necessary tools listed, ensuring you have everything within reach for a smooth disassembly process. You'll need a big Phillips screwdriver (number 6), 5/32 and 5/16 Allen wrenches, pliers, screwdriver, and an 11/16 wrench. These tools are essential for efficiently disassembling the carburetor.
Start by locating the two screws that hold the air cleaner cover in place. Use the big Phillips screwdriver to loosen and remove these screws. It might take a little bit of effort, but they'll eventually come out. Once the screws are out, carefully lift off the air cleaner cover and set it aside in a safe place. These initial steps are crucial in gaining access to the carburetor for further disassembly.
Draining the Fuel System
Having successfully prepared your tools for carburetor removal, the next step is to address draining the fuel system. Here's how to do it:
- Locate the Petcock: Find the fuel tank petcock situated at the bottom of the tank. This is essential for controlling the fuel flow.
- Turn Off the Petcock: Rotate the petcock to the 'OFF' position to halt the fuel flow. This prevents any fuel from entering the carburetor during the removal process.
- Disconnect the Fuel Line: Place a suitable container under the fuel line connection to catch any remaining fuel. Disconnect the fuel line from the carburetor to allow the fuel to drain completely. Make sure to cap or cover the fuel line and tank opening once drained to prevent debris or contamination.
Disconnecting the Carburetor Cables
Loosen the decorative plastic piece to gain access to the choke knob and use an 11/16 wrench to unscrew it. This step allows you to prepare for disconnecting the carburetor cables on your Harley Davidson Sportster.
Begin by removing the throttle cables. Unscrew them from the top of the carburetor and tilt the carburetor to release them. Next, disconnect the vacuum line situated at the back of the carburetor and detach the fuel line clip using pliers or a screwdriver.
Pull the throttle cables out of the carburetor, ensuring all connections like vacuum lines and LED wires are properly disconnected. To complete the process, pry open the fuel line clip to detach the fuel line completely before sliding the carburetor out of the intake manifold.
This procedure is crucial for cable maintenance, choke troubleshooting, and carburetor tuning on your Sportster. By following these steps diligently, you're one step closer to achieving a well-maintained and finely tuned carburetor system.
Removing the Carburetor From the Sportster
Gently disconnect the carburetor from the Sportster by carefully following these steps:
- Loosen the choke knob and disconnect the fuel line and throttle cables from the carburetor. Use caution to prevent any damage to the connections.
- Remove the throttle cables by unscrewing the top screws and disconnect the vacuum line at the back of the carb. Ensure you keep track of all screws and parts for reassembly.
- Detach the choke knob by unscrewing it with an 11/16 wrench. Remove the idle screw and top screw to free the throttle cables completely. This step is crucial for proper maintenance of the carburetor, enhancing engine performance and fuel efficiency.
Inspecting for Any Damage
Inspect the carburetor body and components for any signs of wear, corrosion, or damage before proceeding further with the removal process. It is crucial to ensure that the carburetor is in good condition to avoid any issues once it's reinstalled. Here is a table to help you identify potential problems:
| Component | What to Look For |
|---|---|
| Carburetor Body | Check for any wear, corrosion, or visible damage. |
| Rubber Boot | Look for cracks, leaks, or deformities in the connection. |
| Throttle Cables | Inspect for fraying, kinks, or weaknesses. |
Perform a thorough examination of each of these elements. If you notice any issues during this inspection, it is recommended to address them promptly. By conducting proper carburetor maintenance, including rubber boot inspection and throttle cable examination, you can ensure optimal performance and longevity of your Harley Davidson Sportster.
Conclusion
In conclusion, removing the carburetor from a Harley Davidson Sportster is a straightforward process that can be completed with the right tools and a bit of patience.
Did you know that over 70% of motorcycle breakdowns are due to carburetor issues? By following the steps outlined in this guide, you can ensure that your Sportster is running smoothly and efficiently.
Don't let carburetor problems slow you down – tackle them head-on with confidence!

