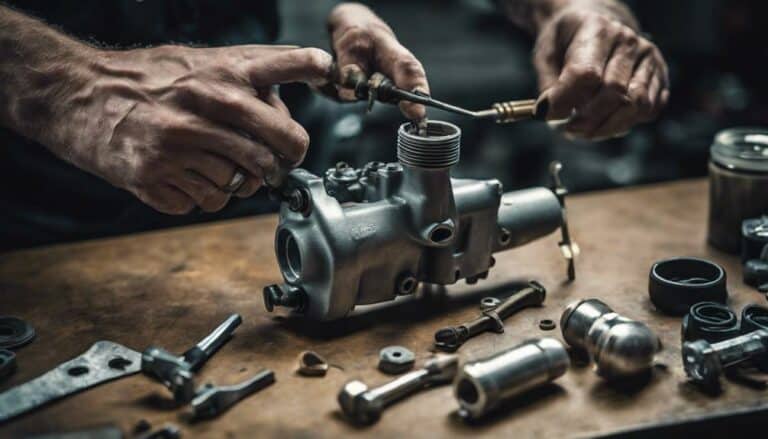
When tackling the task of rebuilding your Harley Davidson front master cylinder, you might encounter various components that need careful attention. From disassembling the cylinder to inspecting the intricate parts inside, each step plays a critical role in restoring top-notch brake performance.
But what about the intricate process of reassembling these components to guarantee a seamless operation? Let's explore the intricate details of this critical step to guarantee a successful rebuild that will keep your Harley running smoothly for miles to come.
Key Takeaways
- Use proper tools and materials for rebuilding the front master cylinder.
- Carefully remove, inspect, and clean components for optimal performance.
- Rebuild the cylinder with new parts and ensure proper lubrication.
- Reinstall, test, and adjust the cylinder for safe and efficient brake function.
Tools and Materials Required
To properly rebuild a Harley Davidson front master cylinder for your Road King, you'll need a replacement parts kit containing a new piston, spring, and rubber gaskets. Additionally, gather throttle body cleaner and Dawn dish soap for cleaning the master cylinder components thoroughly. When it comes to coating the rubber gaskets before installation in the rebuilt master cylinder, make sure to use DOT 5 brake fluid. An allen wrench is the go-to tool for securing the rubber seal under the cover of the master cylinder during reassembly.
Proper alignment of the rubber gaskets, spring, plunger, and cap is essential for the successful reassembly of your Harley Davidson front master cylinder. Make sure that you have all the necessary tools and materials ready before starting the rebuilding process to avoid any interruptions. By following these steps meticulously, you'll be on your way to enjoying a smooth and responsive front brake system on your Road King.
Removing the Front Master Cylinder
If you wish to remove the front master cylinder on your Harley Davidson, start by disconnecting the brake line and removing the banjo bolt with a 3/8 inch wrench. Use a towel and scrunchie to guarantee spillage of brake fluid during removal. Once disconnected, transport the cylinder to a workbench for inspection. Below is a table illustrating the steps to remove the front master cylinder:
| Steps | Tools/Materials Required |
|---|---|
| Disconnect brake line | 3/8 inch wrench |
| Remove banjo bolt | 3/8 inch wrench |
| Use towel and scrunchie | Towel, Scrunchie |
| Transport cylinder to workbench | |
| Inspect for any damage or dirt |
As you proceed with the removal, pay attention to the tail light and other components around the master cylinder to guarantee a safe and effective disassembly process. Remember, a methodical approach is key to successfully rebuilding your front master cylinder.
Disassembling and Inspecting Components
Disassemble the front master cylinder carefully, making sure the plunger and exterior components are removed to access the internal parts. When inspecting the components, follow these steps:
- Plunger, Spring, and Rubber Gaskets: Check for wear, damage, or buildup that could impact brake performance. Look for any signs of deterioration or irregularities that may affect the cylinder's operation.
- Clean Thoroughly: Use appropriate cleaners such as throttle body cleaner and dish soap to eliminate dirt, grime, and residue of old brake fluid. Make certain the air intake is clear of any obstructions that could impede brake function.
- Dry Components: Before reassembly, make sure all parts are completely dry to prevent contamination. Moisture can affect the brake fluid and compromise the cylinder's efficiency.
- Replacement Parts Kit: Utilize a kit with a new piston, spring, and gaskets. Apply DOT 5 brake fluid to coat rubber gaskets before installation to enhance performance and longevity.
Rebuilding the Front Master Cylinder
When rebuilding the front master cylinder, guarantee thorough cleaning and proper lubrication of all components for best brake performance. Start by disassembling the cylinder carefully, removing the plunger and all exterior components.
Clean the cylinder meticulously using throttle body cleaner, and soak it in warm water with Dawn dish soap to remove any dirt or residue. Obtain a replacement parts kit containing a new piston, spring, and rubber gaskets for reassembly.
Before installing the rubber gaskets, coat them with DOT 5 brake fluid to ensure proper lubrication. As you go back to reassemble the cylinder, insert the new spring and plunger, then secure the cap with the rubber seal using an allen wrench.
Pay close attention to detail to ensure a smooth and effective reassembly process. Proper cleaning and lubrication are essential for best brake performance and longevity of the front master cylinder.
Reinstalling and Testing the Cylinder
To reinstall and test the cylinder effectively, securely attach the lever with a snap ring after confirming proper alignment of the handlebar controls for smooth operation. Follow these steps for a successful process:
- Connect the brake line: Use a banjo bolt and washer to secure the brake line to the master cylinder. Confirm a tight fit to prevent any potential leaks that could compromise the braking system.
- Test the system: After reinstalling the master cylinder, test the brake functionality by gently squeezing the lever. Confirm that the brake engages smoothly without any hitches or delays.
- Verify tail light illumination: As part of the testing process, check that the tail light illuminates when you engage the brake lever. This indicates that the brake system is properly connected and functioning as intended.
- Final adjustments: Make any necessary adjustments to the lever tension or position to optimize the braking performance before taking your Harley Davidson back on the road.
Conclusion
After meticulously disassembling, cleaning, and rebuilding your Harley Davidson front master cylinder, it's time to put it back together and test its functionality.
Make certain everything is secured properly and bleed the brakes thoroughly to guarantee peak performance.
By following these steps with precision and attention to detail, you can confidently ride knowing your brakes are in top condition.

