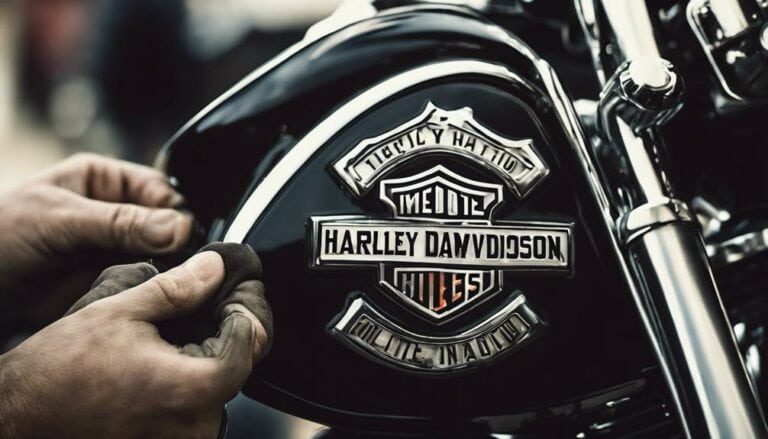
So, you've decided to play the real-life version of 'Emblem Tetris' on your Harley Davidson tank. The intricate dance of aligning those emblems just right can be quite the challenge, but fear not, we've got some savvy tips to assist you in this emblematic endeavor.
From precision placement to the satisfying final look, let's unravel the art of emblem application on your beloved Harley Davidson.
Key Takeaways
- Prepare surface by cleaning and drying for optimal adhesion.
- Remove old emblems carefully with tools and precision.
- Apply new emblems using heat for pliability and aligning correctly.
- Ensure final inspection for symmetry, cleanliness, and secure attachment.
Gathering Necessary Tools
To prepare for putting emblems back on your Harley Davidson, make sure you gather essential tools. You're going to need masking tape to mark precise lines for emblem placement on the tank. This ensures that your emblem will be perfectly aligned.
A heat gun is crucial for softening the adhesive behind the original emblem, making it easier to remove without damaging the surface. Thin wire, heated with the heat gun, helps slice through the adhesive holding the old badge securely in place.
WD-40 and elbow grease are your best friends for eliminating any stubborn residue left behind after removing the old emblem. It's essential to have these tools on hand before starting the emblem replacement process to ensure a smooth and successful outcome.
Removing Old Emblems
Begin by carefully marking precise lines for emblem placement on the tank using masking tape, ensuring alignment based on key reference points like the gas cap.
To remove the old emblems effectively, employ a heating technique to soften the adhesive behind the emblem. Utilize a heat gun to warm the adhesive, making it easier to cut through using a heated wire. This method helps in cleanly separating the emblem from the tank without causing damage.
Once the emblem is off, focus on adhesive removal. Apply WD-40 to eliminate any residual sticky material left on the tank surface. Ensure thorough cleaning to prepare the surface for the new emblem.
Precision alignment is crucial, so dry fit the new emblem using painter's tape to mark lines accurately. Peel off the 3M backing from the adhesive on the new emblem, heat it, and firmly place it on the tank, aligning it precisely for proper adhesion.
This meticulous process guarantees a seamless and professional emblem replacement.
Cleaning the Surface
For optimal adhesion of the new emblem, ensure the surface of the tank is meticulously cleaned using a clean cloth and mild detergent. It is crucial to prepare the area properly before attaching the emblem to avoid any issues with adhesion. Follow these best practices to ensure a seamless process:
| Preparation | Best Practices |
|---|---|
| Use a clean cloth | Wipe the surface thoroughly to remove any dust, dirt, or debris. |
| Mild detergent | Use a mild detergent to clean the surface gently without damaging the paint. |
| Completely dry | Ensure the area is completely dry before attaching the new emblem. |
| Avoid harsh chemicals | Do not use abrasive materials or harsh chemicals that could harm the tank's finish. |
Applying New Emblems
After thoroughly cleaning the surface of your Harley Davidson tank, the next step in putting emblems back on is to apply the new emblems with precision and care. To ensure a successful application, follow these steps:
- Emblem Placement: Use painter's tape to mark lines that will guide you in accurately positioning the new emblem on your motorcycle. This will help achieve a professional and symmetrical look.
- Adhesive Heating: Before peeling off the 3M backing from the adhesive on the new emblem, gently heat the emblem. This step will make the adhesive more pliable and enhance its bonding effectiveness.
- Alignment Verification: After carefully peeling off the 3M tape backing and pressing down the emblem firmly onto the tank, verify the alignment and fit. Make any necessary adjustments to ensure the emblem is straight and aligned as desired.
- Secure Placement: Once you're satisfied with the placement, press down firmly on the emblem to secure it in place. This will help prevent any future issues with the emblem coming loose.
Final Touches and Inspection
Inspect the newly installed emblem on your Harley Davidson tank meticulously to ensure perfect alignment and a flawless finish. Make sure the emblem is positioned correctly and sits flat against the tank surface, free of any raised edges or bubbles that could affect its adhesion. Check around the emblem for any adhesive residue or smudges, and clean them off promptly to maintain a pristine look.
Next, press down firmly on all areas of the emblem to verify its secure attachment. A well-adhered emblem not only enhances the aesthetics of your bike but also prevents it from coming loose during rides. After confirming the emblem's adhesion, take a step back and visually assess the overall appearance. Ensure that the emblem complements the design of your Harley Davidson, adding a touch of personal style to your ride.
To emphasize the importance of these final touches, here is a quick reference table:
| Point | Action |
|---|---|
| Emblem Alignment | Ensure it sits flat and correctly positioned |
| Adhesive Residue | Clean off any residue or smudges around the emblem |
| Secure Attachment | Press down firmly on all areas to verify adhesion |
Conclusion
Now that you've successfully put the emblems back on your Harley Davidson, take a step back and admire the transformation.
Just like a phoenix rising from the ashes, your bike has been reborn with its new emblems shining brightly.
The attention to detail and precision in the process reflects the care and dedication you have for your ride.
Ride on with pride, knowing that your Harley Davidson is now truly personalized and unique.

