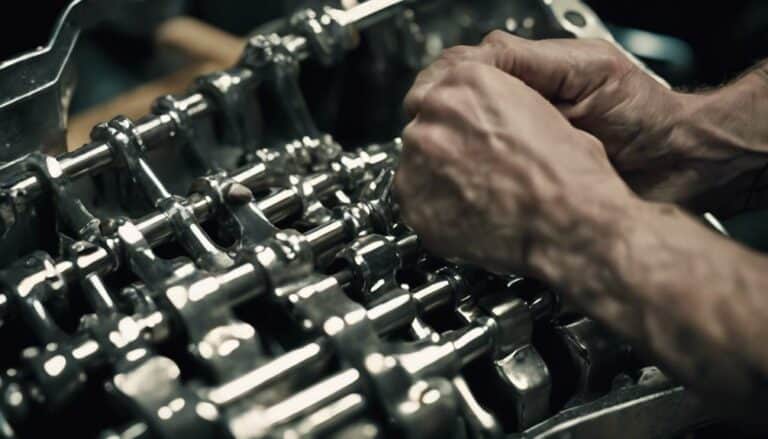
When it comes to pulling the rocker box on your 2013 Harley Davidson Street Glide, you might be thinking it's a complicated process, but fear not. By following a few simple steps, you can successfully tackle this task and ensure your bike runs smoothly.
Now, let's dive into the specifics of disassembling and accessing the rocker box cover to maintain your Harley's performance at its best.
Key Takeaways
- Use proper tools and cleaning techniques for disassembly and maintenance.
- Drain and dispose of oil responsibly to protect the environment.
- Inspect rocker box cover regularly for leaks and gasket condition.
- Select and install high-quality gaskets following manufacturer guidelines for optimal performance.
Preparing the Necessary Tools
To prepare for pulling the rocker box on your Harley Davidson Street Glide, gather the necessary tools including a ratchet wrench, 7/16 inch socket, and a dead blow hammer. These tools are essential for a smooth disassembly process. The ratchet wrench will help you remove the bolts securing the rocker box cover, while the 7/16 inch socket ensures a proper fit for these bolts. The dead blow hammer comes in handy for gently tapping and loosening any stubborn parts during the removal process.
Additionally, make sure to have rubbing alcohol on hand for cleaning the rocker box lip before installing the new gasket. This step is crucial to ensure a proper seal and prevent any leaks once the rocker box cover is reassembled. By thoroughly cleaning the surface with rubbing alcohol, you create an optimal environment for the new gasket to adhere securely.
Having these tools and materials ready will streamline the process of pulling the rocker box on your Harley Davidson Street Glide, setting the stage for a successful maintenance task.
Draining the Oil System
Drain the oil system on your 2013 Harley Davidson Street Glide completely to prevent spills and contamination by following proper procedures. Make sure to tackle this task on the left side of your Street Glide Special for easier access.
Here's how to do it efficiently:
- Position a drain pan underneath the bike to collect the oil.
- Locate the oil drain plug on the left side of the engine.
- Carefully remove the drain plug using the appropriate tools.
- Allow the oil to flow out completely into the drain pan.
- Dispose of the oil properly according to local regulations to avoid environmental harm.
Removing the Rocker Box Cover
When preparing to remove the rocker box cover on your Harley Davidson Street Glide, ensure you have a 7/16 inch socket to unscrew the 6 bolts securing the cover. Start by loosening the bolts in a specific pattern to prevent warping the cover. Before removal, clean the area around the rocker box to avoid debris falling into the engine. To aid in loosening the cover, gently tap it with a dead blow hammer. Once the bolts are removed, carefully lift off the rocker box cover, ensuring not to damage the gasket sealing surface. After removal, thoroughly clean the inside surface of the rocker box cover to prepare it for reinstallation.
Remember to tighten the bolts back onto the rocker box cover to 15-18 foot pounds torque in the same specific pattern followed during removal. Proper torque and pattern are crucial for a secure seal. By following these steps, you can efficiently complete the cleaning, bolt removal, and cover removal process, ensuring a smooth rocker box maintenance procedure.
Inspecting and Replacing Components
Inspect rocker box components for signs of wear or damage that may require replacement. Check these key points for optimal performance and oil leak prevention:
- Gasket Selection: Choose a high-quality gasket that's compatible with your Harley Davidson Street Glide to ensure a proper seal and prevent leaks.
- Gasket Installation: Follow manufacturer guidelines for installing the gasket correctly, ensuring a tight seal between the rocker box cover and cylinder head.
- Oil Leak Prevention: Regularly inspect the rocker box cover for oil leaks and replace the gasket if necessary to prevent oil from seeping out and causing engine issues.
- Maintenance Tips: Clean the mating surfaces of the rocker box and cylinder head thoroughly before installing a new gasket to avoid leaks and maintain engine performance.
- Proper Tightening: When securing the rocker box cover, use a torque wrench to tighten the bolts to the manufacturer-recommended specifications in a specific sequence for even pressure distribution and optimal performance.
Reassembling and Testing the Rocker Box
To reassemble and test the Rocker Box on your Harley Davidson Street Glide, align the cover and securely tighten the 6 bolts in a specific pattern to 15-18 foot pounds. Make sure to double-check all connections and ensure proper alignment before proceeding.
After securing the rocker cover in place, consider using Bug Slide for protection and easy cleaning. Once the reassembly is complete, it's crucial to test the rocker box by running the engine to verify proper function and check for any signs of leaks.
Regular rocker box maintenance is essential for optimal engine performance. Inspect for leaks frequently and utilize quality gaskets to prevent future issues. Following these steps won't only enhance the longevity of your Harley Davidson Street Glide but also contribute to overall performance.
Stay committed to proper maintenance practices to enjoy a smooth ride and consider Harley Davidson upgrades for further enhancements.
Conclusion
In conclusion, pulling the rocker box on a 2013 Harley Davidson Street Glide is a meticulous process that requires attention to detail and the right tools.
By following the steps outlined in this guide, you can ensure the proper maintenance and longevity of your bike.
Remember, a well-maintained rocker box is the key to unlocking the full potential of your Harley Davidson, making your ride smoother than a freshly paved road.

