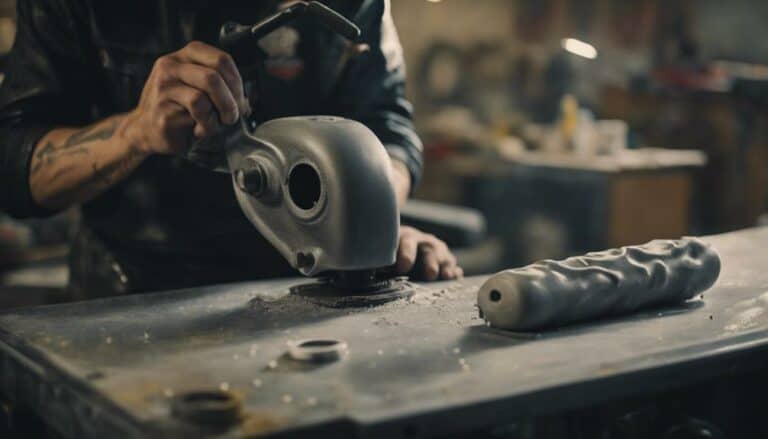
When it comes to painting a Harley Davidson primary cover, think of it as adding the final touch to your bike's masterpiece, enhancing its overall look and durability.
However, there is an important step that often gets overlooked in the painting process, and it can make or break the final result. By paying close attention to this step and following the right techniques, you can guarantee a flawless finish that will make your Harley Davidson stand out on the road.
Key Takeaways
- Choose high-temperature engine paint for durability and heat resistance.
- Consider different blacked-out finishes for customization options.
- Use self-etching primer for strong metal adhesion before painting.
- Inspect for imperfections and ensure proper reinstallation for longevity.
Preparing the Primary Cover Surface
To guarantee best paint adhesion on your Harley Davidson primary cover, thoroughly scuff the chrome surface before proceeding with the painting process. Chrome surfaces are notoriously difficult for paint to stick to due to their smooth finish. Consider bead blasting the chrome parts to create a rough surface, ensuring better adhesion for the paint. Before painting, cleaning the primary cover with a degreaser is essential to remove any contaminants that could affect the paint's finish.
When selecting the paint for your Harley Davidson primary cover, opt for high-temperature engine paint. This type of paint is designed to withstand the heat exposure that motorcycle parts endure, ensuring a durable and long-lasting finish. Additionally, high-temperature engine paint comes in various blacked-out looks, such as wrinkle, flat, or satin finishes, allowing you to achieve the desired aesthetic for your bike. By following these steps, you can prepare your primary cover surface effectively for painting and achieve the blacked-out look you desire.
Choosing the Right Paint and Supplies
Consider opting for high-temperature engine paint when selecting the appropriate paint and supplies for painting a Harley Davidson primary cover. This type of paint is specially designed to withstand the heat generated by the engine, ensuring durability and longevity.
Additionally, if the primary cover has chrome parts, bead blasting them before painting can improve adhesion and result in a smoother finish. Prior to painting, it's essential to clean the primary cover thoroughly with a degreaser to remove any contaminants that could affect the paint's adherence and finish.
For a more long-lasting and durable option, powder coating the primary cover is worth considering. Powder coating provides a tough, resistant finish that can withstand the demanding conditions a Harley Davidson primary cover is exposed to.
Applying Primer to the Cover
For best adhesion on metal surfaces, make sure to use self-etching primer when preparing to paint the Harley Davidson primary cover. This type of primer is specifically designed to create a strong bond with metal, ensuring the longevity of your paint job. When applying the primer, remember to do so in thin, even coats to avoid drips and achieve uniform coverage over the entire primary cover. Proper coverage is essential for a smooth finish and helps the paint adhere effectively.
To guide you through the process, here is a table summarizing key points for applying primer to the primary cover:
| Key Steps | Description |
|---|---|
| Choose the right primer | Use self-etching primer designed for metal surfaces for the optimal adhesion. |
| Apply thin, even coats | Prevent drips and ensure uniform coverage by applying the primer carefully. |
| Allow proper drying time | Follow manufacturer's instructions to let the primer dry completely. |
Following these steps diligently will set the foundation for a successful paint job on your Harley Davidson primary cover.
Painting the Primary Cover
Scuffing the chrome surface thoroughly is essential to guarantee proper paint adhesion on the Harley Davidson primary cover. This step is critical for the performance and longevity of the paint job. Once the chrome is adequately scuffed, cleaning the part with a degreaser and bead blasting it will further enhance paint adhesion. When choosing a finish, consider options like wrinkle, flat, or satin black for a customized look that suits your style.
For best durability, high-temperature engine paint is recommended for motorcycle primary covers. This type of paint can withstand the heat generated by the engine, ensuring that your primary cover looks great for a long time. Additionally, powder coating is a superior choice compared to traditional painting methods. It provides a more long-lasting and robust finish that can endure the demands of the road.
Finishing Touches and Reinstallation
Inspect the painted primary cover thoroughly for any missed spots or imperfections before proceeding with reinstallation. Make sure that the paint is completely dry to avoid any smudges or damage during handling.
Carefully check the entire surface for any imperfections that may require touch-ups. Handle the freshly painted cover with caution to prevent fingerprints or smudges that could mar the finish.
When mounting the primary cover back onto the motorcycle, secure it firmly according to the manufacturer's specifications to prevent rattling or shifting while riding.
After reinstallation, periodically inspect the primary cover for signs of wear, chipping, or fading to maintain its appearance and durability over time.
Conclusion
To sum up, make sure to meticulously follow the steps outlined to achieve a flawless paint job on your Harley Davidson primary cover.
By taking the time to properly prepare the surface, choose the right paint, and apply multiple coats with precision, you can achieve a professional finish that will withstand the test of time.
Remember, attention to detail is key in achieving a superior result for your beloved Harley Davidson motorcycle.

