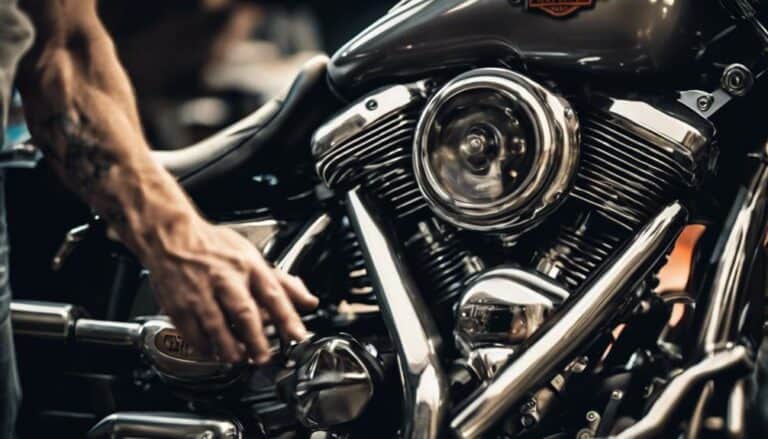
As you embark on the task of mounting a Harley Davidson quarter fairing on your Dyna, envision it as a meticulous puzzle waiting to be solved. The process requires attention to detail and precision to ensure a seamless fit.
By following a step-by-step guide, you'll navigate the installation with ease. Stay tuned to uncover the essential tips and tricks that will assist you in achieving a flawless outcome for your Dyna's new quarter fairing attachment.
Key Takeaways
- Securely attach quarter fairing bracket to handlebars for stability.
- Mount fairing on Dyna using provided hardware and precise alignment.
- Test wind resistance, visibility, and adjust fairing angle for optimal performance.
- Regularly check and tighten all fasteners to ensure safe riding experience.
Necessary Tools for Installation
To begin the installation process of mounting a Harley Davidson Quarter Fairing on your Dyna, gather the necessary tools listed to ensure a smooth and successful outcome. You'll need a Phillips screwdriver, a T25 Torx bit, a ratchet wrench, and a 3/16-inch Allen wrench. Additionally, having a clean work area and a soft cloth for paint protection is crucial. Make sure to use a torque wrench for precise tightening.
Check that your Dyna model is compatible with the windshield provided in the quarter fairing kit. Ensure the fitment is correct before starting the installation to avoid any issues later on. Having a friend to assist you can be beneficial, especially when aligning and securing the fairing.
Removing the Stock Headlight Mount
Using appropriate tools, detach the stock headlight mount from your Harley Davidson Dyna by disconnecting the headlight wiring harness and removing the securing bolts. Make sure you have a socket wrench with the correct size socket to efficiently complete this task. Start by disconnecting the headlight wiring carefully to prevent any damage to the wires. Next, loosen and remove the bolts that secure the stock headlight mount to the front forks of your Dyna. Once all the bolts are out, gently lift the stock headlight mount off the front forks. Remember to store all components safely for potential reinstallation or future use.
| Steps to Remove Stock Headlight Mount |
|---|
| 1. Gather necessary tools |
| 2. Disconnect headlight wiring harness |
| 3. Loosen and remove securing bolts |
| 4. Lift off stock headlight mount |
| 5. Store components safely |
Attaching the Quarter Fairing Bracket
After removing the stock headlight mount from your Harley Davidson Dyna, proceed to securely attach the quarter fairing bracket to the front forks using the provided hardware.
- Bracket alignment: Position the bracket correctly to align with the handlebars for optimal performance and aesthetics. The alignment ensures the fairing sits properly and complements the bike's overall look.
- Stability maintenance: Tighten the bracket securely to prevent any movement or vibrations while riding. This is crucial for a smooth and safe experience on the road. Regularly check the tightness of the bracket and make adjustments as needed to maintain stability.
- Follow manufacturer's instructions: Adhere to the manufacturer's guidelines to install the bracket correctly. Proper installation not only ensures the fairing's security but also prevents any damage to the fairing or the bike itself. By following the instructions, you guarantee a secure and long-lasting attachment of the quarter fairing to your Harley Davidson Dyna.
Mounting the Quarter Fairing on Dyna
Secure the quarter fairing onto your Harley Davidson Dyna ensuring proper alignment with the handlebars for optimal performance. Start by carefully positioning the fairing on the front forks, ensuring it aligns correctly with the handlebars for ideal fairing alignment and handlebar clearance.
Use the provided mounting brackets and hardware to secure the fairing in place, following the manufacturer's instructions precisely. Ensure all fasteners are securely tightened to prevent any movement or loosening during rides. This step is crucial to guarantee the fairing remains stable and doesn't affect the handling of your Dyna.
Moreover, consider any paint customization you may want to undertake before mounting the fairing permanently. Additionally, positioning the fairing correctly can enhance wind deflection, providing you with a more comfortable and enjoyable riding experience.
Final Adjustments and Testing
To fine-tune the quarter fairing's position and conduct essential tests, carefully adjust its angle for optimal aerodynamics and stability. Here are three crucial steps to complete the final adjustments and testing:
- Wind Resistance Testing, Stability Assessment: Before hitting the road, ensure the quarter fairing is securely mounted to minimize wind resistance. Test the motorcycle at various speeds to evaluate the fairing's stability and its impact on the bike's handling.
- Rider Visibility Check, Hardware Tightening Validation: Sit on the motorcycle in different riding positions to verify that the fairing doesn't obstruct your view of the road or controls. Additionally, double-check that all hardware and mounting brackets are tightened to the manufacturer's recommended torque specifications. This step is crucial to prevent any issues while riding and ensure a safe and comfortable experience.
Conclusion
Ensure your Harley Davidson quarter fairing is securely mounted on your Dyna for optimal performance and safety.
Double-check all brackets and hardware to prevent any potential issues while riding. Make any necessary adjustments to ensure proper alignment and functionality before hitting the road.
Following the installation guide closely will guarantee a successful mounting process.
Ride with confidence knowing your fairing is securely attached and ready for the journey ahead.

