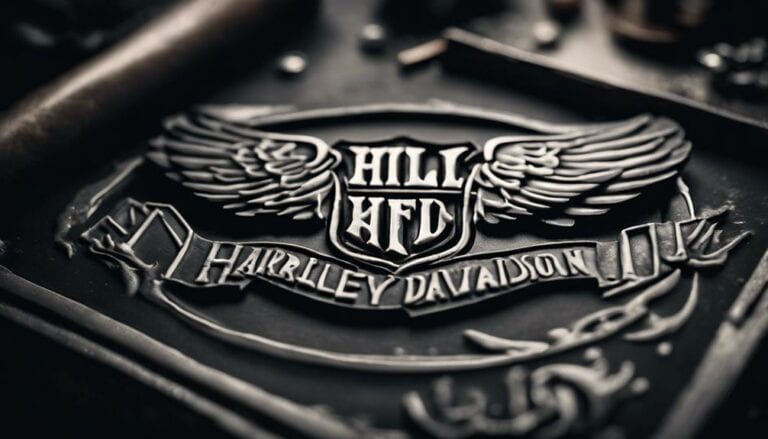
When it comes to crafting a Fondant Harley Davidson emblem, precision and attention to detail are key elements in achieving a professional result.
Imagine the satisfaction of creating a miniature masterpiece that will make a bold statement atop your cake. As you embark on this creative journey, you'll discover the intricate steps involved in replicating the iconic emblem.
Stay tuned to unravel the secrets behind bringing this emblem to life in fondant form, and you'll soon be on your way to mastering this intricate design technique.
Key Takeaways
- Use essential materials like fondant in orange, black, and white for the emblem.
- Create a precise template with a shield shape and design elements.
- Add intricate details with fondant letters, borders, and small elements.
- Finish with finesse by centering the emblem on the cake and securing it with edible glue.
Materials Needed for Fondant Emblem
To begin crafting your Fondant Harley Davidson emblem, gather the essential materials in orange, black, and white fondant colors. For this emblem to adorn a birthday cake with the iconic Harley Davidson logo, these colors are crucial. The vibrant orange, sleek black, and pristine white will bring this emblem to life on your cake.
Additionally, an edible ink printer is necessary to print the logo image on edible paper accurately. This step ensures the emblem looks authentic and professional. A rolling pin will aid in rolling out the fondant to the perfect thickness, allowing for easy shaping and cutting.
The Exacto knife is essential for precise cutting of the fondant pieces, ensuring clean edges and accurate details. Lastly, the edible glue will securely attach the different components of the emblem together, guaranteeing that your Fondant Harley Davidson emblem stays intact and impressive on your birthday cake.
Making the Fondant Emblem Template
Crafting the Fondant Emblem Template requires precision cutting skills and attention to detail to replicate the iconic Harley Davidson emblem accurately. To create the template, you can follow these steps:
- Fondant Techniques: Roll out the fondant to the desired thickness and use a printed Harley Davidson emblem as a guide for cutting.
- Emblem Design: Focus on replicating the shield shape with a bar across it, incorporating the company's name and design elements like wings and a motorbike.
- Creative Customization: Add your flair by customizing details like the color scheme, ensuring to use orange, black, and white fondant for authenticity.
- Exacto Knife Precision: Utilize an Exacto knife for intricate cutting, ensuring clean edges and sharp details for a professional finish.
Coloring and Shaping the Emblem
After creating the fondant emblem template with precision cutting skills and attention to detail, the next step is to focus on coloring and shaping the emblem to bring it to life. To achieve the authentic Harley Davidson look, you'll need to master color mixing techniques.
The emblem typically features shades of orange, black, and white. Start by cutting out a shield shape from orange fondant and adding a bold black bar across it to represent the iconic Harley Davidson symbol. When shaping the emblem, ensure clean lines and sharp edges for a professional finish. Emblem shaping tips include using a steady hand and sharp tools to create precise details.
To add a polished touch to your design, consider using white fondant for intricate details like text and borders. This step will elevate the overall look of your emblem and emphasize its strength, durability, and rich heritage. By carefully coloring and shaping the emblem, you'll bring it to life with authenticity and style.
Adding Details to the Emblem
Adding intricate details to the fondant Harley Davidson emblem involves carefully sculpting white fondant for text or borders. When adding these details, precision is key to achieving a professional look. Here are some tips to enhance the emblem:
- Hand Cut Lettering: Use a sharp tool to hand-cut fondant letters, ensuring clean lines and precise shapes that mimic the Harley Davidson logo font.
- Fondant Text and White Borders: Utilize white fondant to create text or borders, contrasting with the emblem's base color for a striking effect.
- Edible Ink Printers: Consider using edible ink printers for intricate and detailed images that can be transferred onto the emblem, adding complexity and authenticity.
- Attention to Detail: Incorporate small elements like rivets or subtle textures to elevate the overall look of the emblem, staying true to the iconic Harley Davidson style.
Final Steps and Finishing Touches
For a flawless finish on your fondant Harley Davidson emblem, meticulously apply the final touches with finesse and attention to detail. Consider the emblem placement carefully on the cake, ensuring it's centered and positioned correctly for a professional look.
Apply a thin layer of edible glue to the back of the edible image before attaching it to the shield, securing it firmly in place. Use a steady hand and precision when cutting out intricate details like text or borders from the white fondant to enhance the emblem design.
Allow the assembled emblem to set and dry completely before placing it on the cake to prevent any smudging or distortion. This step is crucial for maintaining the emblem customization intact.
To elevate the overall presentation, think about adding additional edible decorations or accents around the emblem, complementing the Harley Davidson theme and adding a touch of flair to your masterpiece.
Conclusion
Now that you have your Fondant Harley Davidson emblem ready, you can proudly showcase it on top of your cake or any other baked creation.
The attention to detail and precision in crafting this emblem will surely impress your guests and add a touch of uniqueness to your dessert.
Enjoy the process of creating edible art and have fun experimenting with different designs in the future!

