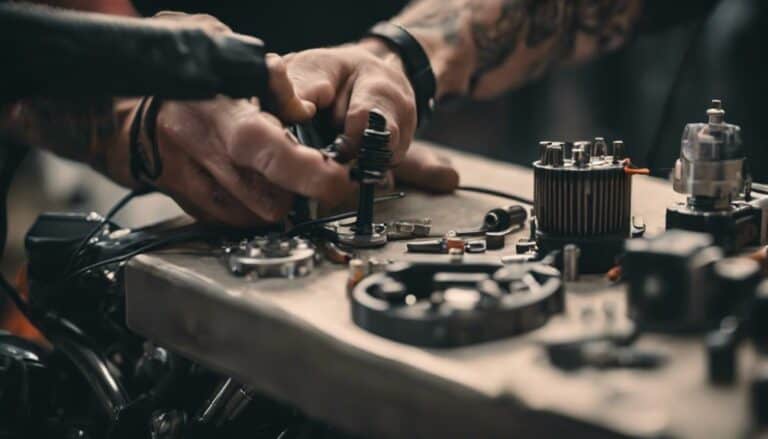
Imagine installing speakers on your Harley Davidson is like giving your bike a new voice, enhancing every ride with your favorite tunes.
But before you rev up and hit the road with your music playlist, there are important steps to follow to make a seamless installation process. From choosing the right speakers to correctly wiring them, each detail plays a critical role in the outcome.
So, are you ready to transform your Harley into a rolling concert hall?
Key Takeaways
- Prioritize speaker size and mounting depth for proper fit.
- Choose large speakers for powerful sound output.
- Opt for waterproof or water-resistant speakers.
- Select speakers with high power handling capabilities for optimal performance.
Choosing the Right Speakers
When selecting speakers for your Harley Davidson, always prioritize the size and mounting depth to guarantee a proper fit and installation. Opt for large speakers that can deliver powerful sound without compromising on quality. Look for speakers with waterproof or water-resistant ratings to make sure they can withstand the elements and vibrations while riding. Choosing speakers with high power handling capabilities is essential for maintaining top-notch performance and preventing distortion at higher volumes on your motorcycle.
Selecting speakers specifically designed for motorcycles is vital as they're built to endure the unique conditions of riding. These speakers are engineered to handle the vibrations and exposure to weather that come with being on a bike. Making sure that the speakers complement the audio system and amplifier setup on your Harley Davidson will provide a seamless and integrated sound experience while you're out on the road. By considering these factors, you can enhance your riding experience with quality audio performance.
Gathering Necessary Tools
To begin the process of installing speakers on your Harley Davidson, gather the necessary tools such as a drill, screwdrivers, wire crimpers, wire strippers, and zip ties. Additionally, consider having a socket wrench set, a torque wrench, a multimeter for testing connections, and electrical tape for securing wires.
For a smoother installation process, having a panel removal tool, a heat gun for heat-shrinking connectors, and a soldering iron for secure connections can be important. Make sure your workspace is clean and well-lit to guarantee precision and safety while working on your Harley Davidson.
Having a Harley Davidson service manual or installation guide specific to your model is essential as it provides detailed instructions and wiring diagrams important for a successful speaker installation.
Removing Side Panels
Carefully unscrew the fasteners securing the side panels on your Harley Davidson to prepare for their removal. Start by identifying the location of all the bolts or screws holding the side panels in place. Use the appropriate tools to loosen each fastener, ensuring not to strip or damage them in the process. Pay close attention as some side panels may have hidden fasteners or clips that need to be located and released before the panels can be fully detached.
A common mistake is rushing through this step and inadvertently leaving out fasteners, which can lead to difficulty in removing the side panels or potential damage. Proper technique involves being thorough and methodical in removing each fastener. Remember to keep all the hardware organized and labeled to make reassembly easier.
Prioritize safety precautions by wearing gloves to protect your hands and using caution when prying the side panels away from the motorcycle frame. Gently apply pressure to separate the panels, ensuring not to force them and risk causing any unintentional damage.
Installing Speakers and Wiring
Start by positioning the speakers securely on the designated mounting locations, aligning them properly for best sound distribution on your Harley Davidson. When installing speakers and wiring, it's important to take speaker placement and wire routing into account to optimize sound quality.
Here are some key steps to follow:
- Route the bulkhead connector toward the rear of the motorcycle for proper wire installation.
- Connect the power and audio connectors toward the battery area for a secure electrical connection.
- Detach the motorcycle's accessory power and plug it into the two-pin PNA power connector to enable speaker functionality.
- Secure the harness in place using zip ties to prevent loose wiring and potential damage.
Additionally, make sure that the amplifier is compatible with your speakers to maintain excellent sound quality. Waterproofing and vibration resistance are also important factors to take into account to protect your speakers from environmental elements and ensure longevity. By following these steps and considerations, you can successfully install speakers on your Harley Davidson.
Testing and Fine-Tuning
Upon completing the physical installation of the speakers and wiring on your Harley Davidson, the next essential step is to thoroughly test and fine-tune the audio system for best performance.
Begin by testing the sound quality by playing different types of music at various volumes to guarantee clarity and balance across frequencies. Proceed to adjust the amplifier settings, including gain and crossover frequencies, to optimize the audio output.
Fine-tuning the equalizer settings is vital for customizing the sound to your liking, so experiment with different adjustments to achieve the desired audio experience.
Verify that all connections are secure and free of interference, as any loose wiring can impact sound quality. Make any necessary adjustments to speaker placement or balance to further enhance the overall audio performance.
Conclusion
To sum up, by following these step-by-step instructions, you can successfully install speakers on your Harley Davidson. Remember to:
- Choose the right speakers
- Gather necessary tools
- Remove side panels
- Install speakers and wiring
- Test and fine-tune your setup
With attention to detail and precision, you'll be enjoying your favorite tunes on the road in no time.
Ride on with the perfect soundtrack to accompany your journey.

