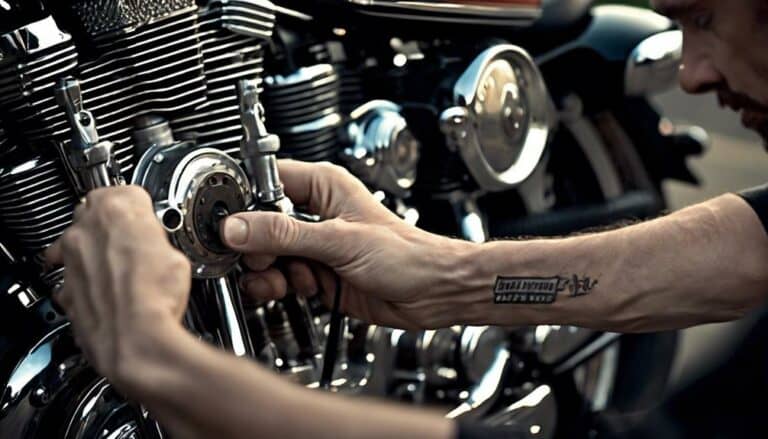
Installing pushrods in a Harley Davidson might seem like an insurmountable task, but with the right guidance, it can be a straightforward process that ensures your engine's optimal performance.
However, before you dive into the installation, there are crucial steps you need to follow to guarantee success. From choosing the right tools to understanding the intricacies of adjusting pushrod length, each step plays a vital role in the smooth operation of your Harley Davidson.
Stay tuned to discover the precise techniques and tips that will elevate your pushrod installation game.
Key Takeaways
- No special tools needed; basic tools suffice for pushrod installation.
- Proper pushrod alignment crucial for optimal engine performance.
- Final testing essential to verify pushrod installation success.
- Having correct pushrod lengths is vital for engine efficiency.
Required Tools and Materials
To efficiently install pushrods in your Harley Davidson, the first thing you need to do is gather basic tools such as a bungee cord, wrenches, needle-nose pliers, and a screwdriver. Even though no special tools are required, having these essentials will make the job much smoother. Additionally, consider using a stubby gear wrench for better handling and leverage during the installation process. The bungee cord plays a crucial role in holding the pushrod in place, allowing for precise adjustments and preventing accidental drops during installation.
When embarking on this task, remember that proper pushrod adjustment is key to avoiding valve train issues and ensuring optimal engine performance. By having the necessary tools at your disposal, you empower yourself to take control of this aspect of your Harley Davidson maintenance. So, gather your tools, set aside some time, and get ready to tackle the pushrod installation with confidence.
Preparing the Harley Davidson
After ensuring the engine has cooled down to prevent burns, carefully remove the pushrod covers to access the pushrods for installation on your Harley Davidson.
Before diving into the pushrod installation process, it's crucial to take the following safety precautions and prepare your bike adequately:
- Checking engine: Ensure the engine is cool to the touch before proceeding to prevent any accidental burns during the pushrod installation.
- Safety precautions: Secure your Harley Davidson in an upright position to prevent any mishaps or accidents while working on the pushrods.
- Cooling procedure: Allow sufficient time for the engine to cool down completely before attempting to remove the pushrod covers and access the pushrods.
- Double-check pushrod lengths: Before installation, verify that the pushrod lengths are correct for your specific Harley Davidson model and year to avoid any fitment issues later on.
Installing the Pushrods
When installing the pushrods in your Harley Davidson, ensure you correctly differentiate between the exhaust and intake pushrods for proper orientation. Proper pushrod alignment is crucial for the smooth operation of your engine. Below is a table summarizing key points to guide you through the pushrod installation process:
| Pushrod Alignment | Troubleshooting | Installation Tips |
|---|---|---|
| Differentiate between exhaust and intake pushrods | Check for O-ring placement to prevent leaks | Carefully insert pushrods |
| Adjust pushrods to eliminate play | Ensure lifter and rocker arm are properly aligned | Use a bungee cord for hands-free adjustments |
| Secure pushrods with bungee cord | Tighten jam nuts to achieve zero lash | Regular maintenance ensures optimal performance |
Adjusting Pushrod Length
Achieve precise valve train geometry and optimal clearances by meticulously adjusting the length of your pushrods. To ensure top performance tuning and engine efficiency, follow these essential steps:
- Utilize adjustable pushrods: These allow for fine-tuning the length to achieve the perfect valve clearance and enhance overall engine efficiency.
- Prevent valve train noise: Incorrect pushrod length can lead to unwanted noise and affect the performance of your Harley Davidson.
- Enhance engine efficiency: Proper pushrod length is crucial for maintaining optimal engine efficiency and getting the most out of your motorcycle.
- Secure tightening: Make sure to securely tighten the pushrods to prevent any issues during engine operation and to maintain consistent performance levels.
Final Checks and Testing
For a comprehensive evaluation of your pushrod installation, meticulously conduct final checks and testing to ensure optimal performance and longevity. After visually inspecting the pushrods for correct alignment, start and run the engine to verify proper operation post-installation. Listen keenly for any unusual noises or vibrations that might indicate incorrect installation, necessitating troubleshooting. To aid in your assessment, monitor the pushrods during the initial rides to confirm they remain appropriately adjusted. Additionally, implement routine ride monitoring and maintenance checks to uphold peak performance. Below is a table summarizing key steps for your final checks and testing:
| Final Checks and Testing | Actions |
|---|---|
| Performance Testing | Start and run the engine |
| Troubleshooting | Listen for abnormal noises/vibrations |
| Noise Detection | Monitor for unusual sounds |
| Vibration Analysis | Check for irregular vibrations |
| Ride Monitoring | Verify pushrod adjustment |
Conclusion
In conclusion, installing pushrods in your Harley Davidson is like fine-tuning a symphony orchestra – each component must be precisely adjusted to ensure optimal performance.
By using adjustable pushrods and following the proper installation process, you can prevent issues and keep your engine running smoothly.
Remember, attention to detail is key to achieving that perfect harmony in your ride.
Ride on with confidence, knowing your engine is finely tuned for the road ahead.

