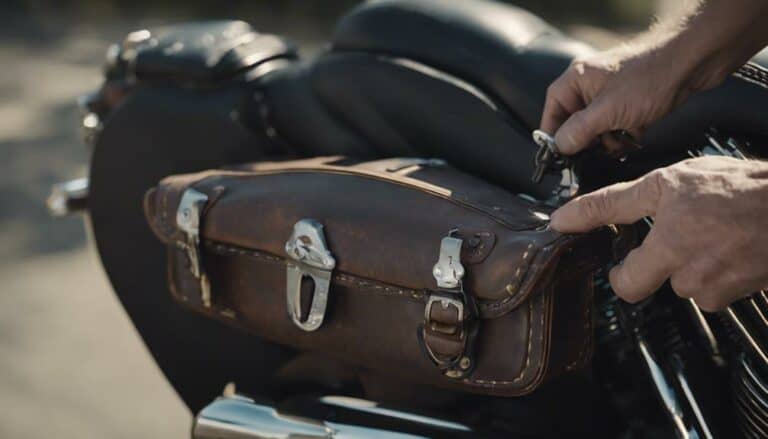
When it comes to installing the Harley Davidson Saddlebag Latch Kit, think of it as giving your bike a new set of keys to unlock its full potential.
The process may seem intricate, but with careful attention to detail and precision, you'll soon have your saddlebags securely fastened and ready for the road.
Whether you're a seasoned DIY enthusiast or someone looking to tackle a new project, the satisfaction of completing this installation will undoubtedly enhance your riding experience.
Key Takeaways
- Remove old hardware, clean surface, align new latch, and test functionality before securing.
- Disconnect cable, remove screws, detach old latch, and ensure all old components are removed.
- Route cable correctly, attach new latch components, align cover, and troubleshoot alignment if needed.
- Secure latch with bolt, washer, Loctite, align correctly, and regularly test for smooth operation.
Preparing the Saddlebag
To prepare the saddlebag for installing the Harley Davidson Saddlebag Latch Kit, begin by removing the existing latches and hardware. Start by thoroughly cleaning the surface where the new latch will be installed. Ensure the area is free of any dirt, grime, or residue that could affect the adhesive's bonding capability.
Next, carefully align the components of the latch kit to verify that everything fits together smoothly. Make any necessary adjustments to the latch alignment to guarantee a perfect fit. This step is crucial to ensure that the latch functions correctly once installed.
Once the alignment is verified, it's time to apply the adhesive as per the manufacturer's instructions. Use the adhesive specifically recommended for the latch kit to ensure a secure attachment. Allow the adhesive to cure fully before proceeding to the next step.
After the adhesive has set, test the functionality of the latch to confirm that it opens and closes smoothly. Make any final adjustments needed before fully securing the latch in place. Following these steps will help you prepare your saddlebag for the new Harley Davidson Saddlebag Latch Kit installation.
Removing the Old Latch
If you've successfully removed the screws and pried off the latch cover, the next step is to unscrew and detach the old latch assembly from the saddlebag. Follow these steps to remove the old latch efficiently:
- Disconnect the Cable: Begin by disconnecting the cable from the latch assembly to ensure it doesn't hinder the removal process.
- Remove the Screws: Carefully remove the screws that are holding the latch cover in place, allowing you access to the latch mechanism.
- Pry off the Cover: Gently pry off the latch cover to reveal the inner workings of the latch.
- Unscrew the Assembly: Use the appropriate tools to unscrew and detach the old latch assembly from the saddlebag.
- Ensure Safety: Before moving on to installing the new latch kit, make sure all components of the old latch are safely removed.
For latch maintenance and troubleshooting tips, or if you're considering custom latch designs or upgrading options, this is the crucial step to kickstart your saddlebag transformation.
Installing the New Latch
When installing the new latch, ensure the cable is correctly routed to prevent binding and guarantee smooth operation. Begin by attaching the barrel nut, screw, and washer to the latch mechanism using blue Loctite to secure proper spring tension.
Align the latch cover and use short screws to fasten it, making adjustments as necessary for a snug fit. Test the lock's functionality before tightening all screws carefully to avoid any potential damage.
Troubleshooting issues may involve readjusting the alignment of the latch components to ensure everything functions correctly. Finish the installation by securing the latches with screws and washers, double-checking that everything is in place for flawless operation.
Securing the Saddlebag
Secure the saddlebag latch firmly using a long bolt, washer, and blue Loctite to ensure a robust attachment.
To maintain the latch properly and ensure the locking mechanism functions correctly, follow these steps:
- Align the Latch: Position the latch correctly before securing it to the saddlebag.
- Insert the Bolt: Place the long bolt through the designated hole on the latch and saddlebag.
- Add the Washer: Slide the washer over the bolt to create a stable base for tightening.
- Apply Blue Loctite: Put a small amount of blue Loctite on the bolt threads before tightening.
- Tighten Securely: Use an appropriate tool to tighten the bolt firmly, ensuring the latch is securely attached.
Testing the Latch Operation
To assess the functionality of the latch, perform a gentle open and close test on the saddlebag. Start by carefully opening the saddlebag using the latch mechanism. Ensure that the latch securely holds the saddlebag in place when closed. Check for any signs of misalignment or difficulty in latching, as these could indicate potential issues. Confirm that the latch engages smoothly without any sticking or resistance during the operation.
As you test the latch operation, make sure to verify that the saddlebag remains securely closed during normal riding conditions. This step is crucial to ensure that the latch is reliable and can withstand the vibrations and movements experienced while riding. If you encounter any issues during the test, consider troubleshooting common problems such as adjusting the alignment of the latch or checking for any obstructions that may be affecting its operation.
Regularly testing the latch operation and performing maintenance checks can help prevent future issues and ensure the proper functioning of your saddlebag latch.
Conclusion
Now that you've successfully installed your Harley Davidson Saddlebag Latch Kit, your ride is ready to hit the road with ease and style.
Just like a well-oiled machine, your saddlebags are securely fastened and ready to carry your essentials on your next adventure.
Feel the satisfaction of a job well done as you cruise down the open road, knowing your gear is safe and secure.
Enjoy the ride!

