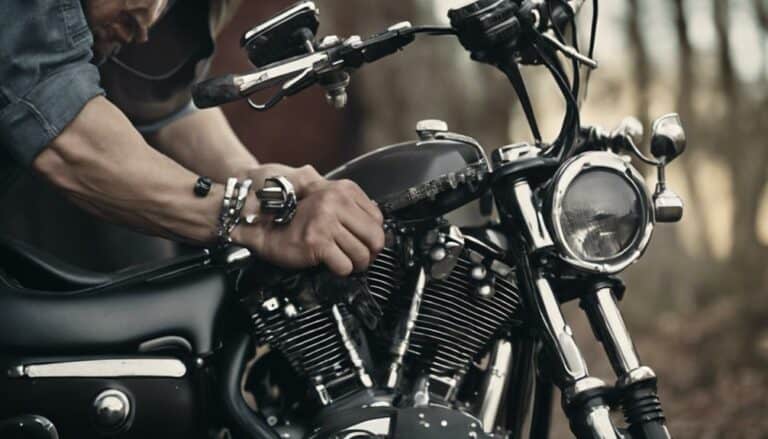
So, you've just purchased a sleek LED Harley Davidson headlight to upgrade your Sportster's look and functionality. As you start the installation process, ensuring proper alignment and wiring is crucial for optimal performance.
But what about adjusting the beam angle to prevent blinding oncoming drivers? Stay tuned to discover key tips and tricks to complete the installation smoothly and efficiently, guaranteeing a safe and stylish ride every time.
Key Takeaways
- Verify headlight compatibility and size for Sportster
- Prepare necessary tools and workspace for installation
- Remove old headlight carefully, inspecting wiring
- Install new headlight securely, test functionality before riding
Checking Headlight Compatibility
Before beginning the installation process, ensure that the Harley Davidson headlight you have is compatible with your specific Sportster model by carefully reviewing the manufacturer's specifications. Start by checking the headlight size to ensure it matches the dimensions required for your Sportster. Incorrect sizing could lead to mounting issues and affect the overall appearance of your bike.
Next, focus on the mounting points of the headlight. Make sure that the mounting brackets on the headlight align perfectly with the mounting points on your Sportster. Any discrepancies here could result in an unstable installation and potential safety hazards while riding.
Gathering Necessary Tools
To begin the installation process, gather essential tools like a Phillips screwdriver, wire stripper, and electrical tape for the upcoming task. Here are some preparation tips to keep in mind as you organize your tools for installing the Harley Davidson Sportster headlight:
- Check Your Tools: Before you start, ensure that your Phillips screwdriver is the correct size to fit the screws on the headlight assembly securely.
- Organize Small Parts: Use a small container or tray to hold the screws and any other small parts you remove during the process. This will help you keep track of everything and avoid misplacement.
- Safety Gear: Consider wearing protective gloves to safeguard your hands against cuts or scratches while handling the headlight and working in tight spaces.
- Workspace Setup: Create a clean and well-lit workspace to facilitate a smooth installation process. Having ample lighting will ensure you can see clearly and work efficiently on your Harley Davidson Sportster.
Removing Old Headlight
Locate the trim ring surrounding the headlight, typically secured by one bottom screw, to initiate the removal process. Once you have found the screw, loosen and remove it to release the trim ring. Pull the trim ring towards you and lift it up to reveal the headlight.
Look for the three screws underneath the headlight that secure it in place. Carefully unscrew and remove them to detach the headlight. After removing the screws, unplug the headlight from the back of the housing. Some models may have tabs on each side that need to be pushed in for disconnection.
Once the headlight is unplugged, you can proceed with cleaning the lens and inspecting the wiring. This is also a good time to consider upgrading the bulb or customizing the trim to your liking. By following these steps, you're well on your way to removing the old headlight from your Harley Davidson Sportster.
Installing New Headlight
When installing the new headlight on your Harley Davidson Sportster, ensure the wiring connections are aligned correctly before securing the headlight in place with screws.
Here are some essential tips to guide you through the process:
- Headlight Alignment Tips: Before tightening the screws completely, adjust the headlight to ensure it's straight and aligned properly with the front of the motorcycle. This step is crucial for optimal visibility while riding at night.
- Headlight Wiring Techniques: Double-check the wire connections to guarantee they match the corresponding colors or markings on both the headlight and the motorcycle's wiring harness. Properly connecting the wires is essential for the headlight to function correctly.
- Secure the Headlight: Once the wiring is correctly aligned, secure the new headlight in place by tightening the screws evenly. Avoid over-tightening to prevent damage to the headlight housing.
- Final Checks: After securing the headlight, give the wires a gentle tug to ensure they're firmly attached. Confirm that the headlight is stable and doesn't move when lightly pushed.
Testing Headlight Functionality
When verifying the functionality of your Harley Davidson Sportster headlight, ensure the motorcycle's ignition is turned on for testing. Check the headlight by activating the high beam and low beam switches. The headlight should illuminate accordingly. To ensure optimal visibility, adjust the beam alignment if necessary. Toggle between high and low beams to confirm that the headlight functions correctly in both settings.
If the headlight doesn't operate as expected, troubleshoot any potential wiring issues. Double-check all connections to ensure they're secure and free of damage. If problems persist, consider seeking assistance from a professional to address any underlying electrical issues effectively.
Properly functioning headlights are crucial for safe riding, especially in low-light conditions. By testing the headlight thoroughly and addressing any problems promptly, you can ensure a reliable lighting system on your Harley Davidson Sportster.
Conclusion
Congratulations! You've successfully installed your new Harley Davidson headlight on your Sportster. Now you can light up the road with style and confidence.
Remember, with your new LED headlight, the possibilities are as bright as the sun.
So get out there and ride into the future with your upgraded visibility and energy efficiency. Enjoy the road ahead like never before!

