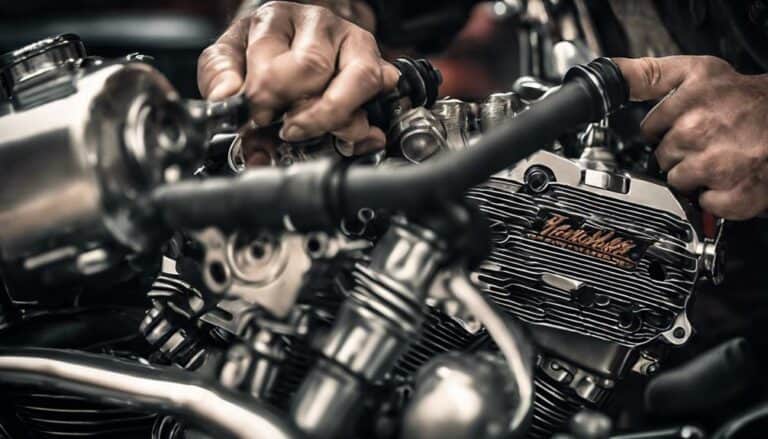
When it comes to installing the Crankcase Breather Kit on your Harley Davidson Evo, think of it as a puzzle waiting to be solved. The process may seem daunting at first, but with patience and attention to detail, you'll soon have your bike purring like a well-oiled machine.
From navigating the intricacies of the kit to ensuring a snug fit on your Evo, every step plays a crucial role in the performance of your ride. So, gear up and get ready to unlock the secrets to a smoother, more efficient engine experience.
Key Takeaways
- Properly remove the old breather system, including hoses and mounting hardware.
- Install the new breather kit with correct alignment and secure fastening.
- Test for leaks and ensure optimal oil drainage after installation.
- Regularly maintain, inspect, and adjust the breather kit for peak performance on your Harley Davidson Evo.
Required Tools for Installation
You'll need a set of basic tools, along with some specific items, to successfully install a crankcase breather kit on your Harley Davidson Evo. Start by gathering wrenches, sockets, and screwdrivers from your toolbox. Head to the hardware store to pick up a wire wheel for cleaning threads, brake cleaner for removing Loctite, and high temperature RTV for seal installation. These specific tools are crucial for a smooth installation process.
When installing the air filter, ensure cleanliness of parts to prevent any debris from entering the engine. Use a plastic hammer for tapping in seals gently to avoid damaging them. A socket and extension will come in handy for the proper placement of components in tight spaces. Remember to torque bolts to the manufacturer's specifications and align timing marks accurately.
Removing the Old Breather System
After gathering the necessary tools for installation, locate the existing breather assembly on the engine to begin removing the old breather system on your Harley Davidson Evo.
- Carefully disconnect any hoses or connections leading to the breather assembly to prepare for removal.
- Use appropriate tools to loosen and remove any mounting hardware securing the old breather system in place.
- Gently lift and remove the old breather system from the engine, ensuring no residual oil or debris falls into the engine.
- Clean the area where the old breather system was located to prepare for the installation of the new crankcase breather kit.
Installing the New Crankcase Breather Kit
To begin installing the new Crankcase Breather Kit on your Harley Davidson Evo, ensure the Z brackets are properly aligned and adjust any holes if necessary for a seamless installation process.
Start by positioning the breather kit in place, making sure the air cleaner aligns correctly with the Z brackets. Secure the kit using hex head bolts instead of the included screws for a more reliable fit.
Next, connect the breather hoses to the appropriate ports on the gear case, ensuring a snug and leak-free connection. Double-check all connections to guarantee proper airflow and functionality.
After installation, inspect the entire system for any signs of leaks or improper oil drainage that could affect performance. Remember to periodically clean and maintain the breather components to prevent any potential issues in the future.
Seek professional advice if your specific bike model requires any unique modifications during the installation process.
Testing and Adjusting the Breather Kit
Upon completing the installation of the Crankcase Breather Kit on your Harley Davidson Evo, the next step is to test and adjust the kit for optimal performance and functionality. Follow these steps to ensure your breather kit is working correctly:
- Test the breather kit for proper fit and alignment with the bike's components.
- Adjust the breather kit positioning to ensure optimal oil drainage and airflow.
- Check for any leaks or obstructions in the breather assembly.
- Verify that the breather kit is securely mounted and stable during operation.
Maintenance Tips for Optimal Performance
Once you have ensured the proper fit and alignment of the Screamin Eagle Crankcase Breather Kit on your Harley Davidson Evo, it's crucial to follow these maintenance tips for optimal performance.
Regularly inspect the breather assembly for any leaks or issues that may affect its functionality. Ensure that the breather system allows proper drainage of oil to prevent blockages and buildup that could hinder performance.
Monitor the impact of the breather kit on your bike's overall performance and engine efficiency to address any changes promptly. Keep the breather components clean and well-maintained to prolong their lifespan and effectiveness.
If you encounter any difficulties or notice unusual symptoms related to the breather kit, seek professional advice to address the issue promptly and prevent further damage. By staying proactive with maintenance, you can ensure that your Screamin Eagle Crankcase Breather Kit continues to perform optimally on your Harley Davidson Evo.
Conclusion
Congratulations on successfully installing the Crankcase Breather Kit on your Harley Davidson Evo!
Just like a finely-tuned engine, your bike is now breathing freely and performing at its best.
Keep an eye on those breather components like a watchful mechanic, ensuring smooth operation and longevity for your ride.
Ride on with confidence, knowing your engine is protected and ready to hit the road with a breath of fresh air.

