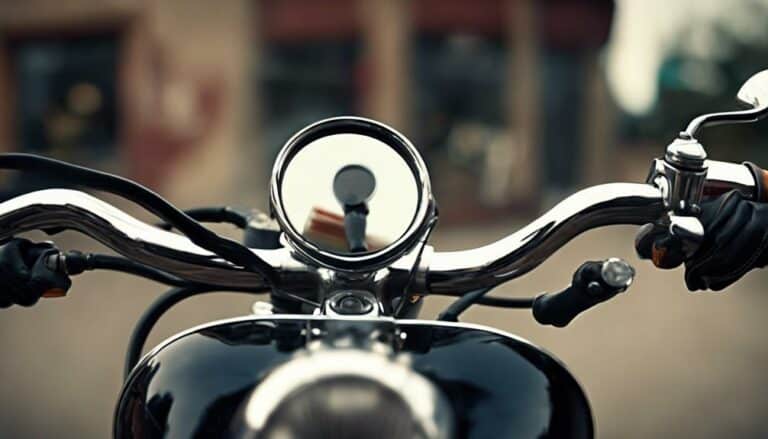
Are you looking to enhance the style and functionality of your Harley Davidson with bar end mirrors?
Installing these mirrors can be a straightforward process, but have you considered all the necessary steps to guarantee a seamless installation?
From selecting the right mirrors to adjusting their position correctly, every detail matters in this process.
Stay tuned for a detailed guide on how to successfully install bar end mirrors on your Harley Davidson and elevate your riding experience.
Key Takeaways
- Use proper tools for precise mirror installation.
- Safely remove stock mirrors for replacement.
- Securely attach bar end mirrors with provided screws.
- Adjust mirror position for optimal visibility and safety.
Required Tools for Installation
To install bar end mirrors on your Harley Davidson, make sure you have the required tools, including a box wrench for improved torque. Having the right tools, such as a box wrench, can greatly ease the process of attaching the mirrors securely on your motorcycle.
When cutting existing grips to accommodate the new mirrors, the box wrench will assist in creating a clean and precise cut, ensuring a snug fit for the mirrors. Additionally, using the box wrench for tightening the screws will help prevent any loosening that may occur over time due to vibrations while riding.
Removing Stock Mirrors
When removing the stock mirrors from your Harley Davidson, locate the mirror mounting bolts on the handlebars. Use the appropriate size wrench or socket to unscrew these bolts carefully.
If your mirrors are equipped with turn signal indicators, remember to disconnect any electrical connections before proceeding. Once the bolts are removed and any electrical connections are disconnected, gently slide the stock mirrors out of the mounting holes on the handlebars.
Be cautious not to damage any surrounding parts during this process. It's essential to store the removed stock mirrors in a safe place in case you may need them in the future or if you plan to sell them.
Installing Bar End Mirrors
Consider obtaining specific grips and a throttle tube replacement to guarantee proper functionality when installing bar end mirrors on your Harley Davidson. When installing bar end mirrors, it's essential to follow precise steps to ensure a secure and effective setup. Here's a quick guide to get you started:
- Secure the Grips: Take a look at your existing grips and carefully cut them to make room for the bar end mirrors. This step is vital for a clean installation and best performance.
- Attach the Mirrors: Use the provided screws to securely fasten the bar end mirrors onto your Harley Davidson. Ensure a tight fit to prevent any potential loosening while riding.
- Test for Stability: After installation, give your mirrors a firm shake to check for stability. Adjust as needed to eliminate any wobbling or movement during use.
Adjusting Mirror Position
Adjusting the mirror position requires loosening the mounting screws on the mirror base using a screwdriver or Allen wrench. Once the screws are loosened, you can easily rotate the mirror to your desired angle for best visibility while riding your Harley Davidson.
Make sure to tighten the mounting screws securely after adjusting the mirror to prevent any movement while on the road. It's important to check the mirror position from your riding stance to make sure it offers a clear view of the traffic behind you.
Regularly monitor and readjust the mirror position as needed to maintain safety and visibility during your rides on your Harley Davidson. By following these simple steps, you can ensure that your mirrors are properly adjusted to enhance your overall riding experience and keep you aware of your surroundings at all times.
Final Checks and Test Ride
Before starting on your test ride, make sure that the bar end mirrors on your Harley Davidson are securely attached and correctly aligned.
- Check Screw Tightness: Before hitting the road, make certain the screws holding the mirrors are tight to prevent any potential loosening while riding.
- Maximize Visibility: Adjust the mirror position for best visibility of your surroundings and to prevent any obstructions to your view.
- Visibility Assessment: Conduct a visual inspection from different angles to confirm correct positioning and functionality of the mirrors.
After verifying the installation and alignment, take a short test ride to assess the stability, visibility, and functionality of the bar end mirrors on your Harley Davidson.
During the test ride, pay attention to how well you can see behind you and any blind spots that may arise. Confirm that the mirrors stay in place and provide clear visibility without vibrations.
Once you're satisfied with the visibility and stability, you can confidently enjoy your ride with the newly installed bar end mirrors.
Conclusion
To sum up, installing bar end mirrors on your Harley Davidson can greatly enhance its appearance and functionality. By carefully following the instructions and using the right tools, you can easily complete the installation process.
Remember to adjust the mirror position for best visibility before taking your bike out for a test ride. With precision and patience, your Harley will be sporting stylish and practical bar end mirrors in no time.

