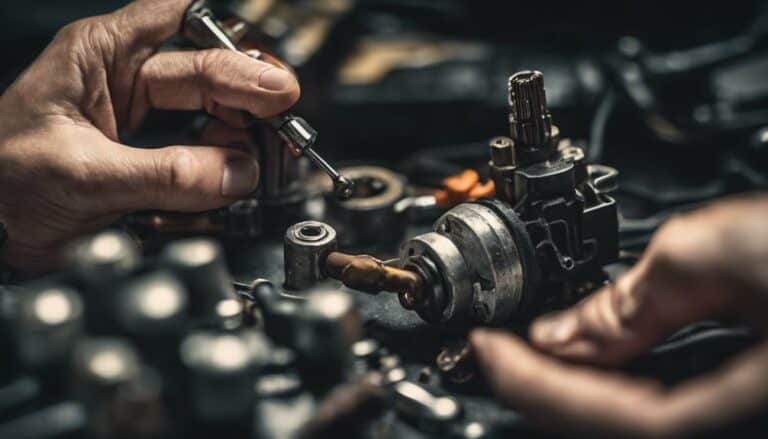
Have you ever wondered if a misaligned ignition switch could be the cause of your Harley Davidson's starting issues?
It's essential to pinpoint the root of the problem before attempting any fixes. Understanding the intricacies of the ignition switch is crucial for a successful repair, but what specific steps should you take to ensure a proper alignment and functioning ignition system?
Let's explore some practical tips that could help you resolve this common Harley Davidson problem efficiently and effectively.
Key Takeaways
- Regular maintenance and inspection prevent ignition switch issues.
- Upgrade components for enhanced performance and longevity.
- Clean, lubricate, and troubleshoot for optimal functionality.
- Replace the ignition switch carefully following proper procedures.
Checking the Ignition Switch
To begin assessing the ignition switch on your Harley Davidson, carefully remove the lower dash panel to gain access to the switch. Utilize a 5/32 hex head t-handle to loosen the screws securing the ignition switch in place. Exercise caution to prevent any harm to the switch during this process.
Keep an eye out for small torx screws located on the back of the ignition switch that may require attention. Gently slide the ignition switch upward to detach it from the assembly. Once separated, inspect the internal components for any signs of trouble. Troubleshoot connections to ensure they're secure and functioning correctly.
Consider upgrading components if necessary to enhance the performance of your ignition system. This meticulous examination will help you identify any issues with the ignition switch and address them promptly, ensuring optimal functionality of your Harley Davidson.
Inspecting for Wear and Tear
Inspect the ignition switch on your Harley Davidson for signs of wear and tear, focusing on corrosion, loose connections, frayed wires, and any obstructions in the key slot that could impact its functionality.
- Identifying common issues:
Look closely for any corrosion on the switch, which can hinder proper electrical contact. Check for loose connections that may cause intermittent starting problems. Inspect for frayed wires that could lead to electrical shorts.
By examining these key areas, you can pinpoint potential problems before they escalate, ensuring the smooth operation of your ignition switch.
- Preventing future problems:
Regularly inspecting and maintaining your ignition switch can help prevent unexpected breakdowns or starting issues. By addressing wear and tear early on, you can avoid costly repairs down the line and enjoy uninterrupted rides on your Harley Davidson.
Cleaning and Lubricating the Switch
Start by thoroughly cleaning and lubricating the ignition switch on your Harley Davidson to ensure optimal performance and longevity. Cleaning the ignition switch is crucial to prevent malfunctions and ensure smooth operation. Remove any dirt, debris, or grime that may affect its functionality.
Use a contact cleaner to eliminate corrosion or buildup on the switch contacts, improving performance. After cleaning, apply a suitable lubricant like dielectric grease to protect the switch from moisture and prevent sticking. Lubrication helps in enhancing the switch's overall performance.
Regular maintenance of the ignition switch is essential to prevent issues and extend the lifespan of your Harley Davidson motorcycle. By incorporating these cleaning and lubricating practices into your routine maintenance, you can enjoy a reliable ignition system that operates smoothly, ultimately improving the performance of your bike.
Testing the Ignition System
Begin by verifying that the ignition unit is securely installed on your Harley Davidson before proceeding with testing the ignition system. To ensure accurate testing, follow these steps:
- Troubleshooting Connections: Check all wiring connections leading to the ignition unit for any signs of wear, corrosion, or loose connections. Secure any loose wires and replace any damaged ones to guarantee proper electrical flow.
- Testing Electrical Continuity: Utilize a multimeter to test the electrical continuity of the ignition system components. Check for any interruptions in the electrical flow that could indicate a malfunction in the system.
- Checking Alignment: Verify that all components, including the ignition switch and key cylinder, are properly aligned within the ignition unit. Misalignment could lead to issues with the ignition system's functionality.
Replacing the Ignition Switch
To properly replace the ignition switch on your Harley Davidson, ensure you have the necessary tools and follow these step-by-step instructions. Begin by removing the lower dash panel using Torx 27 bolts. Disconnect the two dead-headed plugs behind the lower dash panel to proceed with the ignition switch removal. Use a 5/32 hex head t-handle to back out the screws on the ignition switch for removal. Slide the ignition switch up to reveal the components inside for replacement or repair. The ignition switch removal process involves small torx screws on the back of the ignition that need to be accessed and removed carefully.
| Step | Instructions | Tools Required |
|---|---|---|
| 1 | Remove lower dash panel | Torx 27 bolts |
| 2 | Disconnect dead-headed plugs | – |
| 3 | Back out screws on ignition | 5/32 hex head t-handle |
| 4 | Slide up ignition switch | – |
| 5 | Access and remove torx screws | Small torx tool |
Conclusion
After following the steps to fix your Harley Davidson ignition switch, you can now rev up your bike with confidence. Imagine the smooth click as you turn the key, feeling the power surge through the engine.
Ride off into the sunset knowing your ignition switch is in top condition, ready for all your future adventures on the open road.

