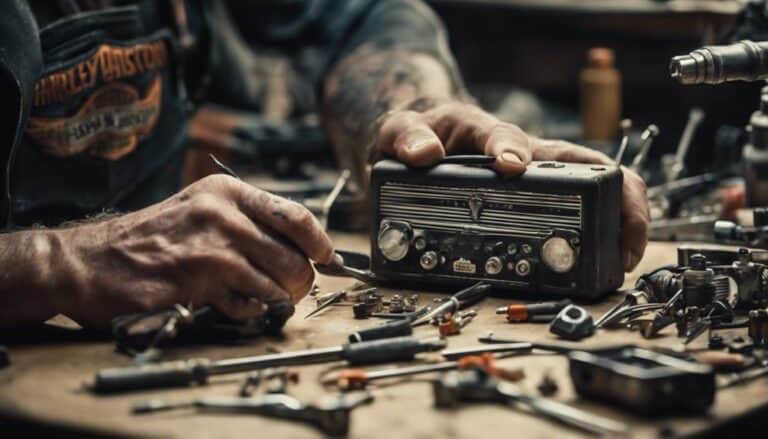
When your Harley Davidson radio hits a sour note, it's like trying to ride with a flat tire; you're missing out on the full experience.
Before you start revamping your entire system, consider a simple check that might just tune things back to perfection. By following a few key steps, you could be back on the road with crystal-clear sound in no time.
Don't let those radio waves fade into silence just yet; a smooth ride might be closer than you think.
Key Takeaways
- Check power supply for blown fuses and voltage stability.
- Ensure proper wiring connections and antenna for optimal function.
- Troubleshoot audio issues by checking fuses and connections.
- Keep software updated and seek professional help for intricate problems.
Checking Power Supply
Have you checked the fuse box for any blown fuses that might be causing your Harley Davidson radio to power off unexpectedly while riding?
When troubleshooting your Harley Davidson radio, it's crucial to ensure voltage stability in the power supply. Fluctuating voltage can lead to malfunctions in the radio's operation. Start by conducting a thorough electrical inspection and maintenance routine. Look for any loose wires, damaged components, or signs of wear that could be impacting the radio's performance.
By verifying the power supply's stability and addressing any issues with the fuse box, you can eliminate potential causes of the radio powering off while riding. Regular maintenance and inspections are key to ensuring your radio functions optimally.
Stay vigilant in checking for any abnormalities in the electrical system to prevent future disruptions in your riding experience.
Inspecting Wiring Connections
Inspect the wiring connections in your Harley Davidson radio system for aftermarket harnesses and unclear connections inside the fairing. Ensure that all wires are properly connected and organized to avoid signal interference and potential audio issues. Here is a table to help you analyze and manage the wiring connections effectively:
| Action | Description |
|---|---|
| Identify Aftermarket Harnesses | Look for any non-standard wiring harnesses that may be affecting the radio. |
| Check for Unclear Connections | Inspect the fairing for any ambiguous or loosely connected wires. |
| Remove Unnecessary Wires | Eliminate any extra wires, plugs, or accessories that are not essential. |
| Reconnect Disconnected Wires | Ensure that all necessary wires, including the CB functions wiring, are properly connected. |
| Verify Antenna Connection | Make sure the antenna is correctly connected to enhance radio reception. |
Troubleshooting Audio Issues
After ensuring all wiring connections are secure and organized, the next step in troubleshooting audio issues on your Harley Davidson radio is to thoroughly check for blown fuses in the fuse box while riding. Blown fuses can disrupt power supply to the radio, causing audio problems.
Additionally, inspect the antenna connections and perform regular maintenance to ensure optimal radio reception and audio quality. If you're experiencing poor sound quality, consider speaker upgrades like Rockford Fosgate speakers to enhance your listening experience on the road. Ensure that the speakers are correctly installed and compatible with your Harley Davidson model.
Remove any unnecessary wiring or plugs that could be interfering with the audio system's performance. By systematically troubleshooting these audio issues, you can enjoy clear and crisp sound while cruising on your Harley Davidson.
Updating Software and Firmware
To ensure optimal performance of your Harley Davidson radio, regularly check the manufacturer's website for software updates and firmware upgrades specific to your radio model. Keeping your radio's software and firmware up to date is crucial for stability and performance enhancements.
When updates are available, download the latest software and firmware onto a USB drive formatted to FAT32 for compatibility with your radio system. Insert the USB drive into the radio's USB port to initiate the update process following the manufacturer's instructions carefully. Once initiated, follow the on-screen prompts to complete the software and firmware update successfully.
Seeking Professional Help
If you encounter intricate radio issues beyond basic troubleshooting, seeking professional help from a certified Harley Davidson technician is advisable for expert diagnosis and potential upgrades to ensure optimal radio performance. These technicians possess specialized knowledge to identify and rectify complex wiring, connection, or power supply problems that may be causing issues with your Harley Davidson radio system.
Here are some reasons why consulting a professional for help is beneficial:
- Expert Diagnosis: Professionals can accurately diagnose the root cause of the radio problems.
- Specialized Knowledge: Technicians have the expertise to address intricate issues that may be challenging to resolve independently.
- Prevent Further Damage: Seeking professional assistance can prevent exacerbating the existing problems and ensure the longevity of your Harley Davidson radio system.
Conclusion
Congratulations! By following these steps, your Harley Davidson radio will be back to top-notch quality in no time.
You'll be amazed at the transformation in sound quality and reliability that comes from upgrading the radio and speakers. Say goodbye to frustrating power issues and audio glitches – with a little bit of effort and know-how, your Harley will be rocking out on the road once again.
Get ready to enjoy your music like never before!

