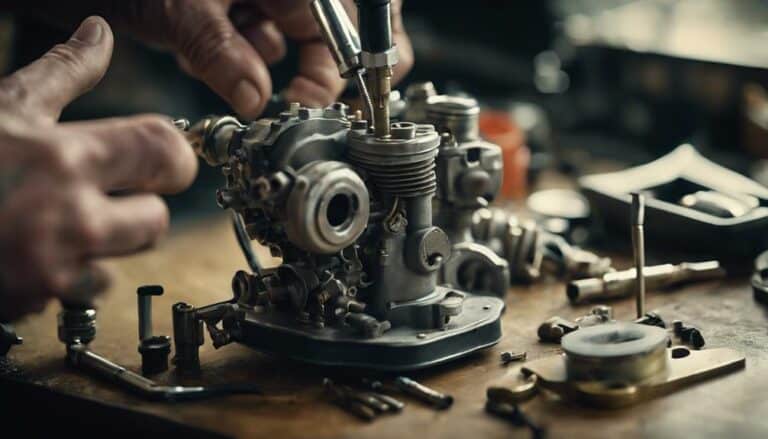
When it comes to cleaning a Harley Davidson carburetor, think of it as peeling back the layers of an intricate machine. Step by step, each piece revealing its importance within the system.
But what happens when you encounter stubborn residue or intricate components that seem daunting to handle? Well, you're about to uncover some expert tips that will guide you through this meticulous process, ensuring your Harley runs smoothly and efficiently.
So, let's dive into the world of carburetor maintenance and unravel the secrets to keeping your ride in top shape.
Key Takeaways
- Gather essential tools: 9/16 deep socket, 17mm wrench, vise grips, and 8mm socket for thorough carburetor cleaning.
- Follow precise steps: Remove, disassemble, clean, and reassemble carburetor components meticulously for improved performance.
- Ensure proper reassembly: Securely reinstall main jet, accelerator pump bracket, slide, and needle with attention to detail.
- Test functionality: Reinstall carburetor correctly, align choke cable, and vacuum line, consulting the manual for precise instructions.
Tools Required for Cleaning
To successfully clean a Harley Davidson carburetor, gather the necessary tools including a 9/16 deep socket, 17mm wrench, vise grips, and an 8mm socket. These tools are essential for maintaining the carburetor and fine-tuning its performance. Carburetor maintenance is crucial for keeping your Harley running at its peak.
When it comes to performance tuning, having the right tools is half the battle. The 9/16 deep socket is perfect for removing the carburetor from the bike, while the 17mm wrench ensures a secure grip when disassembling components. Vise grips come in handy for holding parts in place during cleaning, and the 8mm socket is ideal for accessing hard-to-reach areas.
Proper maintenance of your carburetor involves attention to detail. By using these tools correctly, you can ensure that each component is thoroughly cleaned and inspected. Stay focused on the task at hand, and you'll soon have your Harley roaring back to life with improved performance.
Removing the Carburetor
Using your 9/16 deep socket, carefully remove the air filter box to access the carburetor on your Harley Davidson.
Once the air filter box is off, detach the choke and bracket using a 17mm wrench.
Before completely removing the carburetor, tilt it to disconnect the vacuum line. Be cautious not to damage any components during this step.
Inspect the carburetor screws, and if necessary, use vise grips for removal to ensure a thorough cleaning for optimal carburetor maintenance.
When cleaning the main jet, use an 8mm socket and handle it carefully to prevent any enlargement of the hole.
After cleaning, reassemble the carburetor by reinstalling components like the accelerator pump bracket and slide securely. Ensuring all parts are correctly in place is crucial for maintaining your motorcycle performance.
This process will help enhance the efficiency and longevity of your Harley Davidson by keeping the carburetor in top condition.
Disassembling the Carburetor Parts
Inspect the carburetor for any visible signs of wear or dirt accumulation before proceeding with disassembly. To effectively disassemble the carburetor parts, follow these steps:
- Use a 9/16 deep socket to remove the air filter box and gain access to the carburetor.
- Detach the choke and bracket using a 17mm wrench before tilting the carburetor to remove the vacuum line.
- Carefully inspect and remove screws with vise grips if necessary to disassemble the carburetor.
- Inspect the main jet with an 8mm socket, clean it with a wire brush, and reinstall it securely to ensure proper fuel flow.
Proper maintenance of the carburetor is crucial for optimal bike performance. These troubleshooting tips will help you identify any issues and address them effectively. By following these precise disassembly steps and paying attention to details, you can ensure that your Harley Davidson carburetor is clean and functioning correctly.
Cleaning and Reassembling
When cleaning and reassembling a Harley Davidson carburetor, meticulous attention to detail is crucial for optimal performance and longevity of your bike.
Start by using a 9/16 deep socket to remove the air filter box and access the carburetor.
Inspect and clean the main jet with an 8mm socket, ensuring no dirt or debris is left behind to prevent any issues.
Carefully reinstall the accelerator pump bracket and linkage, cleaning brass components with steel wool if needed to maintain proper functionality.
Clean the slide and needle inside the carburetor, making sure the rubber gasket is correctly in place for a secure fit.
Verify all components are securely reinstalled, including the choke cable and vacuum line, before checking the carburetor's functionality for any troubleshooting tips.
This detailed process not only ensures a clean carburetor but also contributes to performance improvements on your Harley Davidson.
Reinstalling the Carburetor
To ensure a seamless reinstallation process of the carburetor on your Harley Davidson, meticulously align and securely reattach the choke cable and vacuum line to their designated connections. Make sure to follow these steps for a successful reinstallation:
- Double-check the proper placement of all components, including the accelerator pump bracket linkage and slide with needle.
- Turn on the ignition post reinstallation and test the functionality of the carburetor to guarantee proper installation and performance.
- Consult the Harley Davidson manual for precise instructions and specifications regarding the carburetor reinstallation process.
- Ensure the correct installation of the top ring and breather to finalize the carburetor reassembly on your Harley Davidson.
Conclusion
Congratulations! You have successfully cleaned your Harley Davidson carburetor and avoided a potential disaster waiting to happen. Remember, neglecting maintenance on your carburetor can lead to poor performance and costly repairs.
So, keep up with regular cleanings to ensure your bike stays running smoothly and efficiently. Happy riding!

