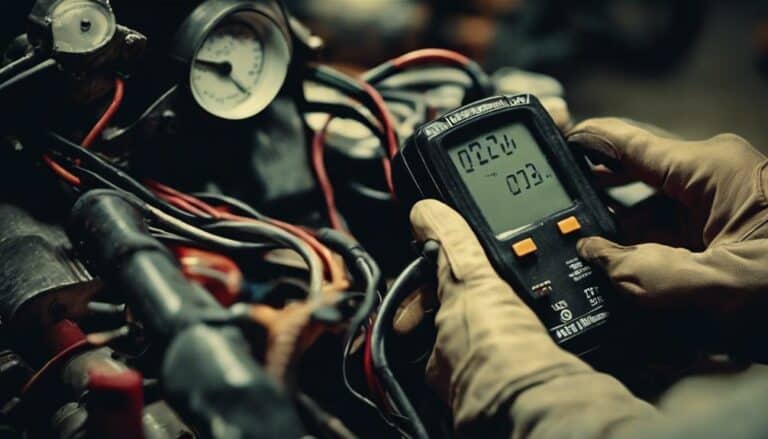
When inspecting the charging system on your Harley Davidson, start by scrutinizing the battery to ensure it maintains the proper voltage range.
However, don't halt your evaluation there; there's a crucial component that often goes unnoticed but can wreak havoc if neglected.
By focusing on this often-overlooked element, you can ensure a comprehensive assessment of your charging system's health, leading to a more robust and reliable Harley experience.
Explore how this often-underestimated part can impact your ride's performance and longevity.
Key Takeaways
- Understand the role of stator, regulator, and battery for a reliable charging system.
- Utilize digital multimeter for comprehensive testing and accurate results.
- Focus on testing stator, regulator, and battery for optimal performance.
- Regular maintenance and attention to detail ensure longevity and efficient charging.
Understanding the Charging System
To understand the charging system on a Harley Davidson, grasp the interplay between the stator, regulator, and battery in maintaining electrical power.
The stator, a stationary component within the motorcycle's engine, generates the electrical current when the engine is running. This alternating current is then converted to direct current by the regulator, which ensures a consistent voltage output to charge the battery. The battery acts as a reservoir, storing electrical energy to power the motorcycle's electrical components when the engine is off.
The stator's role is crucial as it's responsible for producing the electricity needed to power the motorcycle while in operation. If the stator malfunctions, it can lead to charging issues and drain the battery. The regulator plays a vital role in controlling the voltage output to prevent overcharging or undercharging the battery, ensuring optimal performance and longevity. Understanding how these components work together is essential for maintaining a reliable charging system on your Harley Davidson.
Necessary Tools for Inspection
Understanding the charging system on a Harley Davidson requires having the necessary tools for inspection, including a digital multimeter, battery terminal cleaner, and a service manual. To ensure you're equipped to assess your big twin's charging system accurately, here's what you need:
- Digital Multimeter: This tool is your go-to for measuring voltage, current, and resistance. It's crucial for identifying any irregularities in the system.
- Battery Terminal Cleaner: Keep those connections clean for accurate readings and optimal charging performance.
- Service Manual: Your roadmap to success. It provides step-by-step instructions and specific guidelines for testing and troubleshooting the charging system effectively.
- Patience: Rushing through the process can lead to overlooking critical details. Take your time to get it right.
- Attention to Detail: The devil is in the details. Paying close attention to every step ensures you're on the right track to diagnosing and resolving any charging system issues on your Harley Davidson.
Step-by-Step Testing Procedure
Commence the testing procedure by verifying the battery voltage and terminals' condition using a meter to ensure they fall within the optimal charging range. Troubleshooting techniques involve using a service manual to decode any speedometer messages indicating charging system problems.
Test the stator using the meter to check resistance, output voltage, and ensure it isn't grounded. A milliamp test helps diagnose battery drain issues affecting the charging system. If an intermittent charging problem persists, focus on testing the regulator.
This step-by-step diagnostic process is crucial in identifying common issues within the charging system. By following these precise steps and conducting each test meticulously, you can pinpoint the root cause of any charging system anomalies.
Stay methodical and thorough throughout the diagnostic process to efficiently resolve any potential charging system issues on your Harley Davidson.
Interpreting Test Results
Interpret the test results obtained from checking the stator and regulator to effectively identify potential issues in the charging system. When analyzing these results, consider the following:
- Fault Diagnosis: Pay close attention to any irregularities in the readings that could indicate a malfunction in either the stator or regulator.
- Voltage Regulation: Look for consistent voltage output from the stator and regulator to ensure proper functioning of the charging system.
- Troubleshooting Techniques: Use the meter to check stator resistance and output voltage, ruling out any grounding issues that may affect the system's performance.
- Specific Codes: Be aware of specific diagnostic codes like Pio 56 that could point towards low battery voltage at the ECM, aiding in pinpointing potential problems.
- Battery Drain: Interpret the milliamp test readings to diagnose any battery drain issues, helping you to locate the source of the problem efficiently.
Maintenance Tips for Longevity
To ensure the longevity of your Harley Davidson's charging system, regularly maintain and inspect key components as per the manufacturer's guidelines. Implement preventative measures by checking and cleaning the battery terminals frequently to ensure a solid connection for efficient charging. Use a multimeter to measure the voltage output of the battery while the motorcycle is running to confirm the charging system's functionality.
Inspect the stator for proper resistance values and output voltage to verify its ability to generate electricity for the battery. Test the regulator's functionality by ensuring it can control and maintain the charging voltage within the recommended range.
Following the manufacturer's maintenance schedule for the charging system components is crucial to prevent premature failure and ensure the system's longevity. By incorporating these troubleshooting tips and diagnostic techniques into your regular maintenance routine, you can proactively address issues and preserve the health of your Harley Davidson's charging system.
Conclusion
Now that you have successfully tested the charging system on your Harley Davidson, you can rest assured knowing your electrical system is in good working condition.
Remember, regular maintenance is key to ensuring longevity and optimal performance.
Don't let the complexity of the process deter you – with the right tools and knowledge, you can easily diagnose and address any potential issues.
Keep your bike running smoothly and enjoy the ride!

