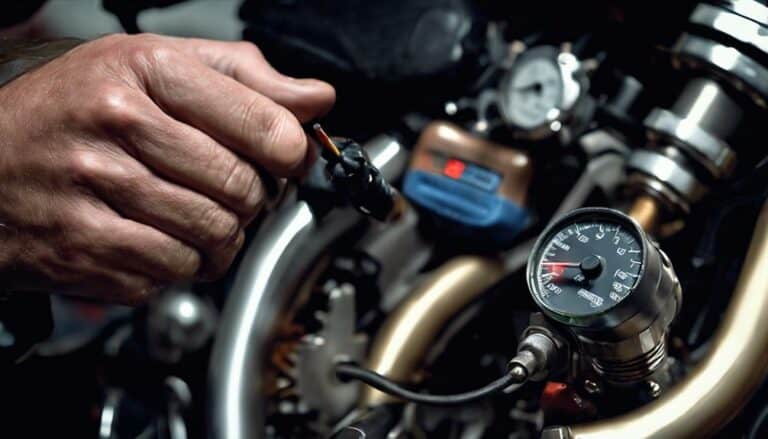
So, you've noticed some irregularities in your Harley Davidson's performance, and suspect the crankshaft sensor might be the culprit. Well, before jumping into dismantling the entire system, it's vital to understand the intricacies of this sensor and how it impacts your bike's operation.
By following a systematic approach to checking the sensor's functionality, you can guarantee a smooth ride and potentially avoid costly repairs down the line.
Let's uncover the steps to assess the crankshaft sensor on your 2012 Harley Davidson and get your bike back on the road with confidence.
Key Takeaways
- Position and functionality: Crankshaft sensor near pulley, detects position/speed for fuel/ignition timing.
- Inspection and removal: Use multimeter, locate sensor, disconnect, inspect for damage.
- Testing functionality: Check pulse signal with oscilloscope, verify power/signal circuits for irregularities.
- Reinstallation and maintenance: Align sensor correctly, torque to specs, ensure secure wiring, regular maintenance for optimal performance.
Location of the Crankshaft Sensor
The crankshaft sensor on a 2012 Harley Davidson motorcycle is typically positioned near the crankshaft pulley or flywheel. This important component can often be found on the engine block, situated in close proximity to the crankshaft itself.
Its primary function is to detect the crankshaft's position and rotational speed, playing a pivotal role in facilitating precise fuel injection and ignition timing within the engine system of your Harley Davidson bike.
To access the crankshaft sensor for inspection or maintenance purposes, you may need to remove certain engine components or protective covers to guarantee clear visibility. Referencing the Harley Davidson service manual specific to your model is advised to obtain detailed guidance on the exact location and method for accessing the crankshaft sensor.
Proper identification and maintenance of this sensor are essential for ensuring excellent performance and longevity of your Harley Davidson motorcycle.
Tools Needed for Inspection
For inspecting the crankshaft sensor on your 2012 Harley Davidson, you'll need a digital multimeter.
To make sure an accurate assessment, follow these steps:
- Digital Multimeter: A digital multimeter is essential for measuring the resistance of the crankshaft sensor. It provides precise readings necessary for diagnosing any issues accurately.
- Specific Resistance Value: Look for the recommended resistance value specified by the manufacturer for the crankshaft sensor. Deviations from this value could indicate a problem with the sensor.
- Secure Wiring Connections: Before testing, make sure the sensor is disconnected from the wiring harness. This step helps prevent interference and guarantees the readings are reliable.
Steps to Remove the Sensor
To proceed with removing the sensor from your 2012 Harley Davidson for inspection, start by locating the crankshaft sensor on the engine casing. Using the appropriate tools, carefully disconnect the electrical connector that's attached to the sensor.
Next, unscrew the mounting bolt or bolts that secure the sensor in place on the engine block. Once the bolts are removed, gently wiggle and pull the sensor out of its position, taking care not to damage any surrounding components in the process.
It's important to handle the sensor delicately to prevent any harm during removal. Once the sensor is out, inspect it thoroughly for any signs of damage or wear. If any issues are detected, it may be necessary to install a new sensor.
Testing the Sensor's Functionality
When testing the functionality of the sensor, make sure you have the necessary tools and equipment ready for accurate measurements and analysis. To guarantee a thorough assessment, follow these steps:
- Use an Oscilloscope for Pulse Signal: Check for a pulse signal using an oscilloscope while the engine is spinning to verify the sensor's functionality accurately.
- Verify Power Supply and Ground: If an oscilloscope isn't available, confirm the CKP sensor's power supply, ground, and signal circuit to rule out any potential issues with the sensor's connections.
- Check Voltage Signals: Measure the DC supply voltage from the B+ wire to ground and inspect the signal wire for a voltage signal during engine rotation. This will help identify any irregularities in the power supply or signal transmission from the sensor.
Reinstalling the Crankshaft Sensor
Have you confirmed the proper alignment of the crankshaft sensor with the mounting position on the engine during the reinstallation process? Ensuring precise alignment is important for the sensor to function correctly.
Use a torque wrench to secure the sensor following the manufacturer's specifications. This step prevents any operational issues that may arise from loose fittings.
Double-check the wiring harness connection to guarantee a secure electrical contact, which is essential for reliable sensor operation. Additionally, inspect the sensor O-ring for any signs of damage or wear. Replace the O-ring if necessary to prevent oil leaks or contamination.
Before starting the engine, perform a final inspection to verify that the crankshaft sensor is correctly installed and functioning as intended. By paying attention to these details during the reinstalling process, you can ensure the best performance and longevity of the crankshaft sensor in your 2012 Harley Davidson.
Conclusion
After a meticulous inspection and testing process, the crankshaft sensor on your 2012 Harley Davidson has been verified to be in excellent working condition.
Picture the engine purring smoothly like a well-oiled machine, thanks to the accurate readings provided by the sensor.
With this important component functioning flawlessly, you can ride with confidence knowing that your Harley is operating at its peak performance level.

