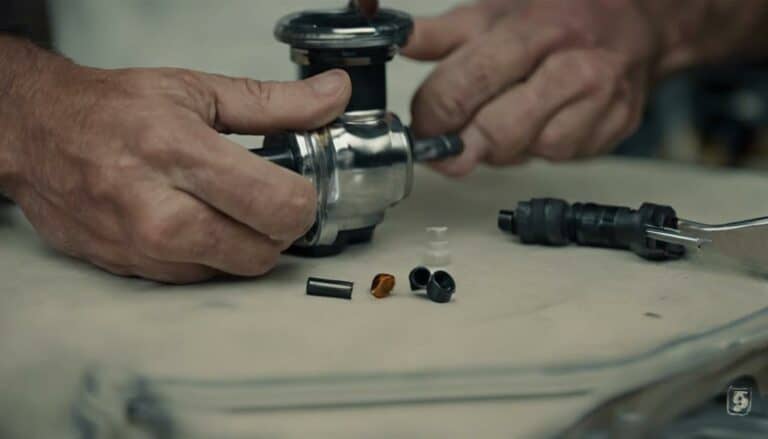
When it comes to changing the fuel filter on your 2013 Harley Davidson Dyna, it's like peeling back the layers of a mystery to uncover improved performance and efficiency.
The process might seem daunting, but with the right guidance and tools, you'll be well on your way to ensuring your bike runs smoothly and reliably.
So, are you ready to unveil the steps that will help you master this essential maintenance task and get your Dyna purring like a well-oiled machine?
Key Takeaways
- Use Lisle fuel pump tool or alternatives for filter removal.
- Ensure correct installation of new filter for secure fit.
- Test fuel system post-replacement for leaks and performance.
- Confirm improved performance and efficiency after changing the fuel filter.
Tools and Materials Needed
Optionally, occasionally refer to the Lisle fuel pump assembly removal tool when changing the fuel filter on your 2013 Harley Davidson Dyna. This tool, priced around $30 on Amazon, is a valuable asset for various touring models, including the Road King. It minimizes the chances of scratching the paint during the filter replacement process. However, if you don't have this specific tool, a punch or a flathead screwdriver along with a hammer can also serve the purpose effectively. While these alternatives may work, using the correct tool is recommended for a smoother and safer fuel filter replacement on your Harley Davidson Dyna.
Having the right tools and materials at hand is crucial for this task. Alongside the removal tool, make sure to have a new fuel filter ready for installation. Having a clean work area, some rags, and possibly gloves will also aid in the process. By being prepared and using the appropriate tools, you can ensure a successful fuel filter change on your Road King.
Locating the Fuel Filter
To locate the fuel filter on your 2013 Harley Davidson Dyna, you'll need to access the filter inside the fuel tank by removing the tank dash bolts and other components on top of the tank. The fuel filter is an integral part of the fuel pump assembly within the tank.
Begin by disconnecting the negative battery cable to ensure safety. Remove the seat to access the tank. Then, carefully unbolt the tank's dash bolts using the appropriate tools. These bolts secure the top components of the tank, allowing you to lift them off and reveal the fuel pump assembly inside.
The fuel filter is housed within this assembly. Take note of the filter's position and how it's connected within the pump. This step is crucial for successfully removing the old filter in the next part of the process. Properly removing the tank dash bolts will grant you access to the fuel filter for replacement.
Removing the Old Fuel Filter
Using a Lisle fuel pump assembly removal tool or a punch, loosen the ring securing the old fuel filter. Once the ring is loosened, carefully lift the ring and the filter out of the pump assembly to prevent damage. Remember to pay attention to how they're positioned for when you install the new filter.
- Handle with Care: Lift the ring and filter out gently.
- Inspect for Debris: Check the old filter for clogs or debris.
- Clean Surrounding Area: Ensure the filter housing is free of contaminants.
Installing the New Fuel Filter
When installing the new fuel filter on your Harley Davidson Dyna, ensure the tabs and pins are aligned correctly for a secure fit within the pump assembly. Follow these steps for a successful installation:
| Steps | Instructions | Tools Needed |
|---|---|---|
| 1. Remove Old Filter | Use the Lisle fuel pump assembly removal tool to loosen the ring securing the old fuel filter. | Lisle fuel pump assembly removal tool |
| 2. Replace with New One | Lift the ring and the old filter out carefully. Replace it with a new fuel filter, aligning tabs and pins correctly. | New fuel filter |
| 3. Reinsert Filter | Reinsert the filter assembly back into the pump. Secure it with the ring by aligning and clicking it in place. | |
| 4. Install Seal | Install the seal with part number 61402-08 over the filter without disconnecting hoses to complete the installation. | Seal with part number 61402-08 |
Testing the Fuel System
After replacing the fuel filter on your Harley Davidson Dyna, ensure proper fuel flow by testing the system through multiple ignition cycles.
- Turn the ignition on and off several times to confirm fuel flow to the filter.
- Inspect the fuel system for any leaks or abnormalities post-filter replacement to prevent potential issues.
- Start the motorcycle and let it run for a few minutes to validate the successful fuel filter replacement.
Conclusion
Now that you have successfully changed the fuel filter on your 2013 Harley Davidson Dyna, you can enjoy improved throttle response and fuel flow.
Regular maintenance like this not only enhances your bike's performance but also saves you money in the long run.
Make sure to follow the recommended service manual guidelines for optimal results.
Happy riding!

