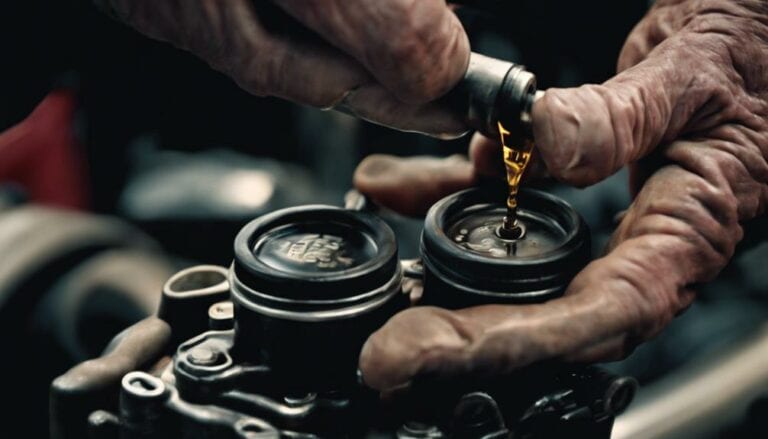
So, you're ready to tackle changing the fluids in your 2010 Harley Davidson Tri Glide. You've gathered all the necessary tools and are standing in front of your bike, but what's the next step?
Well, before you get your hands dirty, it's crucial to understand the importance of proper maintenance and how it can impact the performance and longevity of your motorcycle.
But what specific steps do you need to take to ensure a successful fluid change that keeps your Tri Glide running smoothly? Let's dive into the process and uncover the secrets to maintaining your bike like a pro.
Key Takeaways
- Drain oil carefully, inspect components, and refill to proper levels for optimal performance.
- Change oil filter methodically, ensuring a snug fit to prevent leaks and maintain engine health.
- Refill primary fluid slowly, using recommended amount and clean tools to avoid contamination.
- Double-check for leaks post-fluid change to prevent loss, ensuring a well-lubricated and efficient system.
Required Tools and Materials
To ensure a smooth and efficient fluid change process for your 2010 Harley Davidson Tri Glide, gather the required tools and materials listed below in preparation for the task. For tools, you'll need:
- a 9/16 socket for plugs
- a Harley oil tray
- a pick tool for o-rings
- an oil filter wrench
- a clean work station with rags
As for materials, make sure to have:
- a new oil filter
- the correct type and amount of oil
- paper towels
- a plan for eco-friendly disposal of used oil
When it comes to oil disposal, consider eco-friendly options such as recycling centers or designated drop-off locations. Lay out all your tools beforehand for easy access, and remember to ensure the engine is warm but not hot before starting the fluid change process.
Draining the Oil and Fluids
If you've successfully removed the primary cover bolts and inspected the o-rings, it's time to drain the oil and fluids from your 2010 Harley Davidson Tri Glide.
Using a 9/16 socket, locate and remove the oil drain plug positioned underneath the engine. Let the oil drain completely into a Harley oil tray to prevent any spills and ensure a clean workspace. Proper disposal of the old oil is crucial to minimize environmental impact. Follow local regulations for oil disposal to protect the environment.
Take the time to clean the primary cover bolts meticulously before reinstalling them. Inspect all o-rings and gaskets for wear and tear during this process, replacing any damaged ones.
Once the oil has drained entirely, use a funnel to refill the primary fluid to the appropriate level. Double-check the fluid levels before securing the primary cover back in place. Proper disposal of oil and adherence to local regulations are essential steps in the fluid changing process.
Changing the Oil Filter
When changing the oil filter on a 2010 Harley Davidson Tri Glide, locate the filter positioned on the front of the engine. Use an oil filter wrench to remove the old filter in a counterclockwise direction. Ensure the rubber gasket from the old filter is removed as well. Apply a thin layer of fresh oil to the rubber gasket of the new oil filter before installation. Hand-tighten the new oil filter in a clockwise direction until snug, avoiding over-tightening to prevent damage.
| Oil Filter Maintenance | Troubleshooting |
|---|---|
| Check for leaks around the filter after installation | If leaks are present, re-tighten the filter |
| Regularly inspect the filter for any signs of damage | If the filter is damaged, replace it immediately |
| Filter Compatibility | Alternatives |
| Use filters recommended by Harley Davidson | Some aftermarket filters may fit, but ensure they meet the required specifications |
Refilling the Fluids
When refilling the fluids in your 2010 Harley Davidson Tri Glide, ensure to use the recommended amount of primary fluid specified in the owner's manual. This step is crucial to maintain optimal performance and prevent any issues during operation.
To ensure proper lubrication and prevent contamination, follow these steps:
- Use a clean funnel to prevent any contaminants from entering the primary fluid reservoir.
- Fill the primary fluid reservoir slowly to prevent overfilling and allow for proper lubrication.
- After refilling, check the primary fluid level to ensure it's within the correct range for smooth operation.
Double-Checking for Leaks
Inspect the areas where the fluids were changed on your 2010 Harley Davidson Tri Glide to verify the absence of leaks around the oil filter and drain plug.
After completing the fluid change, it's crucial to conduct a thorough leak detection process as part of preventative maintenance. Take a clean rag and carefully wipe around the oil filter and drain plug to troubleshoot any potential leaks. Look for any signs of oil residue, which could indicate a leak that needs addressing.
Additionally, monitor the ground beneath the motorcycle for any puddles or drips forming, as this can be a clear indicator of a leak. By performing these detailed inspections, you can ensure that there are no leaks compromising the integrity of your motorcycle's engine.
Regularly double-checking for leaks will help prevent oil loss, maintain proper lubrication, and prolong the lifespan of your 2010 Harley Davidson Tri Glide.
Conclusion
Now that you have successfully changed the fluids in your 2010 Harley Davidson Tri Glide, your bike is ready to hit the road with a fresh start.
Just like a well-oiled machine, your motorcycle is now primed for peak performance and smooth riding.
Remember to regularly maintain your fluids to keep your bike running smoothly and efficiently.
Ride on with confidence and enjoy the open road ahead.

