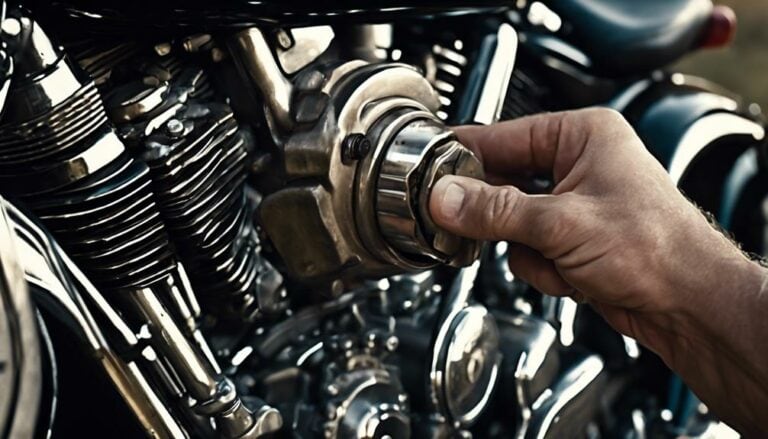
So, you've decided it's time to tackle the task of changing the clutch lever on your Harley Davidson. The process may seem intimidating at first, but with a steady hand and some guidance, you'll be cruising smoothly in no time.
Stay tuned to discover the step-by-step instructions that will have you feeling like a pro mechanic in no time.
Key Takeaways
- Use required tools like acorn nut, snap ring pliers, and lubricant for clutch lever replacement.
- Remove old lever carefully by loosening acorn nut, extracting pin, and keeping track of hardware.
- Install new lever securely with metal pin, correct alignment, and snap ring for attachment.
- Adjust lever position as needed by releasing cable tension, repositioning, and securing with pin for testing.
Required Tools for Clutch Lever Replacement
To begin the clutch lever replacement process on your Harley Davidson, gather the necessary tools including a half-inch acorn nut, snap ring pliers, lubricant, and a lock nut. These tools are important for a smooth clutch lever replacement procedure. The half-inch acorn nut is needed to secure the lever in place, while snap ring pliers assist in removing the snap ring holding the old lever. Lubricant helps ease the installation process by reducing friction, guaranteeing a seamless operation. Finally, the lock nut is essential for adjusting cable tension, maintaining the ideal level for proper clutch function on your Harley Davidson.
When replacing the clutch lever, it's important to have specific tools like a pin and metal pin to secure the new lever correctly. Proper alignment of components during installation is key to guarantee the clutch lever operates smoothly. Adjusting cable tension to achieve a quarter-inch play is necessary for ideal clutch performance. Using the lock nut to secure the cable adjustment ensures the desired tension level is maintained, enhancing the functionality of your Harley Davidson's clutch lever.
Removing the Old Clutch Lever
Loosening the acorn nut and adjuster to disconnect the clutch cable from the old lever is the initial step in removing the old clutch lever. Start by locating the acorn nut and adjuster on the clutch cable near the lever. Using the appropriate tools, carefully make sure to loosen the nut and adjuster to release the tension on the cable.
Once the clutch cable is disconnected, proceed to remove the pin holding the old clutch lever in place. Utilize snap ring pliers to safely extract the pin without causing any damage to surrounding components. Make certain that all parts are detached before attempting to remove the lever completely.
Throughout this process, be mindful of the clutch cable to prevent any potential harm. Handle all parts with care to avoid any accidental damage. Keep track of all hardware and components to facilitate a smooth reassembly process with the new clutch lever. By following these steps diligently, you'll successfully remove the old clutch lever from your Harley Davidson.
Installing the New Clutch Lever
Position the new clutch lever securely in place by inserting and securing the metal pin. Make sure the lever is aligned correctly with the clutch assembly before proceeding further.
Follow these steps to properly install the new clutch lever:
- Insert the Metal Pin: Slide the metal pin through the designated hole on the clutch lever and the corresponding hole on the clutch assembly. Verify it's inserted all the way through to secure the lever in place.
- Align All Components: Check that all components, including the clutch lever, pin, and clutch assembly, are properly aligned. Misalignment can cause issues with the clutch operation.
- Secure with Snap Ring: Once the metal pin is in place, use the snap ring to securely hold the new clutch lever in its designated position. Confirm the snap ring is fully engaged to prevent any movement of the lever during operation.
Adjusting the Clutch Lever Position
Adjust the clutch lever position on your Harley Davidson by loosening the adjuster at the bottom to release the clutch cable.
To access the adjuster nut for better adjustment, remove the lock nut first. Increasing cable flexibility will aid in achieving the desired position.
Use snap ring pliers to remove the pin that holds the clutch lever in place. Reposition the lever as needed and then secure it by reattaching the pin. Make sure the lever is firmly in place before proceeding.
Once adjustments are made, it's important to test the clutch lever for proper functionality. By testing, you can confirm that the adjustments have been successful.
Make any final tweaks to guarantee ideal comfort and performance. Remember that a properly adjusted clutch lever can greatly enhance your riding experience.
Testing the Clutch Lever Operation
To certify the proper functioning of the clutch lever on your Harley Davidson motorcycle, perform a series of tests to assess its operation smoothly and effectively.
- Pull the clutch lever in and release it to check for smooth operation. Make certain that there's no resistance or sticking when actuating the lever.
- Confirm that the lever returns to its original position after being released. A sluggish return may indicate issues with the clutch cable or mechanism.
- Test the clutch engagement and disengagement by pulling the lever while shifting gears. Listen for any unusual noises or grinding sounds that may suggest problems with the clutch assembly.
Conclusion
Now that you have successfully replaced your clutch lever on your Harley Davidson, did you know that Harley Davidson was founded in 1903 and is one of the oldest motorcycle manufacturers in the world?
Keep enjoying your ride with confidence knowing you can handle basic maintenance tasks like this one.
Happy riding!

