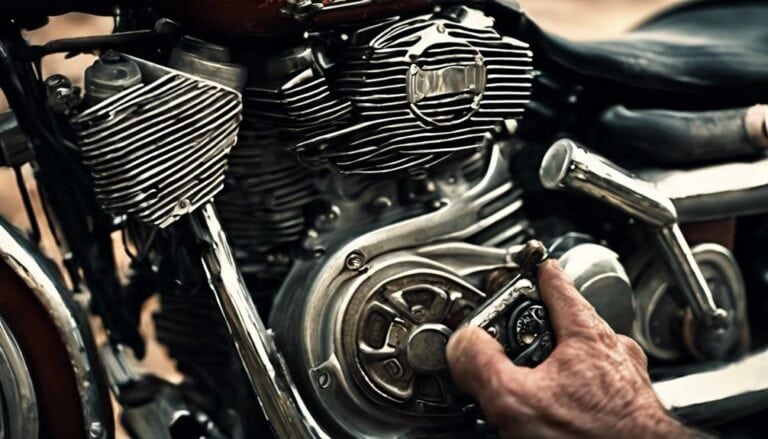
When tackling the task of changing a clutch cable on your Harley Davidson, it's like unraveling a meticulous puzzle piece by piece. As you embark on this maintenance journey, you'll discover the intricate inner workings of your bike's clutch system.
From accessing the clutch cover to adjusting the cable tension, each step plays a crucial role in ensuring your Harley runs smoothly. By mastering this essential skill, you not only enhance your mechanical knowledge but also gain a deeper connection with your ride.
Key Takeaways
- Gather tools, ensure correct replacement cable, and set up workspace.
- Remove old cable carefully, inspect for damage, and discard if necessary.
- Install new cable securely, adjust tension, and test clutch lever movement.
- Adjust cable tension, test clutch operation, and confirm proper functionality.
Gather Required Tools and Materials
To begin changing the clutch cable on your Harley Davidson, gather the necessary tools and materials for the replacement process. You'll need wrenches, screwdrivers, and pliers to assist in the replacement. Ensure you have the correct replacement clutch cable that's compatible with your specific Harley Davidson model.
It's essential to have a service manual or online guide on hand for reference throughout the replacement procedure. Set up a clean and well-lit workspace to optimize visibility and cleanliness during the replacement. If you're unsure about any step, consider asking a friend or consulting a professional mechanic to assist you for added safety and precision.
Remove the Old Clutch Cable
Loosen the adjuster and lock nuts on the clutch cable to create slack. This step is crucial to ensure an easier removal process. Once you have created enough slack, disconnect the clutch cable from the clutch lever by removing the pivot pin. Double-check to make sure the cable is completely free from the clutch lever.
Next, inspect the clutch cable for any retaining clips or brackets that might be securing it in place. Remove these clips or brackets carefully to release the cable. Make sure to keep track of any hardware you remove for reassembly later.
With the cable now free, carefully pull it out of the clutch release cover and guide it through the motorcycle frame. Take this opportunity to examine the old clutch cable for any signs of damage or wear. If you notice any issues, it's best to replace it with a new one. Once you've inspected the cable, you can discard it properly.
Install the New Clutch Cable
Guide the new clutch cable through the cable housing and into the clutch release cover. Ensure the cable is properly seated in the release cover to prevent any issues with clutch engagement. Once the cable is in place, reattach it to the clutch lever by inserting the pivot pin and securing it tightly. Make sure the connection is secure to avoid any slippage during operation.
After attaching the clutch cable, it's time to adjust the tension. Locate the adjustment nut and adjust it accordingly to achieve the desired tension. It's crucial to find the right balance to ensure smooth clutch operation.
Before reassembling any components, verify that the clutch lever moves smoothly and that there are no obstructions or kinks in the cable. This step is essential to prevent any malfunctions once everything is put back together.
Once the new clutch cable is installed and adjusted, conduct a test ride to confirm that the clutch functions correctly. Make any necessary adjustments before hitting the road to ensure a safe and smooth riding experience.
Adjust the Clutch Cable Tension
Adjusting the clutch cable tension is crucial to ensure optimal performance and smooth operation of your Harley Davidson motorcycle.
Firstly, locate the clutch cable adjuster nut near the clutch lever. Loosen the nut to create slack in the cable for adjustment.
Next, check for proper free play by moving the clutch lever; there should be 1/16 to 1/8 inch of movement before the clutch engages. To adjust the tension, turn the adjuster nut clockwise to tighten the cable or counterclockwise to loosen it.
There are two key aspects to remember during this process: make precise adjustments to avoid over-tightening or leaving the cable too loose. After making adjustments, test the clutch operation by engaging and disengaging it. Ensure the clutch responds smoothly and promptly.
This step is critical to verify that the clutch cable adjustment provides the necessary engagement and disengagement for your motorcycle's optimal performance.
Test the Clutch Operation
To evaluate the clutch operation, engage the clutch lever and assess its responsiveness and smoothness. Make sure the clutch cable tension is correct for optimal performance. Shift through gears to test clutch engagement and disengagement. Listen for any unusual noises and feel for any unexpected resistance. Confirm that the clutch cable adjustment aligns with manufacturer specifications. Ensuring the clutch operates smoothly and efficiently is crucial for a Harley Davidson's performance and rider experience.
| Clutch Operation Tests | What to Look For |
|---|---|
| Clutch Lever Responsiveness | Smooth engagement |
| Clutch Cable Tension | Proper adjustment |
| Gear Shifting | Seamless transitions |
Conclusion
Congratulations on successfully changing the clutch cable on your Harley Davidson! Now you're ready to take on the open road with a smooth-operating clutch system.
Remember, proper maintenance is key to keeping your ride in top condition. So, keep up the good work and ride on!
Just make sure to avoid any 'clutch' situations that may leave you feeling 'cable'-ssed!

