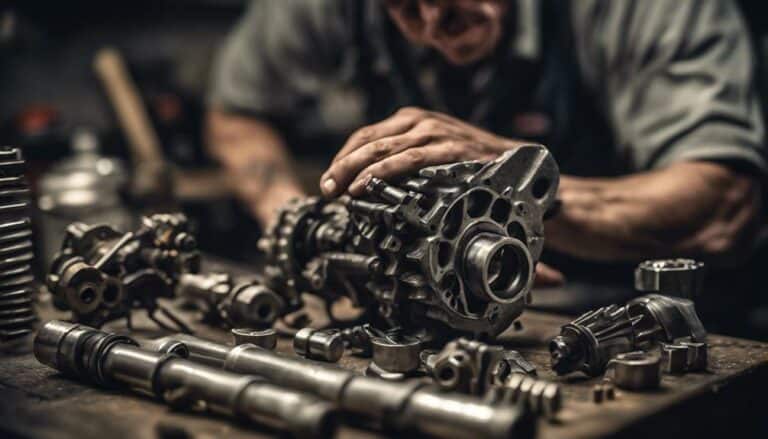
Are you looking to upgrade the cam in your 110 Harley Davidson for improved performance?
Discover the step-by-step process involved in changing the camshaft, from aligning the splines to adjusting push rods and considering performance-enhancing kits.
By following these essential steps, you can enhance your motorcycle's power and overall riding experience.
Key Takeaways
- Drain oil, remove cam cover, and install new cam with precision.
- Adjust cam timing accurately for optimal engine performance.
- Reassemble motorcycle components carefully to prevent oil leaks.
- Test ride the Harley Davidson to confirm successful camshaft replacement.
Preparing the Motorcycle
To prepare the motorcycle for camshaft replacement on a 110 Harley Davidson, begin by draining the oil and removing the oil filter. This step is important to prevent any oil spillage or contamination during the camshaft replacement process.
Next, disconnect the battery to make sure safety and prevent any electrical mishaps. Removing the spark plugs is essential to avoid any interference when installing the new camshaft.
It's important to secure the motorcycle on a stable lift or stand to provide a safe and comfortable working environment. Organizing and labeling all the removed parts and hardware will make the reassembly process smooth and efficient, saving you time and frustration.
Removing the Cam Cover
When removing the cam cover on a 110 Harley Davidson, start by disconnecting the negative battery cable to guarantee safety and prevent any electrical issues. Once that's done, follow these steps:
- Use a suitable tool to loosen and remove the bolts holding the cam cover in place.
- Gently pry the cam cover off the engine, being careful not to damage the gasket surface.
- Inspect the gasket for any damage and replace if necessary before reinstallation.
Make sure to keep track of the bolts and their locations for proper reassembly of the cam cover. This attention to detail will save you time and hassle later on.
When it's time to install the new cam, I'll show you how to do it correctly, ensuring ideal performance for your Harley Davidson 110. Remember to get the right part number for the new cam, especially if you're working on the rear cylinder.
Installing the New Cam
For precise installation of the new cam in your 110 Harley Davidson, carefully align the splines on the camshaft with the missing tooth on the sprocket. Before positioning the new camshaft, ensure the hydraulic tensioner is properly installed. Once in place, use red loctite on the bolts to secure the new camshaft, providing extra strength and stability. Refer to the manufacturer's torque specifications to correctly tighten the rear cam and pinion bolts. This step is crucial to prevent any issues related to the cam's performance. Additionally, make sure to clean the gasket surfaces meticulously before installing the cam cover. This helps in creating a proper seal and prevents any potential leaks or damage to the engine components. Attention to these details during the installation process will contribute to the optimal functioning of your Harley Davidson 110.
| Step | Description |
|---|---|
| Align splines | Match camshaft splines with sprocket missing tooth for precision |
| Position new camshaft | Ensure hydraulic tensioner is in place before positioning |
| Secure camshaft | Use red loctite on bolts for added strength while securing |
Adjusting the Cam Timing
Adjusting cam timing on the 110 Harley Davidson involves precisely aligning the camshaft's missing tooth with the sprocket splines to guarantee peak performance. To successfully adjust the cam timing, follow these steps:
- Align Missing Tooth: Make certain the timing marks on the camshaft and sprocket are correctly aligned to avoid any issues during operation.
- Secure Camshaft: Use red loctite on bolts when securing the camshaft, and make sure to torque the rear cam and pinion bolts to the manufacturer's specifications for a secure fit.
- Optimize Performance: Adjust the cam timing to the precise specifications to optimize engine performance and make sure proper functionality.
Reassembling the Motorcycle
Reassemble the motorcycle by carefully aligning the cam cover and torquing the bolts to the manufacturer's specifications to prevent oil leaks.
Double-check the alignment of the camshaft with the sprocket teeth to guarantee proper timing, a vital step for excellent engine performance.
Verify the proper installation of push rods and adjust them to the specified lengths.
Refill the engine with fresh oil to maintain proper lubrication and longevity.
Start the motorcycle to listen for any abnormal noises or issues that may indicate a problem with the cam replacement.
Finally, take the motorcycle for a test ride to confirm that the camshaft replacement was successful and that the engine is running smoothly.
Conclusion
Now that you have successfully installed the new cam in your 110 Harley Davidson, the real test begins. Get ready to feel the power and performance enhancements that come with this upgrade.
Hit the road and experience the difference in your ride. Stay tuned for more tips and tricks to take your motorcycle maintenance skills to the next level.
Ride on!

