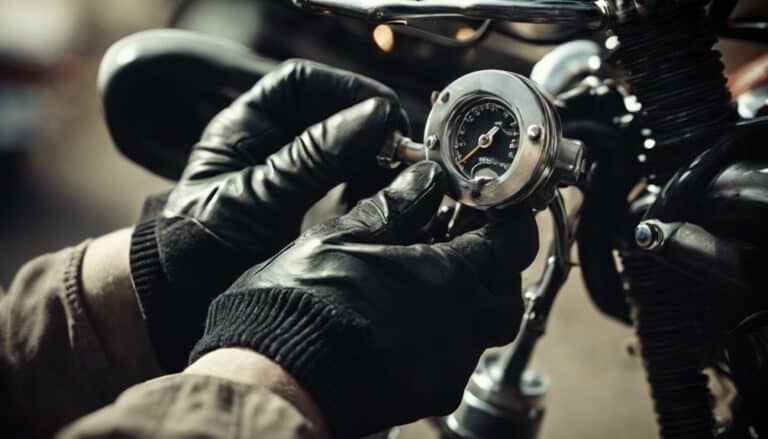
When it comes to maintaining your 2004 Harley Davidson 883, bleeding the brakes is a crucial task that ensures your safety on the road.
But before you dive into the process, it's essential to understand the specific steps and tools needed to effectively bleed the brake system.
By following a systematic approach and paying attention to details, you'll be able to achieve optimal brake performance and responsiveness.
So, let's get started on this essential maintenance task to keep your Harley running smoothly and safely.
Key Takeaways
- Use proper tools and brake fluid to bleed the 2004 Harley Davidson 883 safely and effectively.
- Maintain cleanliness, fluid levels, and secure wrench fitting during the bleeding process.
- Test ride the motorcycle post-bleeding to ensure firm and responsive brake performance.
- Regularly check and maintain brake fluid levels to uphold the brake system's safety and functionality.
Tools Required for Bleeding Process
To properly bleed the brakes on your 2004 Harley Davidson 883, you'll need a 5/16 box wrench for the rear caliper bleeder valve and another 5/16 wrench for the front caliper bleeder valve.
The rear caliper plays a crucial role in the braking system, necessitating specific tools for bleeding. Ensuring that the wrench securely fits the rear caliper bleeder valve is imperative to prevent any damage or stripping during the bleeding process.
By using the correct tools, such as the 5/16 box wrench for the rear caliper, you guarantee a smooth and efficient brake bleeding procedure. Having the appropriate tools readily available not only facilitates the task but also contributes to the overall effectiveness of the maintenance.
Preparing Your Harley Davidson 883
Ensure the rear brake reservoir fluid level is within the specified range for proper bleeding on your 2004 Harley Davidson 883. Use dot 5 or dot 3 brake fluid as recommended on the reservoir cap. It's crucial to maintain the cleanliness and proper level of brake fluid in the reservoir before beginning the bleeding process. Placing a piece of cardboard under the reservoir can help catch spills and prevent stains during the procedure. Keeping the fluid level at the recommended range is essential to avoid air entering the Harley Davidson 883's braking system.
| Preparation Steps | Details |
|---|---|
| Check Fluid Level | Ensure rear brake reservoir is at the specified level. |
| Fluid Type | Use dot 5 or dot 3 brake fluid as recommended. |
| Prevent Spills | Place cardboard under the reservoir to catch spills. |
Bleeding the Brake System
For bleeding the brake system on your 2004 Harley Davidson 883, utilize a 5/16 box wrench to open and close the rear caliper bleeder valve.
Begin by pumping the foot brake pedal multiple times to create pressure within the system and expel any trapped air. As you bleed the rear brakes, pay close attention to the brake pedal feel. It should gradually become firmer and more responsive, indicating successful air removal. This improved pedal feel is crucial for optimal braking performance on your Harley.
Use a clean rag to catch any spilled brake fluid during the process and ensure that the bleeder valve is tightly closed once bleeding is complete.
Checking Brake Fluid Levels
Begin by inspecting the rear brake reservoir fluid level to ensure it falls within the designated range marked on the reservoir. When checking the brake fluid levels on your 2004 Harley Davidson 883, make sure to:
- Verify that the fluid level is between the minimum and maximum marks to ensure optimal brake performance.
- Choose the correct brake fluid type, either dot 5 or dot 3, as recommended by the manufacturer for your motorcycle.
- Maintain the fluid level within the specified range to prevent air from entering the braking system and causing issues.
- Prior to bleeding the brakes, check the cleanliness and clarity of the brake fluid in the reservoir to ensure it isn't contaminated.
- Place a piece of cardboard under the reservoir to catch any spilled brake fluid during the process, preventing any potential stains or mess.
Ensuring these steps are followed will help maintain the effectiveness and safety of your braking system.
Test Riding Your Motorcycle
After completing the brake bleeding process on your 2004 Harley Davidson 883, it's essential to perform a thorough test ride to evaluate the functionality and responsiveness of the brakes.
Start by accelerating gently and testing the front and rear brakes separately during your ride. Focus on any unusual noises, vibrations, or spongy feelings in the brake system.
Conduct a series of controlled stops at varying speeds to assess the braking performance accurately. Particularly pay attention to the rear brakes, ensuring they engage smoothly and effectively.
Confirm that the brake lever or pedal feels firm and responsive, indicating successful bleeding of the brakes.
Remember, a well-executed test ride not only ensures your safety but also guarantees that your motorcycle's braking system is in optimal condition for your future rides.
Enjoy the liberation of a well-maintained bike as you cruise confidently knowing your rear brakes are in top-notch shape.
Conclusion
In conclusion, bleeding the brakes on a 2004 Harley Davidson 883 is a crucial maintenance task to ensure safe and effective braking performance. By following the outlined steps and using the necessary tools, you can successfully remove air from the brake system and maintain optimal fluid levels.
For example, after bleeding the brakes on his Harley Davidson 883, John noticed a significant improvement in stopping power and overall ride quality. Remember to always prioritize safety and regular maintenance for your motorcycle.

