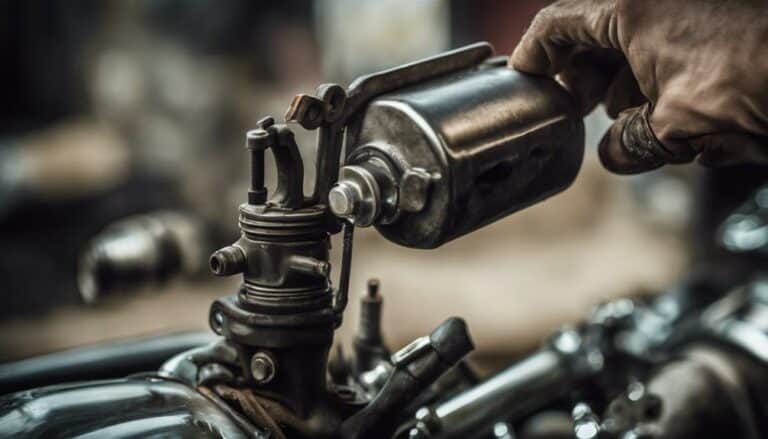
When it comes to bleeding the front master cylinder on your Harley Davidson, think of it as purging the old and welcoming the new for optimal performance.
But what if you encounter stubborn air bubbles that just won't budge, despite your best efforts?
Key Takeaways
- Locate and access the front master cylinder near the handlebars for efficient maintenance.
- Elevate the front wheel, secure the bike, and prepare necessary tools and materials.
- Bleed the front master cylinder carefully to remove air and old fluid for optimal brake performance.
- Test the front brakes thoroughly, ensuring firmness and responsiveness before riding for safety.
Tools and Materials Needed
To properly bleed the front master cylinder on your Harley Davidson, gather the necessary tools and materials. These include a brake bleeder kit, a 7/16-inch wrench, a clean container for old fluid, and a rag to catch spills.
When going to make a purchase, ensure you select a quality brake bleeder kit that meets your needs. Investing in a clear plastic hose to attach to the bleeder valve can aid in monitoring air bubbles and fluid flow during the bleeding process, although this may come at an additional cost.
Remember, using the correct tools is crucial for an efficient and effective bleeding process. Quality brake fluid meeting DOT 4 specifications is essential, so make sure to have this on hand before starting.
Locating the Front Master Cylinder
Located near the handlebars on the right side of your Harley-Davidson, the front master cylinder is responsible for controlling the flow of brake fluid to the front brake calipers. It's crucial to know where this component is located on your motorcycle, as it plays a vital role in your braking system.
The front master cylinder reservoir is typically within easy reach for maintenance and fluid checks, ensuring you can keep a close eye on your brake fluid levels and quality. When going to bleed the front master cylinder, you'll find the cylinder positioned conveniently for access, allowing you to perform the necessary procedures effectively.
Preparing the Motorcycle
For optimal safety and efficiency during the front master cylinder bleeding process on your Harley-Davidson, ensure the motorcycle is securely positioned on a stable and level surface. Begin by turning off the engine and allowing the front master cylinder to cool down.
Elevate the front wheel using a stand or lift to access the master cylinder easily. Ensure the handlebars are straight and the front wheel is secured to prevent accidents. Check brake fluid levels to guarantee there's enough fluid for the bleeding process. Secure brake lines to prevent any leaks during maintenance.
Adequate ventilation is crucial to dissipate any fumes from the brake fluid. Have all necessary tools like a wrench, rags, and new brake fluid ready before you start. By preparing the motorcycle properly, you set the stage for a smooth and successful front master cylinder bleeding process.
Bleeding the Front Master Cylinder
Start by carefully removing the reservoir cover to access the brake fluid in the front master cylinder. Ensuring the reservoir is adequately filled prevents air from entering the system during the bleeding process.
To bleed the front master cylinder properly, use a wrench to loosen the bleeder valve on the front brake caliper. Attach a clear hose to the valve and submerge the other end in a container of brake fluid. This prevents air from re-entering the system while allowing the old fluid and air to escape. Next, pump the brake lever slowly, pushing out the old fluid and air. Remember to refill the reservoir as needed to prevent it from running dry.
Common mistakes during this process include not topping off the reservoir, which can introduce more air into the system, and not using a clear hose, leading to potential air reintroduction. Troubleshooting tips include double-checking all connections for tightness and ensuring the hose stays submerged to prevent air from being sucked back in.
Proper technique and attention to detail are crucial for a successful bleed, resulting in clear, bubble-free fluid exiting the hose for a well-functioning brake system.
Testing the Brakes
Upon completing the bleeding process of the front master cylinder on your Harley-Davidson, rigorously test the brakes to ensure optimal functionality. To assess brake performance, start by pumping the brake lever several times to establish pressure within the system. This action helps verify that the brakes respond as intended.
Before hitting the road, conduct a thorough inspection for leaks or any irregularities in the brake system. Confirm that the brake lever feels firm and exhibits a responsive behavior when pressure is applied. For safety precautions, test the front brakes at low speeds in a secure environment to verify their proper operation.
While testing, pay close attention to any unusual sounds or sensations that may occur during braking, as these can indicate underlying issues that require further investigation. By following these troubleshooting tips and conducting a comprehensive brake test, you can ensure your Harley-Davidson's front brakes are in optimal condition for a safe and smooth ride.
Conclusion
In conclusion, bleeding the front master cylinder on your Harley Davidson is a crucial maintenance task that ensures proper brake function and safety. By following the steps outlined in this article and using the necessary tools and materials, you can effectively remove old fluid and air bubbles from the system.
Regularly checking and maintaining your brakes is essential for a smooth and safe riding experience on your motorcycle.

