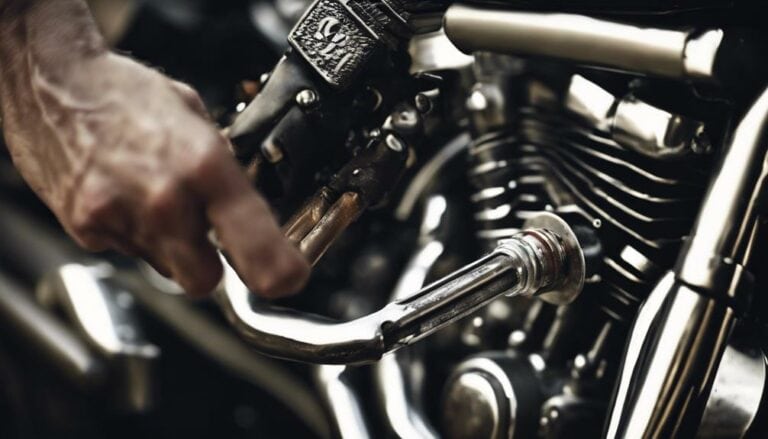
So, you've noticed that your Harley Davidson's clutch feels a bit spongy, and you suspect air might be trapped in the system.
The process of bleeding a clutch is crucial to maintain optimal performance and responsiveness. By following a few simple steps, you can ensure that your Harley's clutch operates smoothly and efficiently.
Let's walk through the necessary tools and steps to bleed your clutch effectively, allowing you to enjoy a seamless riding experience.
Key Takeaways
- Use a vacuum or pneumatic pump for efficient old fluid removal.
- Monitor fluid flow for air bubbles to ensure proper bleeding.
- Test clutch lever for smooth operation post-bleeding.
- Regularly maintain clutch fluid levels and inspect components for wear.
Tools Required for Clutch Bleeding
To bleed the clutch on a Harley Davidson, gather the necessary tools including a 10mm wrench, clear tubing, a catch pan, and a friend to assist you in the process. The 10mm wrench is crucial for loosening and tightening the bleeder valve on the clutch slave cylinder. Clear tubing is essential as it allows you to monitor the fluid flow and detect any air bubbles during the bleeding procedure. The catch pan serves to prevent spillage and keeps your workspace tidy while working on bleeding the clutch. Having a friend to help can greatly simplify the process. They can operate the clutch lever while you open and close the bleeder valve.
Before you start bleeding the clutch, ensure you have all the necessary tools at hand. Proper preparation is key to a smooth clutch bleeding process. Remember, a well-organized workspace and the right tools can make all the difference. Once you have everything ready, proceed with the next steps to bleed your Harley's clutch effectively. Don't forget to hit the subscribe button for more Harley maintenance tips and tricks.
Preparing Your Harley for Bleeding
Before commencing the clutch bleeding process on your Harley Davidson, ensure that the motorcycle is positioned on a stable surface and in a well-ventilated location. This is crucial for your safety and to prevent any accidents while working on your Harley. Check the clutch fluid reservoir to ensure it's filled to the recommended level before beginning the bleeding procedure. A proper fluid level is essential for the efficient operation of your clutch system on your Harley Davidson.
Next, gather the correct tools such as a vacuum pump or pneumatic pump to effectively bleed the clutch system on your Harley. Using the right tools will make the bleeding process smoother and more successful. It's also important to follow the specific manufacturer's instructions for your Harley Davidson model to properly bleed the clutch system. Each model may have unique requirements, so be sure to adhere to these guidelines for the best results.
As you progress with bleeding the clutch, monitor the fluid flow and watch for any air bubbles. Ensuring a complete and successful clutch system bleed will improve the overall performance of your Harley Davidson.
Step-by-Step Clutch Bleeding Process
Start by ensuring you have all the necessary tools and equipment ready for the clutch bleeding process on your Harley Davidson. Here's how you're gonna go:
- Use a vacuum pump to pull out the old fluid and refill the reservoir with new fluid.
- Attach a clear tube to the bleeder valve, submerge the other end in a container of brake fluid.
- Open the bleeder valve, pump the clutch lever until no air bubbles are visible in the tube.
- Close the bleeder valve while holding the lever in, then release the lever and repeat the process until all air is purged.
Testing the Clutch After Bleeding
After properly bleeding the clutch on your Harley Davidson, the next step is to test the clutch lever for smooth operation and proper resistance. Engage the clutch lever and ensure it disengages smoothly without any sponginess or sticking. This test is crucial to confirm that the bleeding process was successful and that there are no air bubbles left in the system.
Check the clutch fluid reservoir for any signs of air bubbles, as their presence could indicate incomplete bleeding. Test the clutch engagement while stationary by pulling the lever and observing how it feels. Additionally, take your bike for a short ride to assess the clutch's performance under different speeds and gear shifts.
The clutch lever should engage and disengage seamlessly throughout these tests, ensuring a consistent and reliable operation. By verifying the clutch lever's functionality post-bleeding, you guarantee a smooth and responsive clutch system on your Harley Davidson.
Tips for Maintaining a Smooth Clutch
Have you checked the clutch fluid level and color regularly for signs of contamination or low levels to ensure smooth clutch operation? To maintain a smooth clutch on your Harley Davidson, here are some essential tips:
- Regular Fluid Checks: Monitor the clutch fluid level and color frequently to catch any issues early on.
- Efficient Bleeding: Use a vacuum pump or pneumatic pump for thorough air bleeding to maintain proper pressure and responsiveness.
- Component Inspection: Regularly inspect clutch components for wear and tear, adjusting the clutch cable and checking for hydraulic system leaks to prevent clutch engagement problems.
- Fluid Maintenance: Adhere to the manufacturer's recommendations for clutch fluid type and replacement intervals to ensure optimal performance and longevity of the clutch system.
Conclusion
Congratulations, you have successfully bled the clutch on your Harley Davidson! Your clutch should now feel firm and responsive, ensuring smooth operation while riding.
Remember to regularly check and maintain your clutch fluid to prevent air from entering the system.
Now, are you ready to hit the road with a perfectly functioning clutch on your Harley Davidson?

