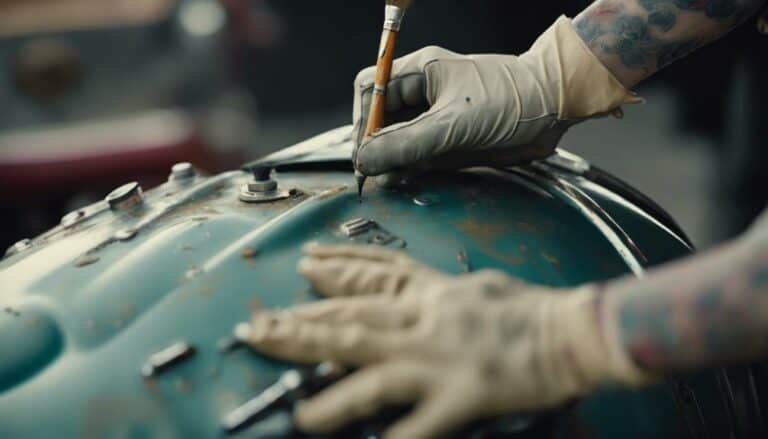
When tackling touch-up paint on your Harley Davidson, precision is paramount. Begin by carefully cleaning the affected area, ensuring a pristine surface for application.
But, wait, there's more to this artful process than meets the eye. Patience and a steady hand will be your allies as you navigate the nuances of color matching and brushwork.
Mastering this meticulous craft will reward you with a seamless finish that'll make your Harley shine like new.
Key Takeaways
- Choose the correct paint color code for seamless blending and aesthetic appeal.
- Prepare the surface meticulously for optimal touch-up results.
- Apply base color and clear coat in thin, even layers for protection.
- Allow sufficient drying time and finish with light sanding for a professional look.
Choosing the Right Paint Color
When selecting the appropriate paint color for your Harley Davidson touch-up job, ensuring precision is key to seamlessly blending the new paint with the original factory finish. For your Street Glide model, Harley Davidson offers touch-up paint kits specifically designed to match its unique color. The paint code for your Street Glide can typically be found on the frame or in the owner's manual, ensuring color accuracy and a flawless finish.
Choosing the right paint color is crucial in maintaining the aesthetic appeal of your Street Glide. Harley Davidson touch-up paints are formulated to precisely match the factory paint finish, providing a professional-looking result that seamlessly integrates with the original paintwork. By selecting the correct paint color, you can ensure that your touch-up job is indistinguishable from the rest of your motorcycle, preserving its overall look and value.
Make sure to double-check the paint code for your Street Glide before proceeding with the touch-up job to guarantee a perfect color match and a seamless finish.
Preparing the Surface for Painting
To ensure a flawless touch-up paint application on your Harley Davidson, the first step is preparing the surface meticulously to guarantee proper adhesion and a seamless finish. Follow these steps for optimal results:
- Clean Thoroughly: Start by cleaning the damaged area with soap and water to remove any dirt or debris that could affect paint adhesion. This step ensures a clean surface for the touch-up paint.
- Remove Contaminants: Use a wax and grease remover to eliminate any lingering contaminants that might hinder adhesion. This extra step further prepares the surface for painting.
- Lightly Sand: Lightly sand the area with fine-grit sandpaper to create a smooth surface for the paint to adhere to. This promotes better adhesion and helps achieve a professional finish.
Applying the Touch-Up Paint
For optimal results when applying touch-up paint on your Harley Davidson, ensure the damaged area is meticulously clean and free of debris to guarantee proper adhesion. Using a steady hand, apply the base color from the touch-up kit in a thin, even layer to cover the chips or scratches. This method will provide pretty good results.
Allow the base color to dry completely before moving on to the clear coat, which seals the paint and gives a glossy finish. When applying the clear coat, do so in thin layers to enhance color match and protect the repaired area, ensuring each layer dries thoroughly.
Once the clear coat is dry, lightly sand the area to blend the repair seamlessly with the surrounding paint, achieving a professional finish. Following these steps diligently will yield pretty good outcomes when touching up the paint on your Harley Davidson.
Allowing the Paint to Dry
Allow the touch-up paint on your Harley Davidson to dry thoroughly before proceeding with the clear coat application to ensure a flawless finish. Patience is crucial during this step to achieve a professional-looking and durable repair.
Here's what you need to know:
- Drying Time Variability: The drying time for touch-up paint can vary depending on factors such as the type of paint used and environmental conditions. It's essential to follow the specific guidelines provided for the paint you're using.
- Complete Drying Period: Typically, the base color of touch-up paint for Harley Davidson motorcycles requires at least 24 hours to dry thoroughly. Rushing this step can lead to smudging or an uneven finish, compromising the overall look of your repair.
- Clear Coat Application: Only proceed with the clear coat application once you're certain that the base color is completely dry. Applying the clear coat too soon can damage the finish you've worked hard to achieve. Your patience will pay off in the form of a pristine final result.
Finishing Touches and Cleanup
After ensuring the touch-up paint on your Harley Davidson has dried thoroughly, the next step in the process of refinishing involves addressing finishing touches and cleanup.
Lightly sand any rough edges or imperfections that may have occurred during the painting process after the final layer of clear coat has dried. This step will help achieve a smoother and more professional appearance.
Use a microfiber cloth and mild soap to clean up any excess paint or residue around the repaired area. Ensuring cleanliness will contribute to a polished and neat final look.
Inspect the touch-up paint application under various lighting conditions to guarantee a seamless color match with the original paint, avoiding any discrepancies.
Lastly, remember to store any leftover touch-up paint and materials properly for future touch-ups or repairs, allowing you to be prepared without having to mess around searching for supplies when needed.
Conclusion
In conclusion, by following the steps outlined in this guide, you can effectively apply touch-up paint to your Harley Davidson motorcycle.
Choosing the right paint color, preparing the surface properly, applying the paint carefully, allowing it to dry completely, and finishing with a clear coat will ensure a seamless and professional touch-up job.
Remember to take your time and avoid overworking the paint for the best results.

