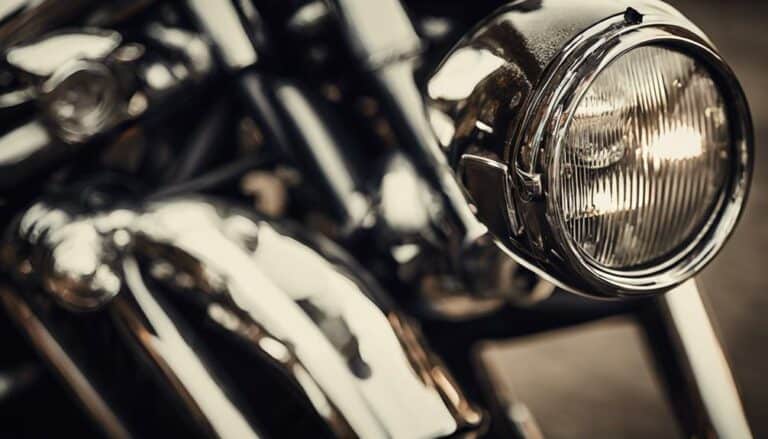
As you cruise down a dimly lit road on your 09 Heritage Harley Davidson, the importance of a properly adjusted headlight becomes evident for a safe and enjoyable ride. Imagine being able to effortlessly illuminate the path ahead with precision and clarity.
But how do you achieve this crucial adjustment? Let's uncover the step-by-step process that will ensure your headlight is perfectly aligned, allowing you to ride confidently through the night.
Stay tuned for expert tips on how to optimize your headlight's performance and enhance your overall riding experience.
Key Takeaways
- Use socket wrench and Allen key for headlight adjustment on a 09 Heritage Harley Davidson.
- Align headlight beam parallel to ground to prevent blinding and ensure proper aim.
- Verify correct aim by checking beam pattern against a wall from 25 feet away.
- Test headlight functionality for consistent illumination, flickering, and high/low beam functions.
Checking Headlight Alignment
To begin checking the headlight alignment of your 09 Heritage Harley Davidson, park the motorcycle on level ground facing a wall or garage door. Measure 25 feet from the wall to the front axle of the bike. Turn on the headlight to illuminate the wall and observe the beam pattern. You should see a distinct pattern on the wall that the headlight emits.
Ensure the beam pattern is centered at the specified height. Use the adjustment screws or bolts to make any necessary corrections. The headlight beam should neither be too high nor too low. This adjustment is crucial for optimal visibility without causing glare to oncoming drivers. It's essential to have a properly aligned headlight for safe night riding.
This process is similar for other Harley Davidson models like the Road King and Street Glide. Correctly aligning the headlight ensures a clear view ahead while riding, enhancing safety and comfort on the road.
Tools Required for Adjustment
For adjusting the headlight on a 2009 Heritage Harley Davidson, ensure you have basic tools such as a socket wrench and allen key at hand. To properly adjust your headlight, make sure to use the following tools:
- Socket Wrench: You'll need this tool to loosen and tighten the bolts holding the headlight assembly in place securely.
- Allen Key: An allen key is essential for making precise adjustments to the headlight angle and direction.
- Service Manual: Check the service manual for any specific tools recommended by the manufacturer for adjusting the headlight on your 2009 Heritage Harley Davidson.
Using the correct tools is crucial to prevent any damage to the headlight assembly. Remember to tighten the bolts to the specified foot pounds as per the manufacturer's instructions to ensure the headlight is securely positioned for proper alignment. By using the appropriate tools and following the correct procedures, you can achieve optimal headlight alignment for a safer night riding experience.
Adjusting Headlight Height
Using a screwdriver, locate the adjustment screw on the top or back of the headlight housing on the 09 Heritage Harley Davidson. This screw allows you to adjust the height of the headlight beam. Turn the adjustment screw clockwise to raise the headlight beam or counterclockwise to lower it.
Aim for the brightest part of the headlight beam to be at the same height as the center of the headlight lens for optimal visibility. It's crucial to ensure that the headlight beam is parallel to the ground to prevent blinding oncoming drivers.
After making adjustments, test the headlight alignment by observing the beam pattern against a wall from a distance of 25 feet. Remember that the adjustment process may vary slightly for different models, so always refer to your specific model's manual for precise instructions.
Properly adjusting the headlight height will enhance your visibility on the road and contribute to a safer riding experience.
Verifying Proper Aim
After adjusting the headlight height, the next step is to verify the proper aim to ensure optimal visibility while riding your Heritage Harley Davidson. Let's see:
- Use a measuring tape to confirm the headlight beam hits the ground approximately 2 inches below the center of the headlight at a distance of 25 feet.
- Adjust the headlight vertically so that the top of the high beam cutoff aligns with the center of the headlight.
- Check the headlight alignment on a flat surface to avoid discrepancies caused by uneven ground.
Once you have made these adjustments, it's crucial to cap back the headlight securely in place. This will maintain the proper aim and ensure the adjustments remain intact.
After making the necessary changes, it's time to observe the headlight's beam pattern on a wall or garage door to ensure the aim is correct. By following these steps, you can guarantee that your Heritage Harley Davidson's headlight is aimed correctly, enhancing your visibility on the road.
Testing Headlight Functionality
To ensure the proper functionality of the headlight on your 2009 Heritage Harley Davidson, activate the ignition and switch on the headlight to confirm consistent illumination.
Once the headlight is on, take a moment to observe if it shines brightly without any flickering or dimming. Next, test the high beam and low beam functions by toggling the headlight switch to ensure both settings work correctly. This step helps you verify that your headlight can adapt to different lighting conditions while riding.
Additionally, inspect the headlight for any visible signs of damage, discoloration, or condensation inside the lens. Any of these issues could affect the quality of light emitted.
Conclusion
In conclusion, proper headlight adjustment is crucial for safe night riding on a 09 Heritage Harley Davidson.
Did you know that according to the National Highway Traffic Safety Administration, properly aligned headlights can improve visibility by up to 100%?
Regularly checking and adjusting your headlight alignment won't only enhance your visibility on the road but also ensure your safety and the safety of others.
Remember to follow the recommended steps in the service manual for optimal performance.

