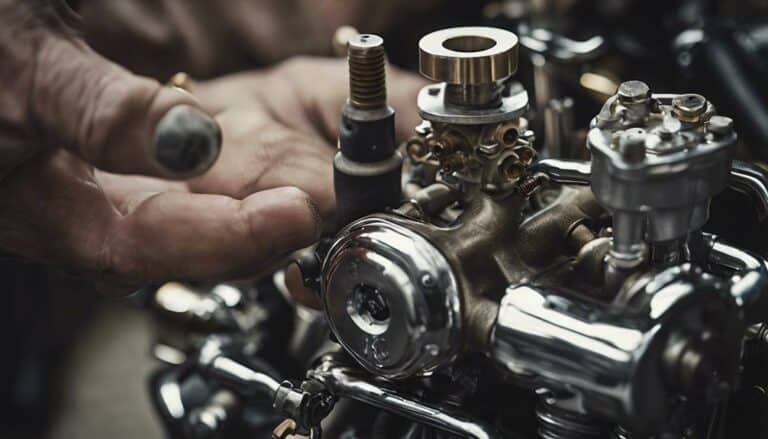
Adjusting a Harley Davidson CV carburetor can significantly impact your bike's performance, with up to 70% of carburetor-related issues stemming from improper adjustments. Ensuring your Harley runs smoothly and efficiently relies heavily on getting this adjustment right.
From understanding the basics of the CV carburetor to fine-tuning for optimal performance, the process can seem daunting. However, with the right tools and guidance, mastering this adjustment can make all the difference in your riding experience.
Key Takeaways
- Proper adjustment of the mixture screw is crucial for achieving a balanced air-fuel ratio.
- Use the necessary tools like a screwdriver and drill for precise tuning.
- Perform pre-adjustment checks and prepare the carburetor for accurate adjustments.
- Test and fine-tune the carburetor for optimal performance and smooth throttle response.
Understanding the CV Carburetor
Understanding the CV carburetor involves grasping its internal mechanisms and operational principles to effectively tune your Harley Davidson bike for optimal performance.
The CV carburetor on your Harley features a mixture screw positioned at the bottom rear of the spigot for adjusting the air-fuel ratio. This screw is pivotal in fine-tuning the fuel delivery at idle and low throttle settings.
The Carburetor's constant velocity design ensures a smooth and consistent flow of air and fuel, making it ideal for Harley Davidson motorcycles. Proper adjustment of the mixture screw is critical to achieving the best balance between power and fuel efficiency.
Tools Needed for Adjustment
To adjust your Harley Davidson CV carburetor, you'll primarily need a screwdriver as the main tool. In addition to the screwdriver, a drill may be required to create a hole in the soft metal plug covering the mixture screw. Consider using an EZ-Just mixture screw to simplify the adjustment process.
Proper installation of the mixture screw components is crucial for accurate tuning. When adjusting the mixture screw, remember to do so gently and in small increments to achieve optimal performance. This careful approach ensures that you can fine-tune your carburetor precisely to suit your motorcycle's needs without risking over-adjustment.
Pre-adjustment Checks and Preparation
Before adjusting your Harley Davidson CV carburetor, it's crucial to perform pre-adjustment checks and preparation to ensure a smooth and effective tuning process. Start by closing the fuel valve and draining the carburetor bowl.
Disconnect the air cleaner assembly, choke cable, fuel line, and throttle cables carefully before removing the carburetor for adjustment. It's essential to label the throttle cables and vacuum hoses for easy reconnection later.
To access the mixture screw for tuning, drill a hole in the plug covering it. When reinstalling the carburetor on the manifold, ensure all connections are securely in place. This step is crucial before proceeding with fine-tuning for optimal performance.
Taking the time to complete these pre-adjustment checks and preparations will set the stage for a successful carburetor adjustment process.
Step-by-Step Carburetor Adjustment Process
For precise adjustment of your Harley Davidson CV carburetor, start by identifying the mixture screw located at the bottom rear of the carburetor spigot. Follow these steps to optimize your carburetor's performance:
- Use a drill to create a hole in the soft metal plug covering the mixture screw for adjustment.
- Establish a base setting by gently turning the mixture screw to provide a starting point for tuning.
- Fine-tune the mixture screw for optimal performance by making slight adjustments in either direction.
- Securely reinstall the carburetor after adjusting the mixture screw to ensure smooth engine operation.
Testing and Fine-Tuning for Optimal Performance
After ensuring the carburetor is securely reinstalled following the adjustment of the mixture screw, the next step in optimizing your Harley Davidson CV carburetor's performance is to test and fine-tune for optimal operation.
Start the engine and let it reach its operating temperature before fine-tuning the idle mixture screw for ideal performance during idle. Take the motorcycle for a 10-mile ride to ensure proper warm-up before fine-tuning the mixture screw.
During the fine-tuning process, adjust the mixture screw gradually to prevent engine stumbling and backfiring through the carburetor. Aim for a setting between 2 and a little over 3 turns on the mixture screw for optimal performance after the initial adjustments.
Test the throttle response for smoothness and ensure there's no binding during operation. By following these steps, you can achieve peak performance from your Harley Davidson CV carburetor.
Conclusion
Now that you've meticulously adjusted your Harley Davidson CV carburetor, picture this: the rumble of the engine as you effortlessly accelerate down the open road, feeling the power and smoothness of a perfectly tuned machine.
With precise adjustments and thorough testing, you've achieved peak performance and optimal throttle response.
Embrace the thrill of the ride knowing your bike is finely tuned and ready for whatever the road may bring.

