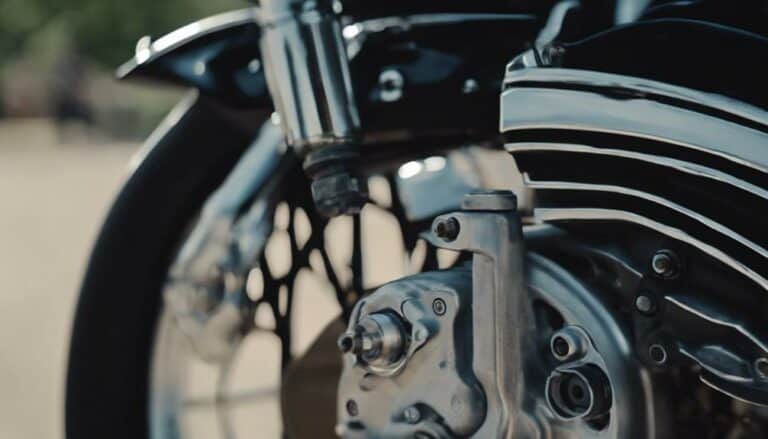
When it comes to changing the front brakes on your Harley Davidson Dyna, it's like peeling back the layers of a well-oiled machine to reveal its inner workings.
The precision required in this task demands attention to detail and a steady hand. As you embark on this journey of maintenance, the intricate steps involved may surprise you.
So, grab your tools and let's get started on this mechanical adventure together.
Key Takeaways
- Use proper tools like needle nose pliers and a wrench for efficient front brake change.
- Inspect and clean the front brake caliper, ensuring alignment with the rotor.
- Install new brake pads securely, reassemble, and bleed the brake system properly.
- Test front brakes for firmness, responsiveness, and signs of wear or leaks post-replacement.
Tools Required for Front Brake Change
To change the front brakes on a Harley Davidson Dyna, the first thing you'll need is a set of needle nose pliers to remove the retaining pins efficiently. These pliers are crucial for accessing and extracting the retaining pins that secure the front brake pads in place.
By utilizing needle nose pliers, you can carefully grip the pins and smoothly pull them out, allowing for a seamless brake pad replacement process on your Harley Davidson Dyna.
When working on your Harley Davidson Dyna's front brakes, having the right tools, such as needle nose pliers, is essential to ensure a successful brake pad replacement. These pliers enable you to handle the intricate components of the front brake system with precision and ease, making the task more manageable and efficient.
Removing the Front Brake Caliper
Loosen the caliper mounting bolts with a suitable wrench to release the front brake caliper smoothly. Once the bolts are free, carefully slide the caliper off the brake rotor, ensuring to support it to prevent any damage to the brake line. Remember to take note of the brake pads and retaining pins' positions for easy reassembly later on.
Caliper Maintenance Tips: Regularly inspect the caliper for any signs of leaks, corrosion, or damage. Clean the caliper with brake cleaner to remove any dirt or debris that may affect its performance.
Brake Caliper Alignment: When reattaching the caliper, ensure it aligns perfectly with the brake rotor to guarantee even pressure distribution on the brake pads.
Caliper Piston Inspection: Check the caliper pistons for any signs of wear, corrosion, or sticking. If necessary, clean or replace the pistons to maintain optimal braking efficiency.
Thorough Cleaning: Before securing the caliper back onto the brake rotor, clean all components thoroughly to remove any contaminants that could impact braking performance.
Installing New Brake Pads
When replacing the brake pads on your Harley Davidson Dyna, start by locating the front brake caliper. Remove the retaining pins that secure the old brake pads in place and slide out the old brake pads from the caliper. Before installing the new brake pads, ensure proper pad alignment. Insert the new pads into the caliper, making sure they're securely in place. Proper pad installation is crucial for brake pad security and optimal brake performance.
As you reassemble the front brake system, don't forget to replace the retaining pins to hold the new brake pads in position. It's essential to conduct a thorough inspection to guarantee the brake pads are correctly fitted and aligned within the caliper. This step ensures the effectiveness of your braking system. Additionally, consider performing caliper maintenance to keep your brakes functioning at their best. By following these steps diligently, you'll have successfully completed the brake pad replacement process on your Harley Davidson Dyna.
Bleeding the Brake System
When bleeding the brake system on your Harley Davidson Dyna, locate the brake bleeder valve on the caliper. Follow these steps for a successful brake bleeding process:
- Attach a Clear Tube: Secure a clear tube to the bleeder valve and submerge its other end in a container filled with brake fluid to prevent air from re-entering the system.
- Pump the Brake Lever: Enlist the help of a partner to pump the brake lever while you open and close the bleeder valve to release any trapped air bubbles and old fluid.
- Repeat Until Clear: Keep bleeding the system until clean fluid, free of air bubbles, flows steadily through the tube, ensuring a proper brake system.
- Ensure Responsiveness: Test the brake lever's firmness and responsiveness before reassembling the brake components to guarantee optimal performance.
Remember to dispose of old brake fluid properly, follow brake bleeding tips, and troubleshoot any air bubbles to maintain your Harley Davidson Dyna's brake system in top condition.
Testing the Front Brakes
To evaluate the functionality of your Harley Davidson Dyna's front brakes, gently apply pressure to the brake lever to assess resistance and confirm proper engagement of the brake pads. As you squeeze the lever, pay attention to any unusual noises, like squeaks, which could indicate issues with the brake pads or rotors. Listen for consistency in the braking feel as you apply pressure and release.
Check for leaks near the front brake calipers or master cylinder, as any leakage could impact brake performance. Additionally, inspect the front brake pads for signs of uneven wear, as uneven wear may necessitate adjustment or replacement. Perform a thorough visual examination of the entire front brake system, including the brake lines and hoses, to ensure there are no visible signs of damage or wear that could potentially compromise braking efficiency.
When troubleshooting, consider brake pad selection carefully and refer to maintenance guidelines for proper installation and performance.
Conclusion
In conclusion, changing the front brakes on a Harley Davidson Dyna is a meticulous process that requires attention to detail and precision. By following the outlined steps and using the necessary tools, you can ensure the safety and effectiveness of your brake system.
Remember, like a well-oiled machine, proper maintenance and care will keep your Harley running smoothly on the open road.

