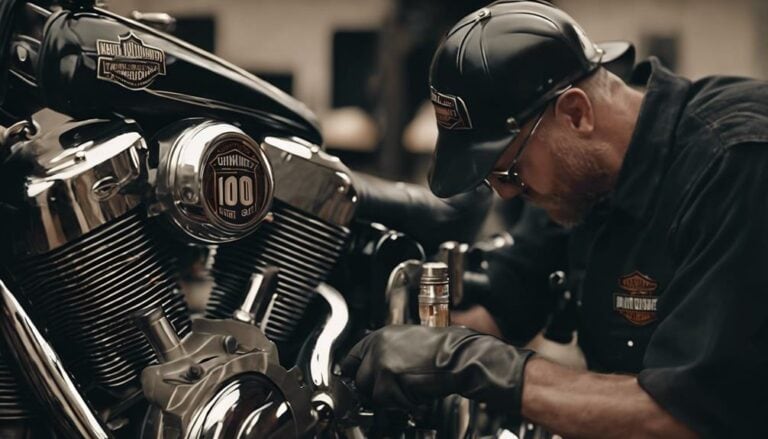
Imagine your Harley Davidson 100th Anniversary edition as a finely tuned instrument, each part working in harmony to deliver that classic rumble.
Now, picture the importance of oil as the conductor, ensuring all components move smoothly and efficiently.
As you prepare to tackle the task of changing the oil, there's a crucial step that can make all the difference.
Are you ready to discover the key to unlocking your bike's true potential?
Key Takeaways
- Properly warm up the engine before draining the old oil for smooth flow.
- Securely replace the oil filter with proper torque to prevent leaks.
- Refill with 3 quarts of 20w50 Harley Davidson motor oil.
- Regularly monitor oil levels and quality for optimal performance.
Preparing the Motorcycle
To properly prepare your Harley Davidson 100th Anniversary motorcycle for an oil change, ensure it's positioned securely on a stable and level surface. This step is crucial to prevent accidents and ensure easy access to the oil drain plug and filter. Before beginning the oil change process, gather all the necessary tools and supplies. You'll need a socket wrench, an oil filter wrench, a drain pan, a funnel, and the correct type and amount of oil specified for the Harley Davidson 100th Anniversary model. Having all the tools ready will streamline the process and prevent any delays.
Position yourself comfortably near the motorcycle with the tools within reach. Start by allowing the engine to run for a few minutes to warm up the oil. Warm oil flows more smoothly, making it easier to drain. While the engine is warming up, visually inspect the oil level and condition. This quick check ensures proper maintenance and helps you monitor the engine's health. With the motorcycle prepared and the tools in place, you're now ready to begin the oil change process.
Draining the Old Oil
Position the oil drain pan under the hose to catch the old oil when draining it from your Harley Davidson 100th Anniversary motorcycle, ensuring a clean and efficient process.
Utilize a 5/16 socket to loosen the clamp holding the hose in place for the oil drainage process.
Ensure the engine is slightly warm before draining the oil to facilitate a smoother flow.
Carefully detach the hose to allow the old oil to flow into the drain pan.
Clean the hose and securely reattach it, tightening the clamp to prevent leaks.
Replacing the Oil Filter
When replacing the oil filter on your Harley Davidson 100th Anniversary motorcycle, consider using an oil filter wrench if necessary for easier removal. Proper filter maintenance is crucial for the health of your engine.
Before installing the new filter, apply a thin layer of oil to the O-ring to ensure a proper seal and prevent leaks. Make sure to hand-tighten the new oil filter to the manufacturer's recommended torque specification to avoid over-tightening, which could lead to damaging the filter or causing leaks.
To tighten the oil filter correctly, use a torque wrench or tighten it by hand to the specified torque. Ensure the filter is securely in place to prevent any leaks during operation.
When disposing of the old oil filter, make sure to follow proper recycling or disposal procedures to protect the environment. By following these steps and paying attention to O-ring lubrication and tightening technique, you can ensure your Harley Davidson 100th Anniversary motorcycle runs smoothly with fresh oil and a well-maintained filter.
Refilling With New Oil
After properly replacing the oil filter on your Harley Davidson 100th Anniversary motorcycle, the next step is refilling the oil tank with 3 quarts of 20w50 Harley Davidson motor oil.
- Oil tank maintenance, Performance enhancement: Start by removing the filler cap on the oil tank to prepare for refilling with the specified amount of oil.
- Engine lubrication, Motor oil selection: Slowly pour the recommended oil into the tank, ensuring it reaches the optimal level for proper engine lubrication.
- Preventing oil leaks, Optimal oil levels: After refilling, clean the oil filler cap and securely replace it to prevent any leaks during operation.
- System circulation check: Once the new oil is added, start the bike to allow the oil to circulate through the engine, ensuring all components get lubricated effectively.
Remember to check for any oil leaks after running the engine to confirm the success of the oil change and ensure the system is well-sealed for optimal performance.
Checking Oil Levels and Quality
To accurately assess the oil levels and quality in your Harley Davidson 100th Anniversary motorcycle, utilize the provided dipstick on the oil cap while ensuring the bike is on a flat surface and cooled down for precise readings. Check the oil levels between the minimum and maximum marks on the dipstick. The oil should be a translucent amber color; if it appears dark or gritty, it might be time for an oil change. Regularly monitor the oil levels, especially before long rides or after extended periods of storage. Refer to the owner's manual for specific instructions on checking oil levels and maintaining the engine's oil quality.
| Oil Change Frequency | Oil Viscosity Grades | Synthetic vs Conventional Oils |
|---|---|---|
| Every 3,000-5,000 miles | SAE 20W-50, SAE 10W-40 | Synthetic oils offer better heat resistance and longevity compared to conventional oils. Consider synthetic oils for improved engine performance and protection. |
Conclusion
Now that you have successfully changed the oil in your Harley Davidson 100th Anniversary edition, imagine the smooth purr of the engine as you hit the open road with confidence.
The fresh oil flowing through the system ensures optimal performance and longevity for your beloved bike.
Remember, regular maintenance is key to keeping your ride running like a dream.
Ride on, knowing you've taken care of your Harley like a true enthusiast.

