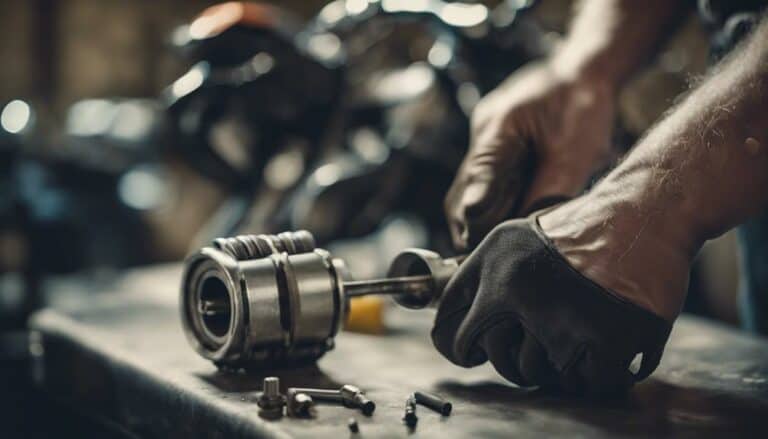
So, you've decided it's time to tackle the task of installing a fuel filter on your Harley Davidson. While it may seem like a simple job, there are important steps to follow to guarantee your bike runs smoothly and efficiently.
From locating the filter to proper installation techniques, understanding the process is key. Stay tuned to discover the essential tips and tricks that will help you successfully complete this maintenance task on your beloved Harley Davidson.
Key Takeaways
- Use the correct tool for ease and to prevent damage
- Locate and remove the fuel filter inside the tank carefully
- Install the new filter securely with proper alignment
- Test the fuel system for pressure and functionality
Gathering Necessary Tools and Materials
To begin preparing for the installation of a Harley Davidson fuel filter, consider acquiring the recommended Lisle fuel pump assembly removal tool, available for purchase on Amazon for approximately $30. This tool is gonna say, gonna go a long way in making the filter replacement process smooth and efficient. It's specifically designed to fit various touring models, reducing the risk of scratching the paint on your bike.
If you don't have this tool, you can use a punch or flathead screwdriver with a hammer as an alternative. However, having the correct tool is going to come in handy and make the job easier.
Locating the Fuel Filter on Your Harley
Located inside the fuel tank of your Harley Davidson, the fuel filter is an essential component important for maintaining peak performance. To locate the fuel filter, you'll need to remove the tank dash and various components on top of the tank.
The filter is part of the fuel pump assembly and is secured by a ring that must be removed for replacement. Proper alignment of tabs and pins is important when installing a new filter to guarantee correct operation.
Removing the Old Fuel Filter
Using a Lisle fuel pump assembly removal tool, loosen the ring securing the old fuel filter. Lift the ring and the old filter out of the pump assembly carefully to avoid damaging any components. Make sure to remove the old fuel filter and o-ring, disposing of all parts properly.
During this step of filter maintenance, troubleshooting tips may include checking for any signs of clogging or debris that could affect the fuel system. By taking care of the fuel filter as part of your DIY repair routine, you contribute to the preventative care of your fuel system.
As you remove the old filter, note the correct alignment of tabs and pins for easier installation of the new fuel filter later on. Conducting this step diligently ensures that your fuel system continues to function optimally, avoiding any potential issues down the road.
Installing the New Fuel Filter
When installing the new fuel filter, make sure proper alignment of tabs and pins before securing the filter in place on the pump assembly. Following the steps below guarantees correct installation for the best filter maintenance, fuel efficiency, and proper installation techniques:
| Steps | Actions |
|---|---|
| 1. Remove old filter | Use a removal tool to loosen the ring and carefully lift out the old filter. |
| 2. Prep new filter | Install the new fuel filter with the provided o-ring, making sure tabs and pins align. |
| 3. Secure new filter | Click the ring back into place on the pump assembly to secure the new filter. |
| 4. Install seal | Stretch seal (part number 61402-08) over without disconnecting hoses and push it securely into the slot. |
Following these steps precisely will maintain your filter effectively, improve fuel efficiency, and ensure the proper functioning of your Harley Davidson's fuel system.
Testing the Fuel System
To confirm the proper functioning of your Harley Davidson's fuel system, the next step after installing the new fuel filter is to test the system for correct fuel flow and pressure.
- Use a fuel pressure gauge to measure the pressure in the system.
- The fuel pressure should be within the manufacturer's specified range.
- Testing confirms that the fuel filter replacement was successful and the system is functioning correctly.
Checking the fuel pressure is important as it helps in troubleshooting any potential issues with the system. If the pressure is too low or too high, it could indicate underlying problems that need attention.
Similarly, monitoring the fuel flow during diagnostics can provide insights into the system's functionality and maintenance requirements.
Conclusion
In conclusion, by following the steps outlined above, you can easily install a Harley Davidson fuel filter and guarantee peak performance for your bike.
Just like a well-oiled machine, your Harley will run smoothly with a new fuel filter in place.
So, grab your tools, locate the filter, remove the old one, install the new filter, and test the fuel system – your ride will thank you for it.

