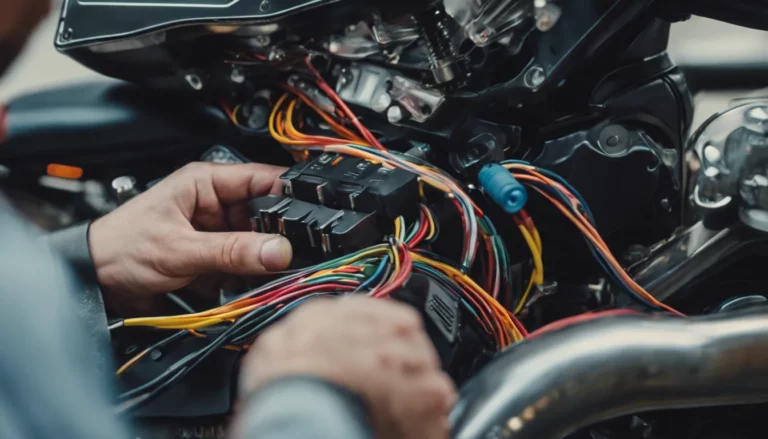
When wiring a Molex connector on your Harley Davidson, meticulously master the method to make a secure and seamless connection. Unravel the intricacies of disassembling the connector, maneuvering the pins, and strategically soldering the wires.
But, as you navigate this process, remember the important step often overlooked that could make or break your Harley's electrical system. What is this step that demands your utmost attention? Keep reading to discover the hidden secret to a successful Molex connector wiring on your prized Harley Davidson.
Key Takeaways
- Locate the Molex connector on your Harley for wiring convenience.
- Use proper tools like a soldering iron and heat gun for secure connections.
- Test continuity and functionality after wiring to ensure proper operation.
- Maintain the Molex connector with regular inspections and dielectric grease for longevity.
Required Tools for Molex Connector Wiring
To effectively wire a Molex connector on your Harley Davidson, gather essential tools such as wire strippers, a soldering iron, shrink tubing, a heat gun, and a diagram detailing the connector layout.
When it comes to the critical task of connecting wires to the Molex pins, the soldering iron plays a pivotal role. With precise heat control, the soldering iron enables you to create secure and reliable connections between the wires and the Molex connector pins.
By melting solder onto the exposed copper wire and pin, you can form a strong bond that guarantees proper electrical conductivity. It's important to heat the joint adequately to achieve a solid connection without causing damage due to overheating.
The soldering iron's ability to deliver controlled heat is essential in this process, making it a fundamental tool for wiring a Molex connector on your Harley Davidson.
Locating the Molex Connector on Your Harley
If you're ready to locate the Molex connector on your Harley Davidson, start by checking near the handlebars or within the wiring harness. The Molex connector plays an important role in connecting electrical components on your Harley, so identifying its location is essential for any wiring modifications or repairs. To help you visualize where you might find the Molex connector, refer to the table below:
| Location | Common Areas on Harley Davidson |
|---|---|
| Near Handlebars | Behind the headlight, near the fairing |
| Within Wiring Harness | Under the seat, close to the battery |
Knowing where the Molex connector is situated can simplify the process of working on your Harley Davidson. Once you find the connector, you can proceed with wiring modifications or repairs, ensuring that everything is securely put back together.
Step-by-Step Guide to Wiring the Molex Connector
Begin by disassembling the Molex connector on your Harley Davidson by carefully lifting the tabs, removing the rubber seal, and releasing the pins. Once disassembled, you can proceed with wiring the Molex connector following these steps:
- Prepare for Wire Extensions:
- Tape the wires for guarantee.
- Cut and strip the wires for soldering.
- Solder the connections securely.
- Cover the joints with shrink tubing for protection.
- Wire the Handlebars Methodically:
- Create a wiring diagram for reference.
- Secure the pins in the correct positions.
- Follow a structured process for accurate connections.
- Double-check the wiring before moving forward.
- Feed Wires Through Handlebars:
- Guarantee all wires are fed through neatly.
- Use shrink tubing to protect the wires.
- Check for any loose connections.
- Secure everything in place before proceeding further.
Testing the Connection for Proper Functionality
For accurate functionality assessment, confirm proper continuity testing between each wire to confirm secure connections. Using a multimeter, test for voltage and continuity through the wires. Make certain that the pins are securely seated and making proper contact. Test the functionality of any components connected to the Molex connector. Look for signs of overheating or damage during the testing process.
| Test Point | Expected Reading |
|---|---|
| Wire 1 | Continuity beep |
| Wire 2 | Continuity beep |
| Wire 3 | Continuity beep |
| Wire 4 | Continuity beep |
After conducting the continuity tests, you can go back and recheck any connections that did not provide the expected reading. It is important to guarantee that each wire is properly connected for the Molex connector to function correctly. By verifying the continuity between each wire, you can confirm that the electrical connections are secure and reliable.
Maintenance Tips for Your Harley's Molex Connector
Regularly inspect the rubber seal on your Harley's Molex connector to prevent moisture build-up and corrosion. This important step guarantees the whole thing remains protected and functioning at its best.
To maintain your Harley's Molex connector effectively, consider the following maintenance tips:
- Check for Seal Integrity: Inspect the rubber seal for any signs of wear, cracks, or gaps that could allow moisture to seep into the connector.
- Clean the Connector: Use a gentle electronics cleaner to remove any dirt or debris that may have accumulated on the connector, ensuring a secure connection.
- Apply Dielectric Grease: After cleaning, apply dielectric grease to the whole thing to further protect it from moisture and corrosion.
- Store Properly: When not in use, store the Molex connector in a dry and secure location to prevent environmental damage.
Conclusion
To summarize, wiring a Molex connector on your Harley Davidson is like connecting the final piece of a complex puzzle – precise, detailed, and essential for proper functionality.
By following the step-by-step guide and ensuring all connections are secure, you can enjoy a seamless electrical system on your motorcycle.
Remember to test the connection thoroughly and perform regular maintenance to keep your Harley running smoothly.
Happy riding!

