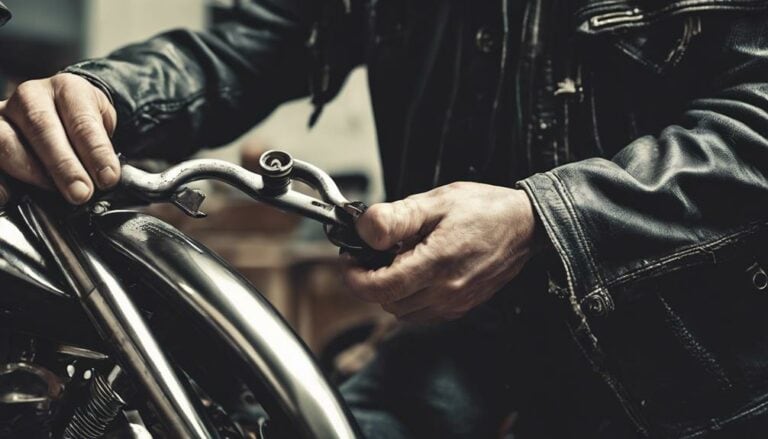
So, you've noticed that your Harley Davidson seat screw needs replacing, and you're wondering how to tackle this task efficiently.
Well, fear not, as with a few simple steps, you can have your seat securely fastened in no time. By following a straightforward process and utilizing the right tools, you'll be able to enjoy a smooth ride without any worries about your seat coming loose.
Stay tuned to discover the secrets behind successfully replacing the seat screw on your beloved Harley Davidson.
Key Takeaways
- Gather tools and replacement kit, secure components, and keep parts accessible.
- Identify, maintain, and troubleshoot seat screw issues for safety and functionality.
- Carefully remove and inspect old screw, avoiding damage to seat post and parts.
- Install new screw securely, align properly, and ensure compatibility for a seamless process.
Gather Necessary Tools
To gather the necessary tools for replacing the seat screw on your Harley Davidson, make sure you have 8-inch zip ties, a retainer clip, tape, and a replacement kit containing a new bolt, clips, and a tool for exploring through the seat post.
When organizing your tools, lay them out in an orderly manner so that you can easily access each item during the replacement process. Utilizing 8-inch zip ties is vital for securing components in place as you work on the seat screw. In case you run out of zip ties, alternative options like small bungee cords or strong strings can be used to achieve the same effect.
Proper tool organization guarantees a smooth workflow and prevents any delays caused by searching for essential items. The replacement kit's components, including the new bolt, clips, and specific tool for exploring the seat post, should be within arm's reach. By having all tools readily available and knowing potential zip tie alternatives, you set yourself up for a successful seat screw replacement on your Harley Davidson.
Locate Seat Screw
After gathering the necessary tools for replacing the seat screw on your Harley Davidson, your first step is to locate the seat screw positioned at the rear of the bike, securing the seat post in the rear fender.
Make sure you identify the specific seat screw types and their compatibility with your Harley Davidson model to guarantee a proper fit.
Regular maintenance of the seat screw is important to prevent issues like loosening or potential loss of the seat while riding.
Troubleshoot any problems related to the seat screw promptly to maintain the overall functionality and safety of your motorcycle.
Remove Old Screw
Using a suitable wrench or socket set, carefully loosen and remove the old seat screw from its position securing the seat post in the rear fender of your Harley Davidson. Once the screw is removed, it is important to inspect its condition for any signs of damage or wear that may necessitate replacement. Ensuring the old screw is in good condition will prevent potential issues in the future. Remember to keep track of the removed screw to guarantee proper reinstallation or replacement with a new one. Removing the old screw cautiously is essential to prevent any damage to the seat post or surrounding parts. Here is a table to summarize the essential steps for removing the old seat screw:
| Steps to Remove Old Seat Screw |
|---|
| 1. Locate the seat screw |
| 2. Use wrench or socket set |
| 3. Loosen and remove the screw |
| 4. Inspect for damage |
Install New Screw
When installing the new screw on your Harley Davidson, make sure of a secure fit by using the screw provided in the replacement kit. Verify the screw is compatible with your Harley model to avoid any issues. Here are some key points to consider:
- Verify Screw Maintenance: Before installing the new screw, double-check for any debris or corrosion in the screw hole that could affect the fit.
- Consider Screw Compatibility: Confirm that the thread pattern and size of the new screw match the existing seat post on your Harley Davidson.
- Align Properly: Position the new screw correctly to align with the seat post and rear fender for a seamless installation.
Secure Seat Properly
To guarantee a secure fit for your Harley Davidson seat, properly tightening the seat bolt in the rear fender is essential for a safe and stable ride. Preventing vibrations is important to make sure your seat remains in place during your journeys. Here are some maintenance tips to help you secure your seat properly:
| Maintenance Tips | Description |
|---|---|
| Check bolt tightness regularly | Regularly inspect and tighten the seat bolt to prevent loosening during rides. |
| Utilize Loctite or thread locker | Apply a small amount of Loctite or thread locker to the bolt threads for extra security. |
| Ensure proper alignment | Align the seat properly on the rear fender before tightening the seat bolt. |
| Verify the seat's stability | After tightening the bolt, make sure the seat is stable and does not wobble. |
Conclusion
To sum up, replacing the seat screw on your Harley Davidson is a quick and simple task that can be completed in under 5 minutes.
With the right tools and a straightforward process, you can make sure your seat is securely fixed without the need for advanced mechanical skills.
So, why wait any longer to make this easy fix and get back on the road with confidence?

