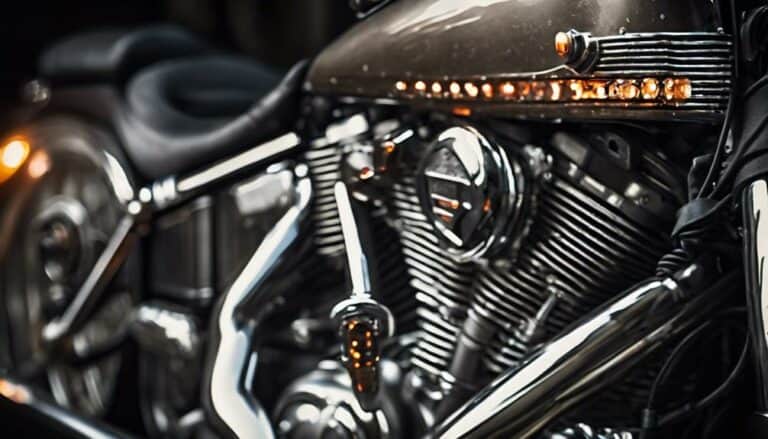
If addressing the task of rewiring turn signals on your Harley Davidson Fatboy feels like maneuvering through an intricate maze, fear not; with a methodical approach, you can simplify the process.
Begin by understanding the current wiring setup and how to dismantle it effectively. However, as you start untangling the electrical web, remember that a few tips can make this job more manageable.
Stay tuned to discover some expert tips that could streamline the rewiring journey on your beloved Fatboy.
Key Takeaways
- Identify and organize wires for turn signals and buttons for efficient rewiring.
- Securely connect new wiring without splicing to ensure proper functionality.
- Test voltage and continuity of turn signal wires to verify correct operation.
- Route wires neatly and consider customization options for a unique Harley Davidson Fatboy look.
Required Tools and Materials
You'll frequently need basic tools such as wire strippers, electrical tape, and a soldering iron when rewiring the turn signals on your Harley Davidson Fatboy. These tools are essential for working with the electrical components of your motorcycle. Wire strippers are used to remove the insulation from wires, while a soldering iron is necessary for creating secure connections between wires. Electrical tape is important for insulating and protecting the connections from moisture and other elements.
In addition to the basic tools, specific materials like heat shrink tubing, wire connectors, and new turn signal wires may be required for the rewiring process. Heat shrink tubing provides added protection to the connections, while wire connectors guarantee a secure and reliable bond between wires. New turn signal wires may be necessary if the existing ones are damaged or worn out.
Having these tools and materials ready before starting the rewiring process will help you effectively work on the turn signals of your Harley Davidson Fatboy.
Locating and Accessing the Turn Signal Wires
To locate and access the turn signal wires on your Harley Davidson Fatboy, begin by identifying the plug located under the tank containing 6 wires, with 3 designated for each turn signal. Here are the steps to help you access the turn signal wires easily:
- Pull the internal wires back through the handlebars: By carefully pulling the internal wires back through the handlebars, you can gain better access to the turn signal wires, making the rewiring process more manageable.
- Make certain clean and secure connections: When reattaching the wires into the plug, avoid splicing them. This helps maintain a clean and secure connection, reducing the risk of future electrical issues.
- Explore alternative wiring methods: Consider integrating the turn signals into the headlamp for a unique and customized look. This can give your Harley Davidson Fatboy, or even Road Glide, a personalized touch that sets it apart on the road.
Disconnecting and Removing Old Wiring
To begin the process of disconnecting and removing the old wiring from your Harley Davidson Fatboy, start by identifying and separating the wires designated for the turn signals and buttons within the plug located under the tank.
Locate the plug under the tank containing six wires, with three wires allocated for each turn signal. Carefully distinguish the wires for the buttons and turn signals.
Gently pull the internal wires back through the handlebars, ensuring a smooth removal process. Take care not to damage the wires during this step.
Reattach the wires into the plug without the need for splicing, maintaining the integrity of the connections. Proper organization and connection of the wires are essential for a successful rewire of your Fatboy.
Installing and Connecting New Wiring
Begin by identifying the corresponding wires for the turn signals and buttons within the plug located under the tank of your Harley Davidson Fatboy.
- Locate the plug under the tank with 6 wires, 3 for each signal, to begin the rewiring process.
- Separate the wires for the buttons and signals, making sure clear identification during rewiring.
- Carefully pull the internal wires back through the handlebars for modification.
Next, focus on the right side for the turn signal installation. Connect the right turn signal wires to the corresponding wires within the plug under the tank. Make a secure connection by firmly attaching the wires without any splicing. Once connected, tuck the wires neatly to avoid interference with other components. Consider routing the wires in a way that enhances the aesthetic appeal of your Harley Davidson Fatboy.
Following these steps meticulously will set a solid foundation for the proper functioning of your newly rewired turn signals on the right side.
Testing and Adjusting the Turn Signals
Test the continuity and voltage of the turn signal wires using a multimeter to affirm proper functionality. Follow these steps to make sure your turn signals are working correctly:
| Test | Procedure |
|---|---|
| Continuity | Set the multimeter to the continuity mode. |
| Connect one probe to the wire and the other to the ground. | |
| If the multimeter beeps, there is continuity. | |
| Voltage | Set the multimeter to voltage mode. |
| Connect the probes to the wire and ground. | |
| Check for the appropriate voltage levels. |
After testing, adjust the flasher relay to make sure the timing and flashing of the turn signals are correct. Inspect the ground connection for security and absence of corrosion. Verify the turn signal bulbs are functioning, replacing any that are burnt out. Finally, test the turn signals while riding to confirm their visibility and functionality on the road. This process will help you ride safer with properly working turn signals.
Conclusion
To sum up, rewiring the turn signals on a Harley Davidson Fatboy is like giving your bike a new set of eyes. By following the steps outlined above, you can make sure that your signals are working properly and safely on the road.
So go ahead, take the plunge and give your Fatboy the upgrade it deserves. Happy riding!

